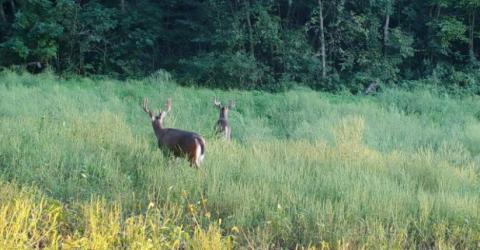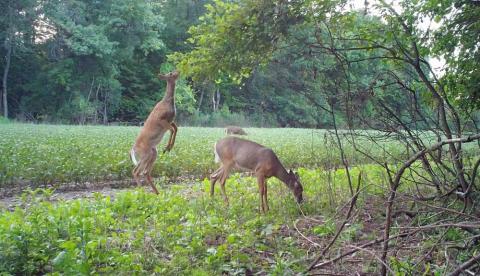
The invention of trail cameras, also known as game cameras has redefined how deer hunters locate, pattern and hunt whitetail deer. Using cameras can give hunters a major advantage, allowing them to scout and monitor an area 24/7 without having to access the area and introduce excessive human pressure.
Running trail cameras on your property is one thing, but having a few trail camera tricks and tips up your sleeve can give you the knowledge you need to punch your next tag on your target deer.
Here are 10 Trail Camera Tips that may be the missing ingredient in your trail camera strategy.
1. Use the Best Bait for Trail Camera Setups
Before you consider baiting an area or using any attractant, check with your state’s fish and wildlife code. While it may be legal in certain counties within your state, verify the regulations within your exact county.
Bait and attractants serve the purpose of luring the deer to a very specific spot to optimize the quality and quality of the photos your camera takes. The following video explains this strategy in more details and expands on the best bait and attractants for trail cameras.
2. The Best Direction to Point Trail Cameras
The sun is the biggest enemy to getting good trail camera pictures. Any light rays that penetrate into the camera lenses may cause lens flare, potentially blowing out the picture. This scenario may not sound like a big deal until the biggest buck on your property is posing in front of your camera as the sun sets on your western-facing trail camera.
The following video tip explains which direction to face your trail camera and the reasoning behind it.
3. Best Batteries and SD Cards
The top-two priorities to maximizing your trail camera plan is to maximize the amount of time your trail camera is running and then leaving it alone to do the scouting. This principle is where high-quality lithium batteries and high-storage SD cards come into play. Like most things in life, you get what you pay for. The best SD cards and batteries and SD cards are two places where you don’t want to cut corners. The following video explains which batteries and SD cards to consider running.
4.. Frequency and Sensitivity Settings
Every trail camera in today’s market comes with the option to adjust the frequency in which photos are taken and the sensitive of the trail camera’s motion sensor. The highest frequency setting would program the camera to take pictures as rapidly as the camera is able. For some cameras, this could be as often as 3 or five seconds. The highest sensitivity setting would have the camera takes pictures with the most minimal amount of motion required to trigger the camera’s motion sensor. The most sensitive motion setting could be triggered from a weed blowing in front of the camera or a leaf blowing in front of the camera.
The following video provides an overview of which trail camera frequency and sensitivity settings to apply in specific scenarios.
5. How Often to Check Trail Cameras
There is one thing all wild game animals have in common. Their number one mission is to survive. This means they are extremely sensitive to anything they identify as a predator. The number one thing trail camera users do wrong is check their cameras too frequently. Every time hunters check their cameras, they are going into the home range of animals using that area.
The following video explains when to check trail cameras throughout various times of the year.
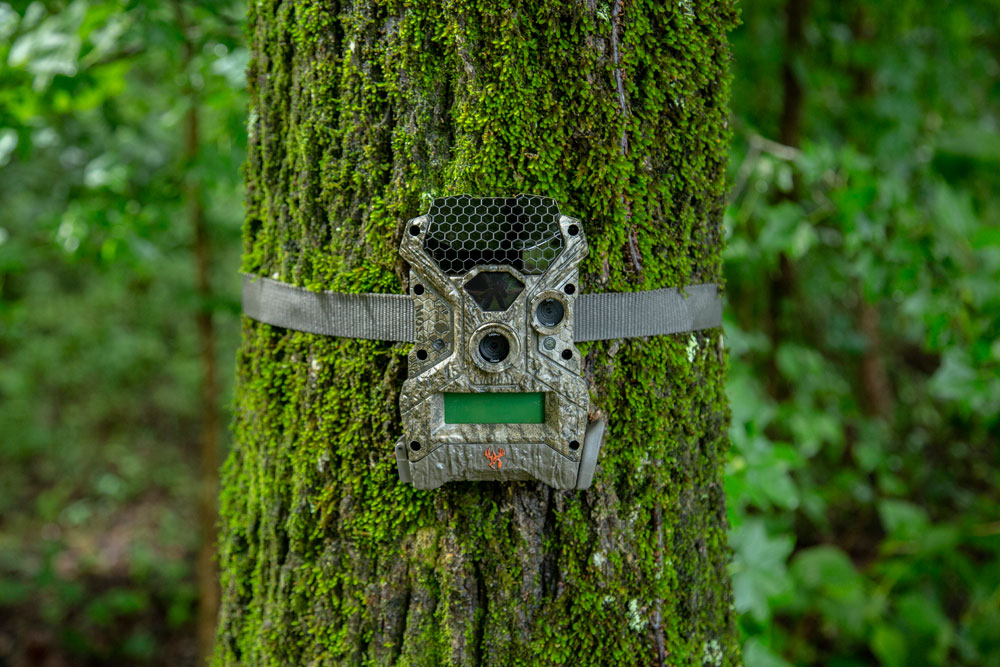
6. How High and Low to Mount Trail Cameras
The height that trail cameras are mounted will directly effect the appearance of photos captured and the camera’s total field-of-view. The following video explains how high to mount trail cameras in specific for various scenarios.
7. Best Distance to Hang Trail Cameras from Target Areas
The effective range of every trail camera in the market varies from on to the other. They all have their “sweet spots” and they’re all designed for various applications. The following video explains how far to hang trail cameras off of their target areas.
8. Where to Mount Trail Cameras
The best place to mount trail cameras depends on the time of the year and the phase deer are in as it relates to their feeding, travel and rutting patterns. The following video breaks down these variables and prescribes where to hang trail cameras with respect to what the deer are doing throughout specific times of the year.
9. Clean Field-of-View
Another very common mistake made by trail camera users is failing to clear the cameras field-of-view upon setup. The worst experience as a trail camera user is to have your target animal reveal itself for a photo, only to have a tree limb or clump of weeds blocking key identification details of the animal. The following video explains how to prevent this from happening with a few easy steps.
10. Alternative Ways to Mount Trail Cameras
One thing that remains the same in Mother Nature is that nothing is ever the same. When mounting trail cameras, minor to major adjustments have to be made from one setup to the next. The following video offers multiple options to hang trail cameras for all situations.