Most everyone shooting a rifle these days is looking for an edge. They are looking for something new to improve their accuracy at the range or in the field. Many average marksmen armed with today’s new flat-shooting rifles and technologically advanced optics are still just that. Average. Instead of putting the time in at the range, they buy another gadget. The truth be told, a good marksman is constantly working to improve their trigger pull technique. They understand the weapon is only as good as the person pulling the trigger. In a way, their trigger pull technique is their edge.
Proper Finger Placement
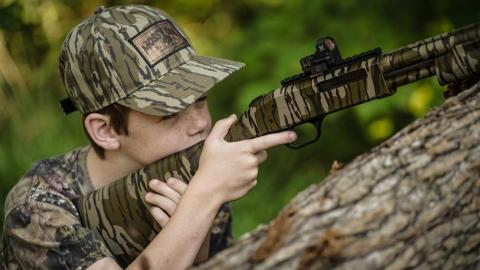
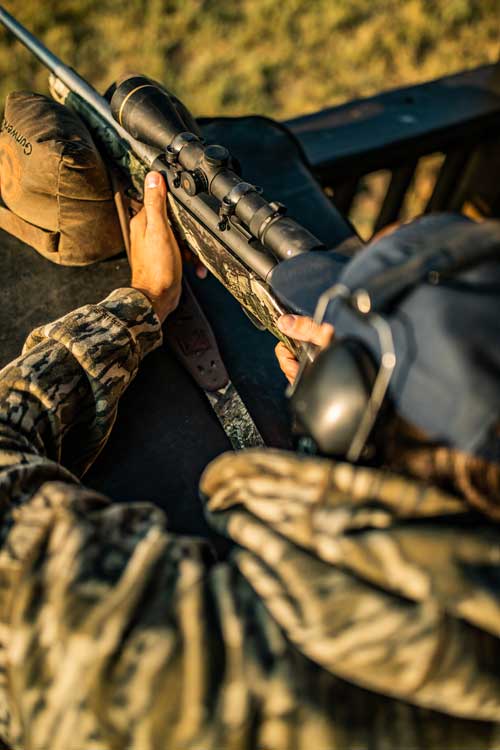
From your first gun until now, it has been drilled in your head that you have to put the front pad of your finger on the trigger. Beginning hunters searching for coyote hunting tips are often told the same. After you have shot a while, you may find this just doesn’t work for you. You still pull or push your shot from time to time. There is another way.
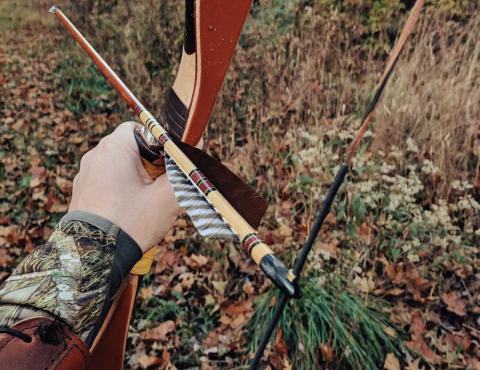
WATCH: Shooting Tips: Instinctive Shooting
Many military instructors and competitive shooting instructors teach the natural finger placement method. The theory behind this is that everyone’s hand is different and every weapon is different. For you, that may mean the tip, pad or power crease of your finger. All that matters is that the trigger is pulled directly back, without torque to the left or right.
Some of the same principles you have always heard still apply. If your finger is on the side of the trigger, you will torque the weapon; likewise, if you deep hook the trigger, you will torque the weapon. Regardless of finger placement, these mistakes result in poor shot groups. It’s up to you to decide if your natural finger placement is the tip, pad or power crease of your finger.
It’s OK to Anticipate the Shot
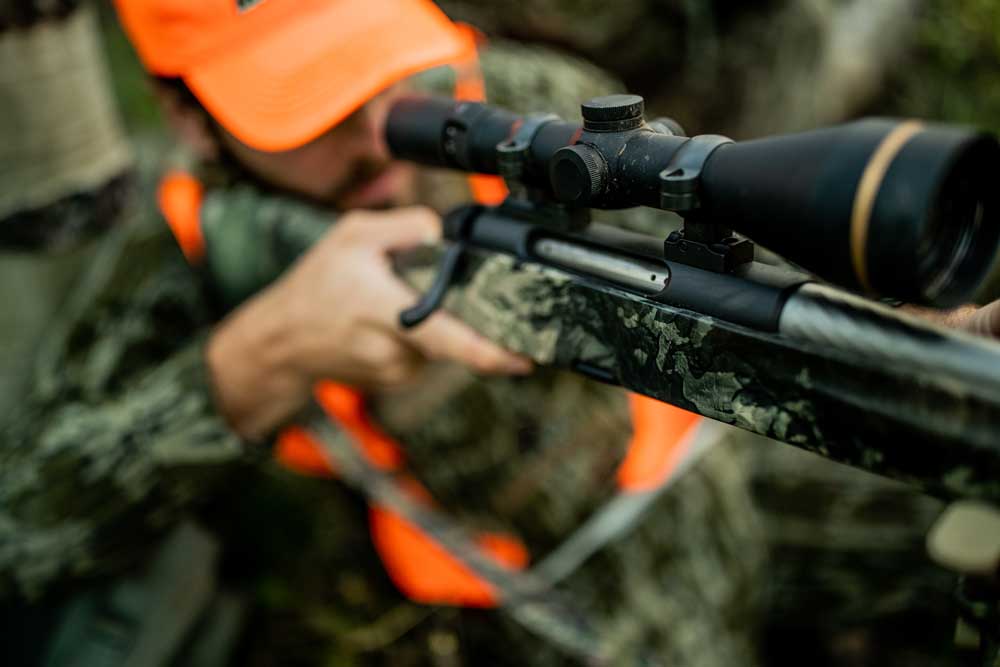
Another technique drilled in a young shooter’s head is not to anticipate the shot. Deer hunting tips like this are handed down from generation to generation. What you will find, though, as they become more familiar with their weapon, they flinch. They want to be surprised by the weapon firing, but once it does, they flinch and their trigger pull and follow-through suffers.
You are better off working on a smooth, steady and continuous pressure on the trigger toward the butt of the weapon. As you squeeze the trigger, maintain proper sight alignment and shoulder placement as you anticipate the recoil. This eliminates that natural forearm grab and tightening of the grip that occurs when you are surprised the weapon fired.
It will take some practice to unlearn that relaxed approach to shooting for many. You will find it’s harder to unlearn old habits than you might think. It’s well worth it though, and you will notice anticipating the shot is more natural than trying to relax while a weapon fires and recoils in your hands. To hone your new skill, you can practice the anticipation method with a .22 caliber weapon. It’s cheaper and recoil does not affect your follow-through.
Follow-Through and Trigger Pull
In regards to trigger pull, follow-through is what you do with the trigger and weapon after the weapon fires. Of course, if you punched the trigger and grabbed the weapon after the weapon fired, proper follow-through will not help much. Along with mastering finger placement, squeezing straight back and properly anticipating the shot, follow-through can make a big difference.
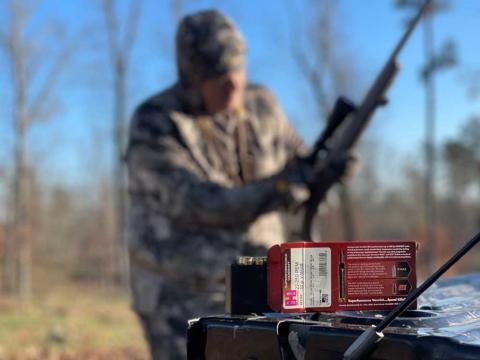
How Bullet and Cartridge Selection Affects Shot Placement
The first step and often overlooked part of trigger pull follow-through is to keep the trigger depressed until the recoil is over. Many shooters will count one-thousand-one after they pull the trigger before they let the trigger ride forward. You should maintain contact with your finger on the trigger until you're done shooting. This is especially true for competitive shooters.
An equally important step to follow-through is to maintain your sight picture through the recoil and cycling of the next round. This not only improves the accuracy of your first shot but decreases the time it takes to get back on target. With practice, your second shot will be faster and more accurate.
Practice Trigger Pull
You probably think this is all good, but who can afford the ammo it takes to learn this? As always, firearm safety rules apply, but the answer is to practice by dry-firing your weapon. Find your natural trigger finger placement, practice anticipating the recoil and complete follow-through while dry-firing. Put a dot on the wall and practice keeping your crosshair on the target through all these steps.
You will notice some wobble with your sight picture and target. Practice will decrease the wobble some, but some wobble is normal. Worry less about the wobble and more about proper trigger pull. A good rule of thumb is to dry-fire your weapon more than you actually shoot with live ammunition.
Make Proper Technique Your Edge
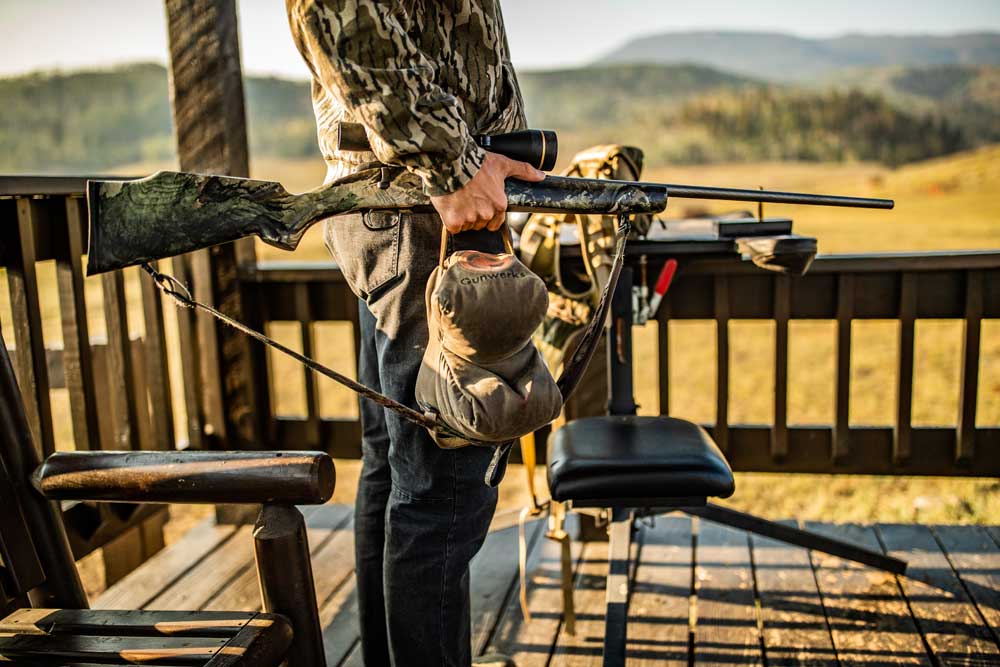
Today’s flat-shooting weapons and advanced optics are capable of incredible accuracy. If you don’t combine them with sound shooting techniques, you are wasting your money. Make the time to learn proper trigger pull techniques to improve your shot groups. With practice, you will not have to run down a mental checklist to be accurate. You will find that proper trigger pull is the edge separating average marksmen from great marksmen.