Wes Delks | Originally published in GameKeepers: Farming for Wildlife Magazine. To subscribe, click here.
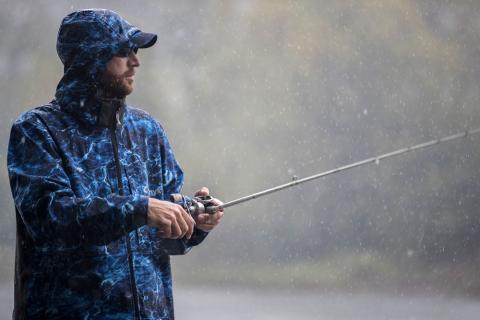
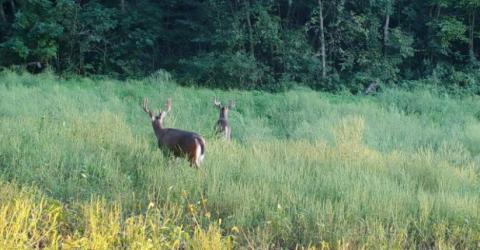
Food plots can provide year-round nutrition, increase antler growth, lure deer out of cover during shooting hours and may help you kill “Mr. Big”. I’m not saying that planting an acre food plot is going to put 170 inches of “bone” on your wall next year, but I do think it will increase your chances and strengthen your passion for pursuing these amazing animals. Realistically, most of us just don’t have a Boone & Crocket caliber buck in our hunting area; however, creating a small food plot on a budget most definitely can aid you in taking the biggest buck on your property.
Before I began planting food plots, the only exposure I had was what I had seen in popular hunting television shows. It was as if a little seed sprinkled on the ground meant the big boys would come running to a lush, green plot where they would inevitably meet their demise. Seeing this success encouraged me to start planting a few tiny plots of my own. Starting small was the only way I could afford it and access to large equipment was scarce.
implement you might need to easily and effectively install a food
plot, from plows and disks to sprayers and broadcasters, are
available on the market.
After hunting over these tiny plots that were the size of a living room and seeing deer walk right through them without even putting their heads down or stopping for a bite, I came to the conclusion that what I was doing wasn’t working. I decided that food plots must be a go big or go home deal. If you could not put out at least a one-acre plot or bigger then you were essentially wasting your time. I had more to learn.
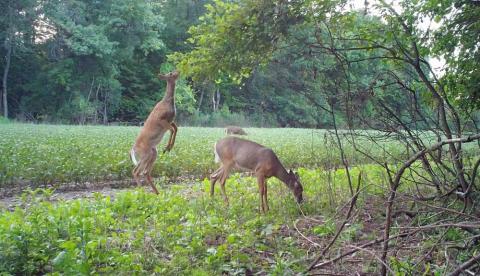
Fortunately, I had the opportunity to hunt a friend’s property in central Indiana where he had some small food plots strategically placed, tucked into curves along field edges, screened by tall grassy species and along a small riparian corridor blocked from view by elevation and several cottonwoods. At this property, I really had the chance to see the power of a well-placed, food plot targeted for a specific purpose and properly timed. I learned how to better utilize this type of small plot to provide an opportunity to slow deer down for a shot.
There are food plots that have tremendous drawing power and deer will feast on them daily. I have seen videos of plots like these where the landowner will bust deer off the plot just to have the does run a hundred yards away, then turn around and wait for him to leave so they can return to their afternoon meal.
How big does a food plot have to be in order to be effective? The answer depends on the plot’s purpose, manager’s budget, equipment access and other details, but every little bit helps in the grand scheme of things.
A person must begin somewhere. Maybe you are young and do not have the budget to plant vast acreage, or maybe you have never “farmed” before and simply do not have the equipment. For an individual without a tractor or for a serious hunter trying to practice QDM on a budget it will require some extra effort. The best advice is to begin small.
My goal with this type of plot is to draw in deer so I can kill them. There are seven steps I like to work through when developing one of these small “no-plow” type hunting plots. With these plots, we’re obviously cutting corners and possibly removing a step or two. Some of these steps may not be completely necessary to grow deer food, but because we’re taking out other more essential steps, I like to add a step like spraying with selective herbicides to bolster results. I try to make sure all activities in the area take place midday, as far away from dawn and dusk as possible to minimize deer disturbance.
Step 1: Stand Placement
plant effective food plots. Everything can be done by hand
and relatively inexpensively.
I listed stand placement as the first step to this type of food plot because it can be that important. You can have the best food source in the world, but if the only tree is a lone, bare sycamore upwind of the plot during the prevailing wind, you might as well forget about shooting Mr. Big. Before I begin designing the shape of the plot, I decide where I can safely hunt the site (I may choose two or three different ambush sites), my approach to the stand and figure out which wind directions it will be safe to hunt.
Often times, deer will be using these plots when you want to get in or out of a stand and it is important that you generate the least disturbance possible. Many times, the best stand locations are 50 to 100 yards off the food plot on trails leading to the food source. I like to plant as large of a plot as I can, which in this situation is rarely over one acre. It is important to get creative with the shape of the plot. Hourglass, L-shapes, or irregular designs can all funnel deer movement differently and give the maximum “edge cover.”
Step 2: Herbicide Burn-Down and Creating your Seedbed
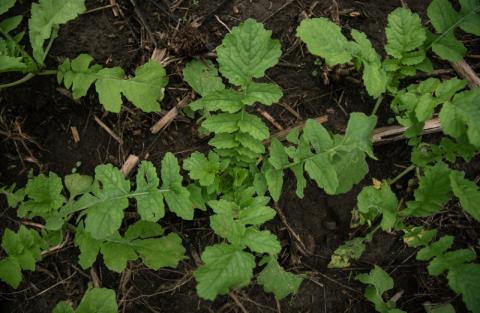
If you are planting a food plot you will inevitably have weed problems. This can be a reason why it is tempting to wait until late summer/fall to plant your plots so you do not have to fight as much weed pressure. I disagree with this thinking. My goal is not to have the prettiest plot. I am not trying to produce a bumper crop with the highest yield to take to the elevator. I am also not trying to impress anyone with the uniformity of my food plot. A deer doesn’t care if there are a few weeds in my plot, so neither do I. When the weeds start to dramatically affect the success of my desired species then it becomes an issue.
It is absolutely critical to get a clean “burn-down” prior to tilling to give yourself the advantage of a relatively weed-free seedbed. There will always be weed seeds in the soil and seed that travels to your plot; but completely ridding your area of vegetation with some herbicide before any tilling practices are done will greatly help your future battle against weeds.
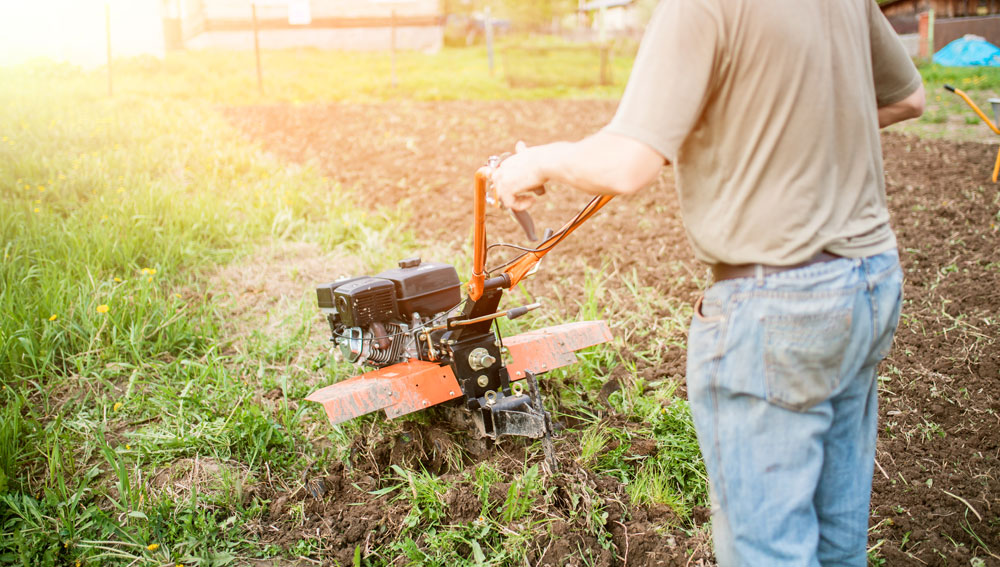
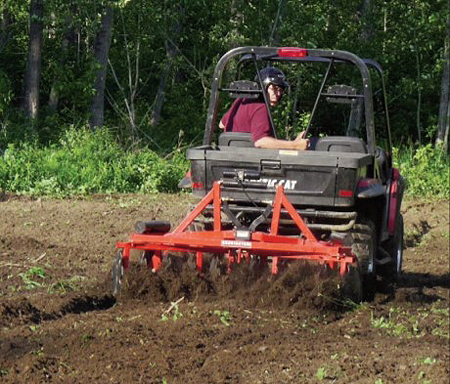
Creating a seedbed or tilling is typically where some mechanical involvement takes place for me. In the past, I have simply scratched the surface of the soil with a heavy garden rake before broadcasting some contact species, such as clover, brassicas, chicory, etc. However, I would much rather get a couple inches of soil worked up for the majority of the species I like to plant. A five-foot tiller behind a small tractor really comes in handy at this point, but staying true to the title of this article, I normally spend lots of hours behind a garden, hand-operated tiller each spring. My goal is not to work up the soil deeply, but just to prepare the topsoil to give the seeds a great beginning.
Step 3: Planting and Fertilizing
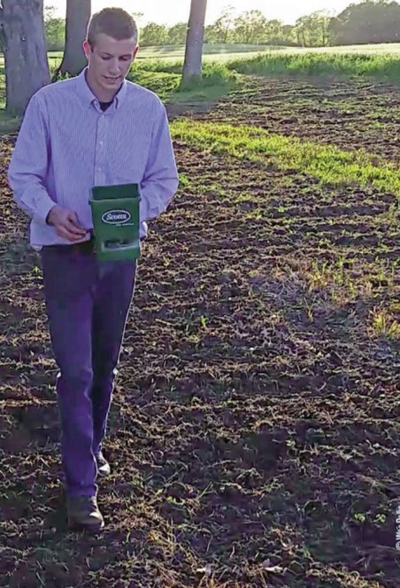
The next step, planting, can be difficult to do accurately without certain equipment. I don’t drill seed into the ground with an implement, I either use a hand held broadcaster or simply cast seed with my hands. Over-seeding (using too much seed) can be an issue with this method. It’s easy to run through an acre’s worth of seed in just ¼ acre if you’re not careful.
The best way to ensure you get the correct coverage is to carefully measure how much acreage you have to cover and then measure out the correct amount of seed. You want to set your broadcaster lean and cover the entire area, but still have seed left in the hopper. Then just go back over the area (in a different pattern) until all the seed is used up. This is the best way to ensure proper coverage. Crowded plants is just wasting money and your food plot will never reach its potential.
For best results, you should also take a soil test before you begin the project and send it to a reputable lab. The results will let you know exactly what fertilizer you will need to apply for optimum results. You can fertilize shortly before or after planting, but most fertilize at planting time simply because you’re present at the site with the equipment you need. This year, I plan on “top-dressing” with granulated urea two to three weeks prior to the beginning of the hunting season to “sweeten” my plots. A liquid, foliar applied fertilizer like M.E.E.N. Green is ideal for this purpose. Timing is everything with this fertilizer application. I want the plot to have improved palatability and be at the peak of its attraction when I am ready to hunt over it.
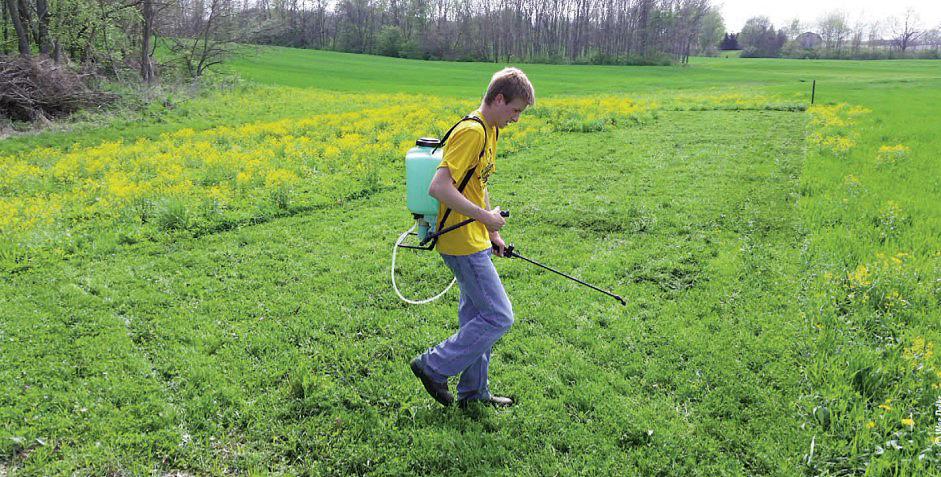
Step 4: Selective Spraying
At some point during the growing season you may need to spray your plot with a selective herbicide that will kill the unwanted plants, but will not damage your food plot species. With a late summer/fall planting this is much less likely to be necessary because the summer weed cycle has passed. There are many new selective herbicides on the market today. When spraying any selective herbicide, the target weeds should die while leaving the crop unharmed. I do not think food plots are completely necessary to killing big bucks, but they are beneficial to all whitetail properties whether five or 5,000 acres in size. My no-tractor method does require a lot of sweat, elbow-grease and hours; but I believe I feel a deeper connection to the land because of it. These small, inexpensive, $100 to $200 food plots can be effective on any property.