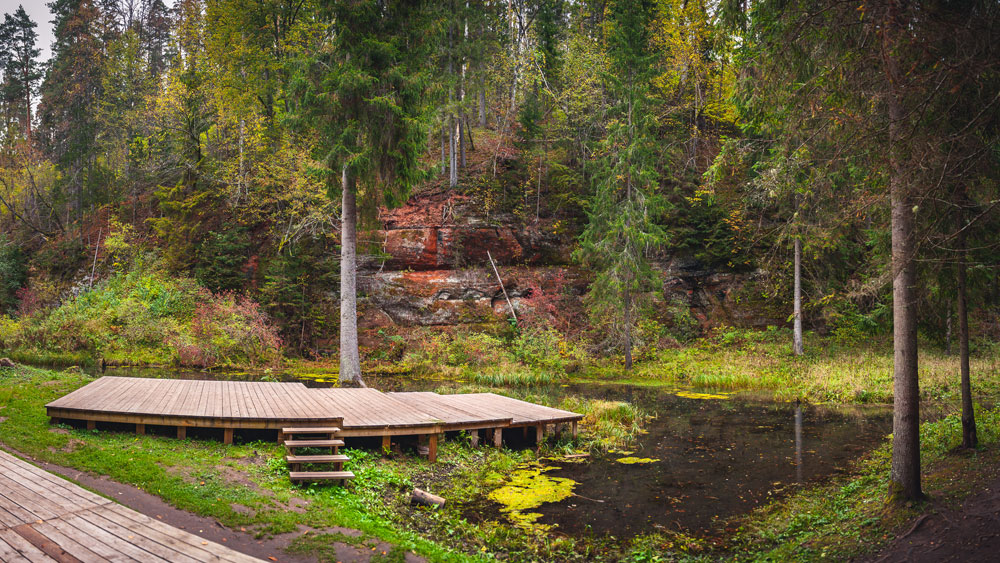
While most of us spend our time in the off-season counting down the days until we can get back out on the road, the downtime provides an opportunity for sprucing up your home away from home. The off-season is the perfect time to add a deck to your RV. Decks run the gamut from a small, simple patio to an elaborate outdoor living space.
Building an RV deck is a relatively straightforward and affordable process, depending upon your choice of materials. A deck adds to your living area’s square footage, provides outdoor dining or cooking space, and improves your rig’s exterior appeal.
Find out how to plan your design, decide on materials, and put it all together so you can create a multi-functional space that allows you and your fellow campers to enjoy even more of the great outdoors.
Getting Started
It is essential to have a plan before you start building your deck. You’ll need to make some decisions about the deck’s design and the materials you want to use and whether you're looking for a temporary removable deck or a long-term set up. You should also scope out a level space for your foundation or have the area professionally graded with a backhoe to ensure stability.
What Is the Best Material for an RV Deck?
Considering your short-term versus long-term plans for the deck and design preferences can help you decide which product works best for your project.
Wood is the most popular choice for decking material because it is visually appealing and blends with your natural surroundings, and it’s durable.
However, if the deck will be portable, you need to use a lighter-weight wood, such as pressure-treated pine, Brazilian walnut, bamboo, or redwood. Solid redwood is often recommended for outdoor decks, as it is not only the most lightweight wooden decking material, but it is also one of the most affordable and durable.
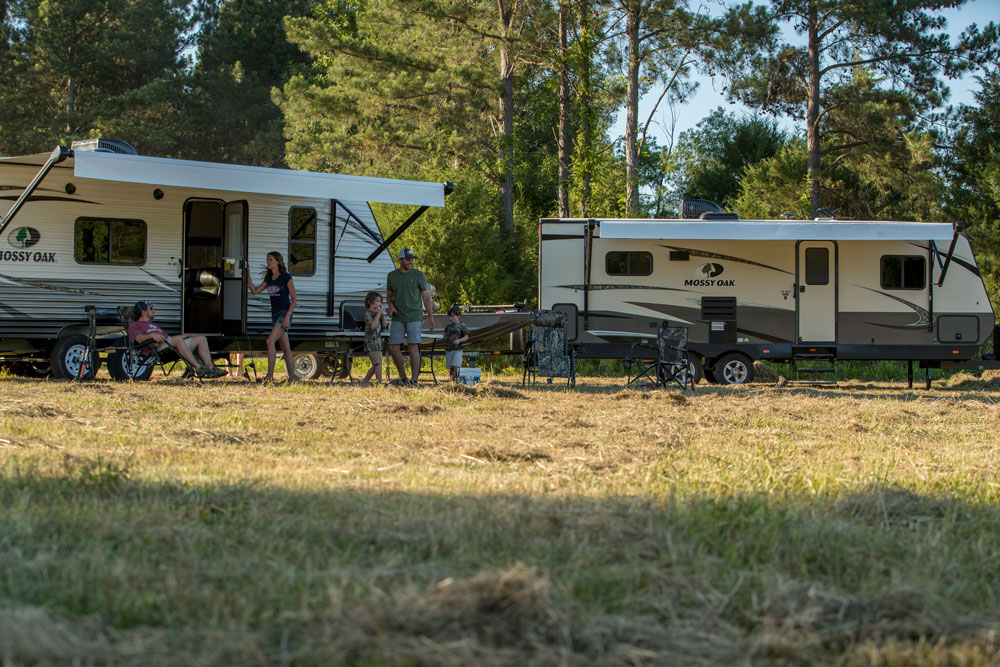
If you are planning a permanent structure, you have the design flexibility to use heavier, tougher wood like cedar or mahogany, which provides a classic decking look while also offering better insect and weather-resistance than lightweight woods. We think our StarCraft Mossy Oak camper would look stunning with a cedar deck.
Regardless of the type of wood you choose, ensure that it is treated, stained, and varnished to prolong your deck’s life.
There are also several synthetic materials and composite wood products available on the market. Composite wood is low-maintenance, lightweight, inexpensive, and long-lasting.
Buying Decking Supplies
Once you have decided on the type of material for your deck, you’ll need to buy supplies. You will need 2x4 or 2x6 boards for joists and for the decking itself. If you’re going for a more finished look, you can add fascia board to the front and sides of your finished deck. The size and quantity depend on your personal preferences and your square footage.
It’s recommended that you elevate your deck off the ground to prevent moisture damage and use 4-way concrete foundation blocks to serve as the base for your wood structure. The number will depend on your project’s square footage, but they should be spaced approximately 4’-6’ apart to provide adequate support.
Outdoor deck screws are the best option, as they can support the weight of frequent foot traffic and resist the elements. You should also invest in some inexpensive ¼” tile spacers to place between the deck planks as you assemble, so that the distance between the planks is consistent. Once the deck is done, check for splinter hazards around screws. Sandpaper the surface to remove splintered wood smoothly and to prevent trips or injuries.
Use the Right Tools
Building a deck for your RV doesn’t require the purchase of any special tools. A shovel and rake will be useful when preparing your deck site. You’ll also need toolbox staples, including a hammer, drill, saw, screwdriver, and tape measure, and a level is crucial to check for stability. You should also invest in protective gear, such as a mask, gloves and goggles, to avoid injury and prevent you from breathing in dust.
How to Build Your RV Deck
Begin by setting and equally distancing your base’s concrete blocks at 4-6 foot intervals, depending on deck size. If you want your deck closer to the ground, you can dig holes for the blocks to sit below ground level, and then add gravel to the bottom of your block holes for added drainage. Before you start placing the wood, make sure all the blocks are level.
Next, cut to size and place the 2x4 or 2x6 boards that will serve as joists for the structure. Do not cut all of them to the same length all at once, as there can be slight differences in the distance between the blocks. Cut each board one at a time to ensure an even and level structure.
When you use 4-way concrete blocks, the joists should fit into the block’s grooves like a Lincoln Log; otherwise, you can use screws or glue to attach them.
Once the joists are installed, you’re ready to lay the decking boards across the joists and secure them using your outdoor decking screws. Keep in mind that not all boards are created equal; some may be warped or more difficult to lay flat, so you might want to enlist a helper for this stage.
Use tile spacers in between the boards as you install them to ensure consistent gaps. You can finish the project by adding trim fascia to the deck’s front and sides and a simple set of steps for easy access.

Final Thoughts
We’re always ready to get on the road when RV season rolls back around, but the downtime allows for small projects and improvements that can only make the camping experience even better. The sky’s the limit in terms of how big you go and how much you want to spend, but even those committed to minimalist camping can benefit from an outdoor space that allows you to relax and appreciate the natural camping environment. Don’t waste another second of your off-season downtime. Get to building and creating your dream deck!