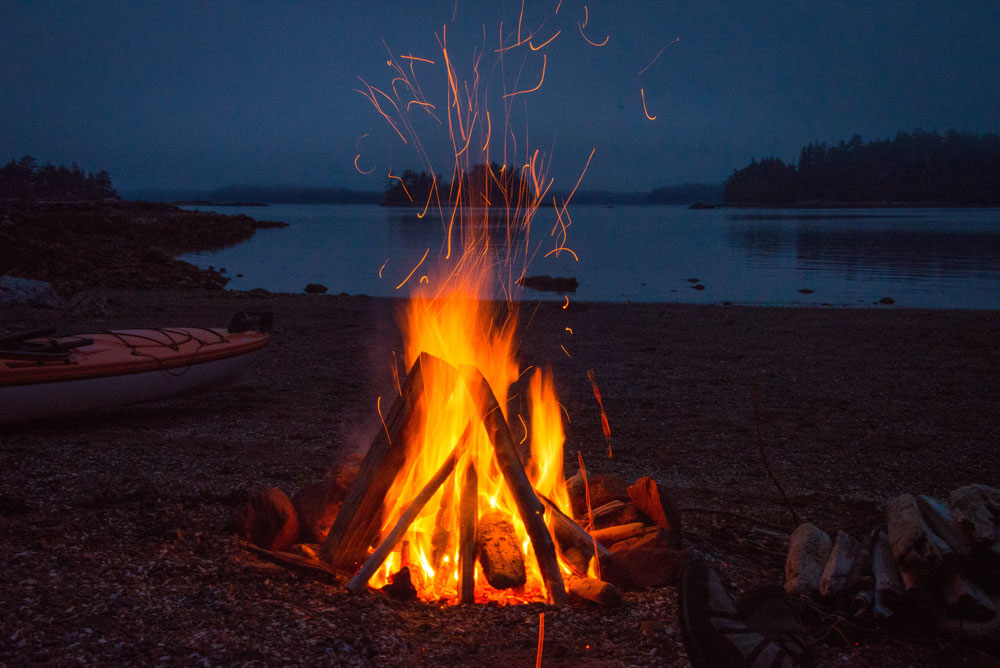
Different camping situations call for different solutions, and this holds particularly true when building a campfire. Whether you’re dealing with wet wood and strong winds or you want to cook food efficiently, there are many ways to build a campfire. Here are six of our favorite fire-building hacks:
1. Lean-To Fire: Good for Strong Winds
Strong winds are one of the most commonly encountered barriers to quickly building a fire on a backpacking or camping trip. A lean-to fire is an easy way to protect your fire from winds that come from one primary direction.
Find a large log or fallen branch. Place this log or branch perpendicular to the wind’s direction, and then stack your smaller sticks and kindling behind this log so they’re sheltered from the wind. Lean your fuel wood against the log and over and around the kindling, but leave enough space for airflow to the kindling. This is where you’ll light your fire.
2. The Traditional Teepee Fire
This is a popular method for building a campfire when the wind isn’t strong and when you want a significant amount of warmth. Gather kindling and place this in the center of where you will build your teepee. Next, place your larger fuel logs around the kindling in a teepee shape. Build your teepee so that air can still get to the kindling inside.
Another pro tip: Make sure the sides of your teepee aren’t too steep. In other words, make your teepee look a little bit more like the roof of a log cabin than a steep A-frame. This encourages the fuel logs to collapse toward the fire, rather than away from the teepee and onto you.
Light the kindling, breathe on the fire to promote oxygen flow, and watch your teepee catch fire.
3. Log Cabin Fire: Perfect for Cooking
Get a small stack of tinder and kindling smoking first, and then stack four interlocking walls of fuel logs or fuel sticks around the kindling until you have at least four layers of fuel logs.
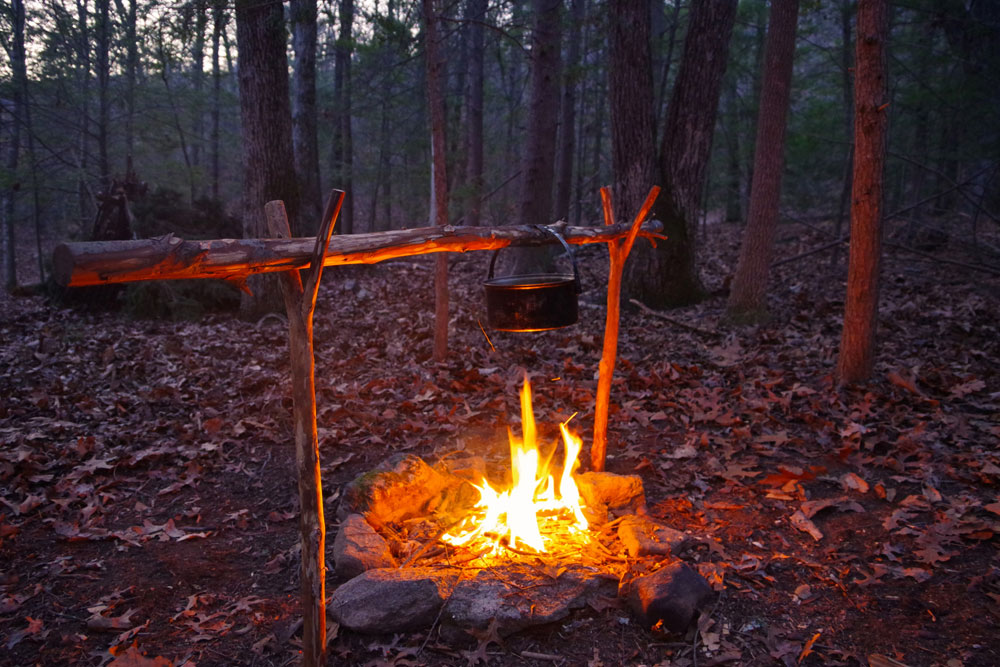
If you build your log cabin fire small enough, you can rest a pot, grill frame, or pan on top of it, making it perfect for cooking. Alternatively, if you prefer to cook your potatoes, onions, or meat in foil packs, your bed of coals in the center of the cabin fire should be going strong in no time. Ensure you have tongs to help lift your foil packs in and out of the fire.
4. The Swedish Torch: The Fire for Wet Ground
Camping in the rain has its challenges. Nothing is worse than trying to start a fire on soaked, sodden ground, but the sideways campfire, also known as the Swedish Torch, gives you a way around the worst of wet weather. Done right, it will last anywhere from two to five hours, depending on the size of the log.
To build the sideways campfire, however, you need a well-seasoned log with two reasonably flat ends and a chainsaw. It’s not the ideal solution for backpackers, but, if you’re out car camping and can bring gear, it’s still an excellent option.
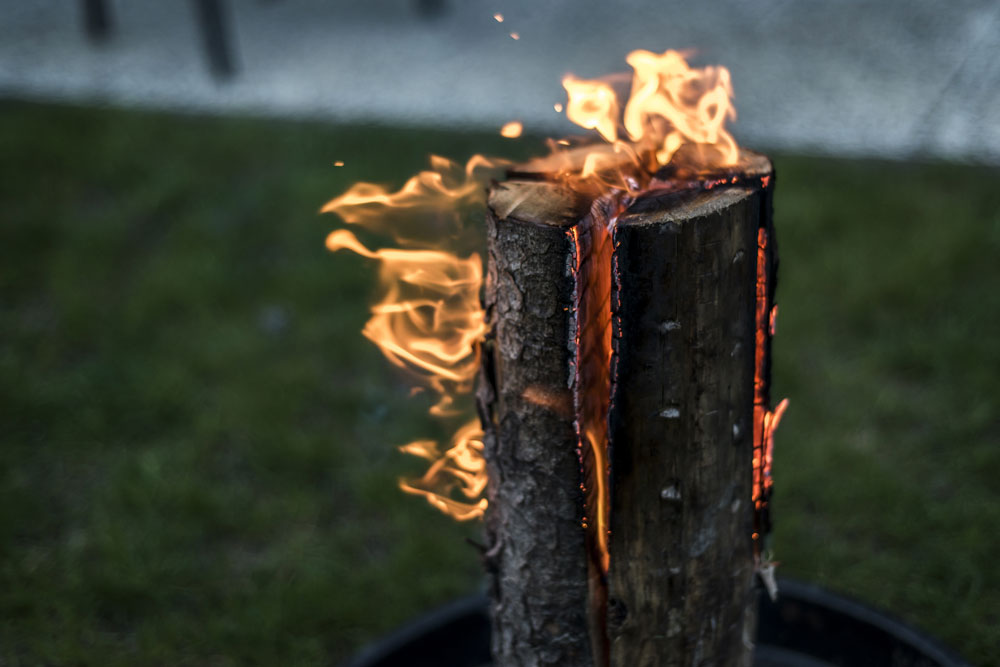
Set the log upright and saw two slits halfway through the log to create an “x.” Build a fire on top of the log with some kindling, and the wedges can help the log burn for a long time. While this method requires some tools, it’s an excellent way to get warm on a wet day if you have a saw handy. The log will burn inside out, leaving a flat top that doubles as a place to set a pot or pan for cooking.
5. Dakota Smokeless Fire: The Wind-Resistant, Leave-No-Trace Fire
The Dakota smokeless fire gained popularity in the U.S. military: It produces less smoke, it is wind-resistant, and it’s also easy to fill back in, leaving little-to-no evidence of its existence.
To build a Dakota smokeless fire, dig two holes. Dig the first hole—the one that will contain the fire—straight down. The depth of the hole depends on how big of a fire you need. Regardless, the hole shelters your fire from the wind.
Next, dig your second hole. This one will be to the side of the first, but it will extend down diagonally to meet the base of the first hole. This creates a steady flow of oxygen for your fire and helps your fire burn with greater efficiency. A more efficient fire produces less smoke.
To leave even less of a trace, cut the top layer of soil and sod and set it aside before digging the rest of your holes. After the fire has burned out, fill the holes back in with dirt and then put the sod slices back on top of the filled-in holes.
This fire takes some time and effort to build, but it’s stealthy and easy to cook over.
6. Star Fire
If you want a small, speedily built fire, find several long logs or sticks. Set up your kindling and build a small fire. Then, place the ends of each of the logs or sticks into this fire. As the logs burn, push them toward the fire.
This produces a small, but warm, fire that is both easy to build and easy to put out, making it convenient for stops on a hike or backpacking trip.
Before You Head Out
Each of the fires discussed here has its unique advantages and disadvantages. Practicing each of these fire-building methods before you head out camping, hiking, or hunting can help you feel more confident in your skills and more capable in the wild. Using hunting apps to find the perfect spot to stay overnight can help you feel more confident when using one of these fire-building techniques.