Eric Ganster
Trail cameras have come a long way since the days of Trail-Timers and Camtrakkers. Today’s cameras are light years ahead in technology! Do you know if you’re getting the most out of your cameras? Do you struggle with false triggers or whiteouts? Are you only getting partial pics of your target critter? How is your battery life? Maybe bears, humans or ants are causing you headaches. I’ve been using trail cameras for many years and have encountered most of the problems associated with running multiple cameras year-round. The following are a few tips and tricks that can help you avoid some common issues.
Reducing False Triggers
False triggers are an inevitable part of the game. They happen and they happen to the best of cameras. However, there are ways to reduce them. First, trim any branches, weeds or other vegetation that may produce a false trigger. I can’t tell you how many times I’ve had thousands of pictures of a leaf or weed blowing in the distance. Take an extra minute or two and trim anything that falls into the immediate field of view. This not only reduces false triggers but will improve your picture quality.
Next, try to avoid direct sunlight. The temperature variations caused by direct sunlight will cause false triggers. In addition, mount the camera to a sturdy tree or mount. A camera mounted to a swaying sapling will produce false triggers. Lastly, do not be afraid to adjust your sensitivity settings. Some brands of cameras have PIR sensors that are more or less sensitive than others – if you adjust them to be less sensitive you should receive fewer false triggers.
Keep Your Firmware Updated and Maintain Your SD Cards
Camera manufacturers are always looking to improve the performance of their cameras. Periodically, they will release firmware updates to improve picture quality, battery life, etc. Don’t neglect to utilize these free updates. They are simple to perform and will make a difference in your camera’s performance. Go to the camera manufacture’s website and look for the firmware updates for your model.
Along with that is SD card maintenance. Replace any SD cards with obvious damage or those that have stopped writing images. There’s nothing more disappointing than checking a camera that has been sitting in a prime location only to find a blank card. I also recommend formatting your card every time you place it in your camera, and make sure the “lock” switch on your card has not been inadvertently switched on.
Maximizing Trail Camera Battery Life
With over 100 cameras in the field year-round, I go through some batteries. Over the last few years, I’ve been moving more and more to solar and rechargeable external batteries, but I still go through a lot of AAs. In my experience, Energizer Lithium batteries are tough to beat. Sure, you pay more upfront, sometimes as much as 3-times more than standard alkaline, but you will get 4 to 5 times the life. This is especially true in cold weather. I actually save money by using lithium.
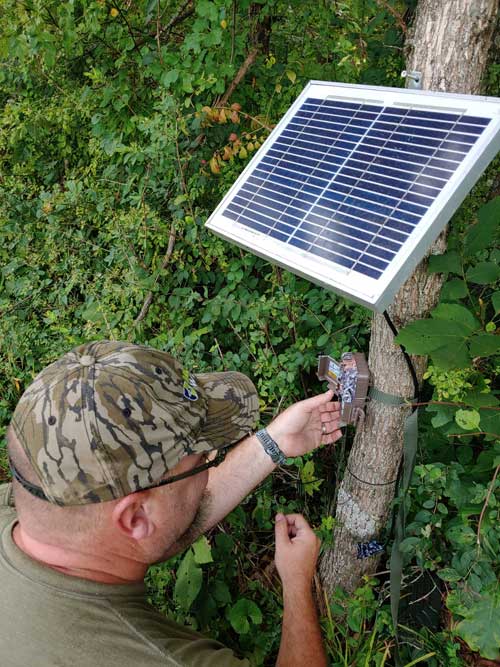
Another tip to extend battery life is setting your delays to a minute or more, especially in feeder type applications. With cellular cameras, set the camera to send pics to the app once or twice a day instead of instantly. This has greatly improved my battery life with cellular cameras. Lastly, look into an external setup - whether it be a solar panel or 2v or 6v-rechargeable that will power your cameras for months and moths with no maintenance.
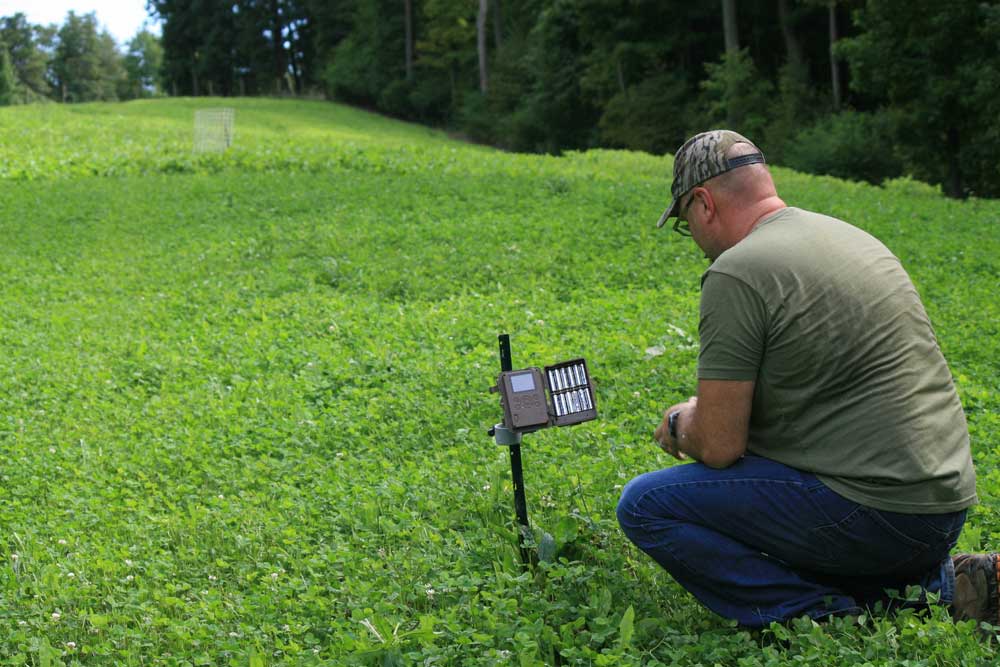
Frame Your Trail Camera Shot
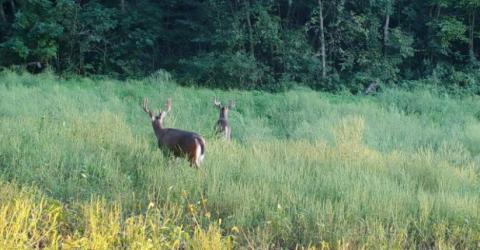
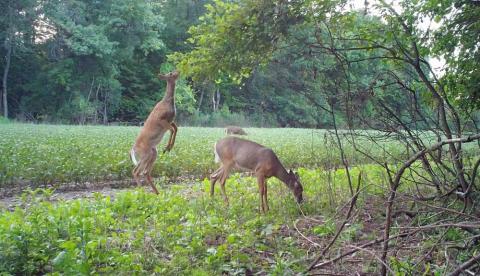
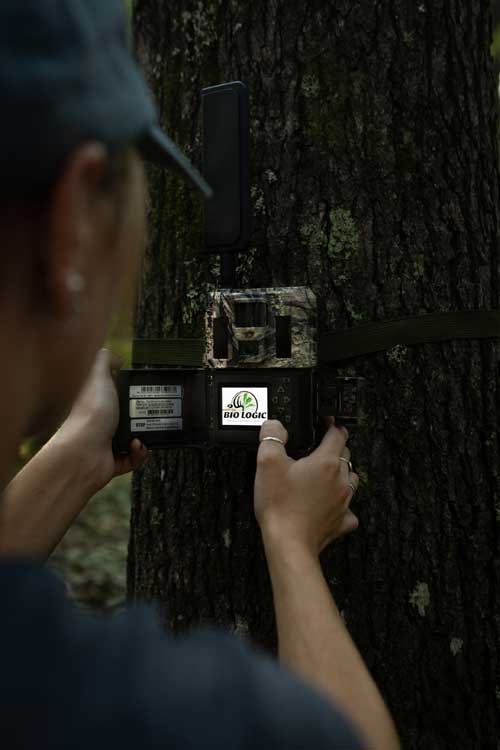
How many times have you set up a camera, let it sit for a few weeks, and checked it only to find you’ve cut the heads off every deer that walked by? I’ve done it more times than I care to admit. Take the extra few minutes to set it up, then walk in front of it to be sure you are capturing what you want. Often times I’ll set my backpack on the trail where I expect a deer to walk by. Then take a few test shots and review them to make sure I’m at the correct height and angle. Consider setting your camera at an angle to the trail you expect the animals to be using. This gives the camera time to pick up the animal and get a few shots before it moves out of frame. I prefer not to set directly on a trail to stay out of the animal’s direct line of sight. Again, walking the trail a couple times after the camera is set will give you a good idea of the shots you can expect.
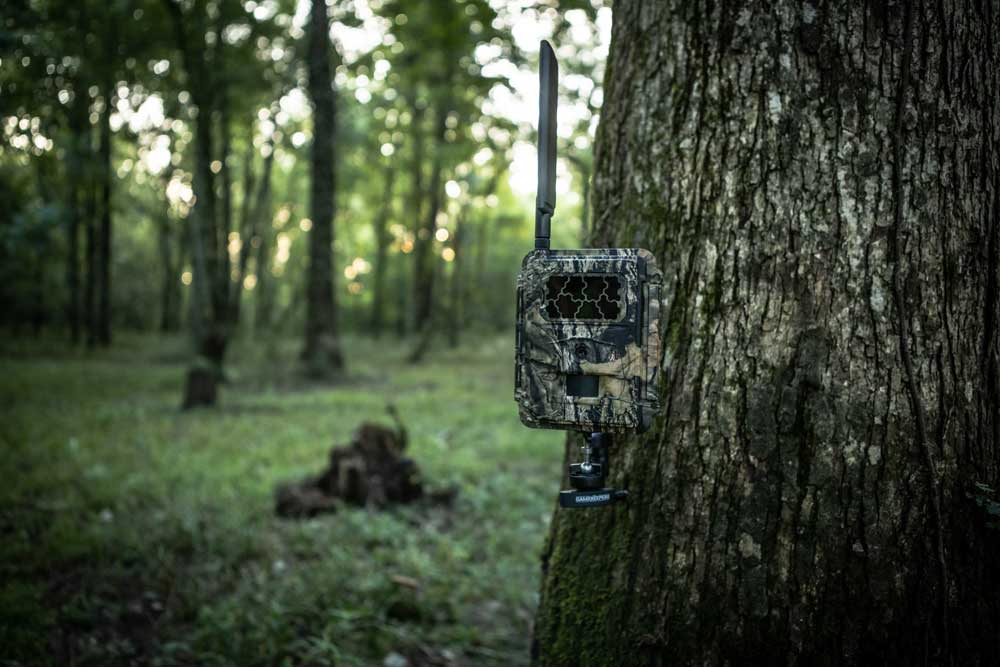
Protecting Your Trail Cameras
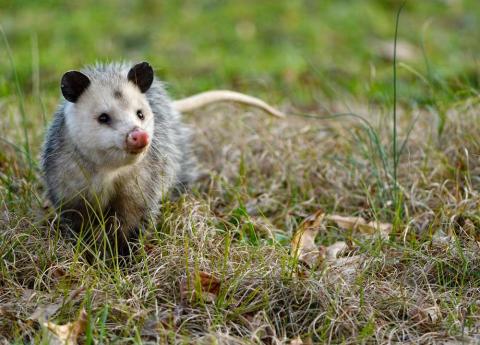
Most of us have likely had our fair share of unwanted camera visitors. Sometimes 2-legged, sometimes 4-legged, and sometimes even 6- and 8-legged can be incredibly frustrating. I’ve found lock boxes will keep bears, raccoons, livestock, squirrels, etc. from repositioning or destroying a camera in most instances. I’ve also found these steel boxes will keep most people honest. That said, if someone really wants your camera, they will find a way to take it. For this reason, if I’m in an area with high likelihood of human traffic, I stay off the beaten path and mount my cameras high enough so most folks won’t notice them.
I’ve lost my fair share of cameras to theft, but I’ve lost even more to ants! Ants can destroy a camera in a matter of days. They get in though speaker ports, external battery ports, weak O-rings and build nests in the confines of your warm, dry camera shell. I think they are in some way attracted to the faint electronic pulses that a camera gives off. I’ve found taking a cotton ball and spraying it with permethrin, letting it dry and placing that inside the camera’s housing has all but eliminated my any problems.
Picking the Best Trail Camera Locations
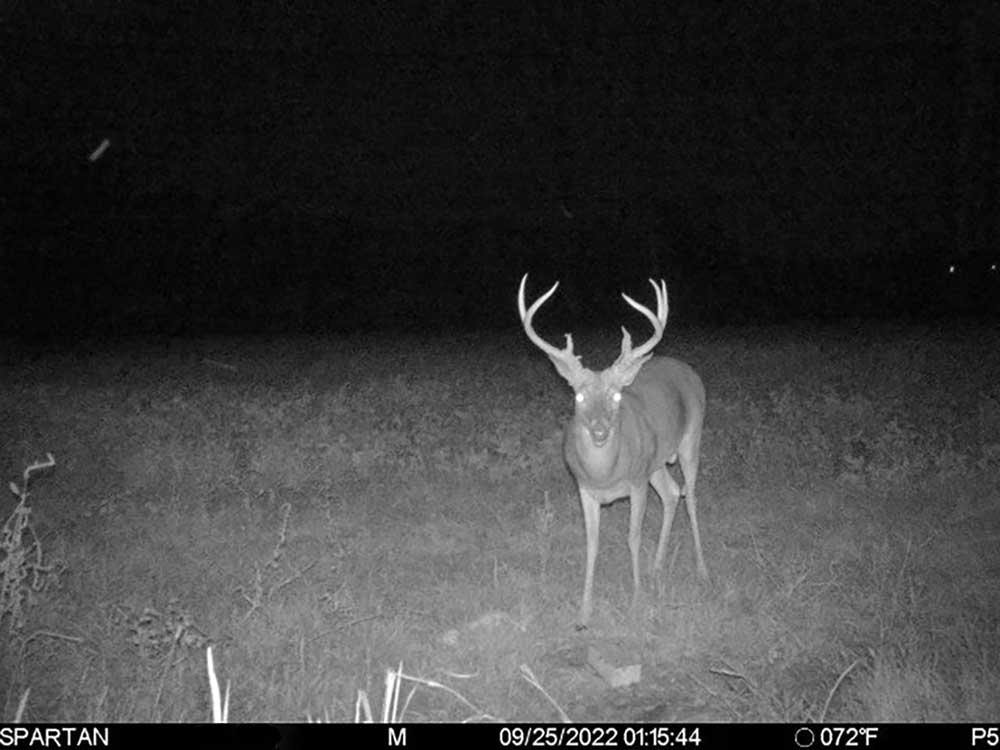
Be creative when setting up your trail camera location! Take the little bit of extra time to consider your backdrop. Envision where and when you expect your target animal to show up. If your camera is facing east and you expect a big buck to show up at daybreak, nine times out of ten you’re going to get a whiteout due to the sunrise. Instead, position the camera facing north or south to eliminate the possibility of missing a shot.
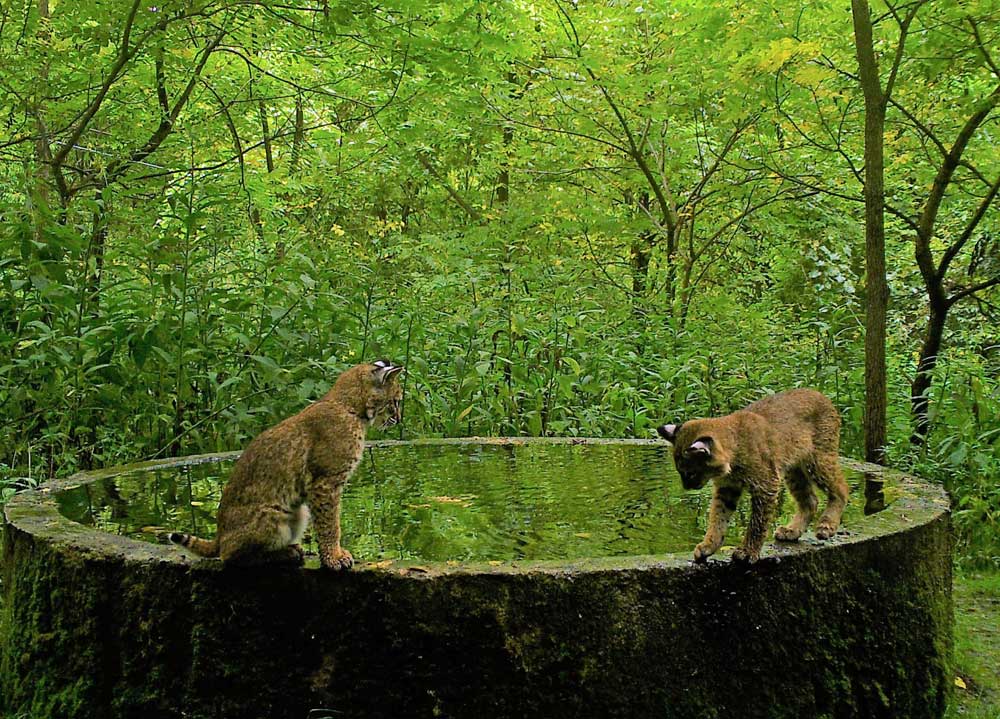
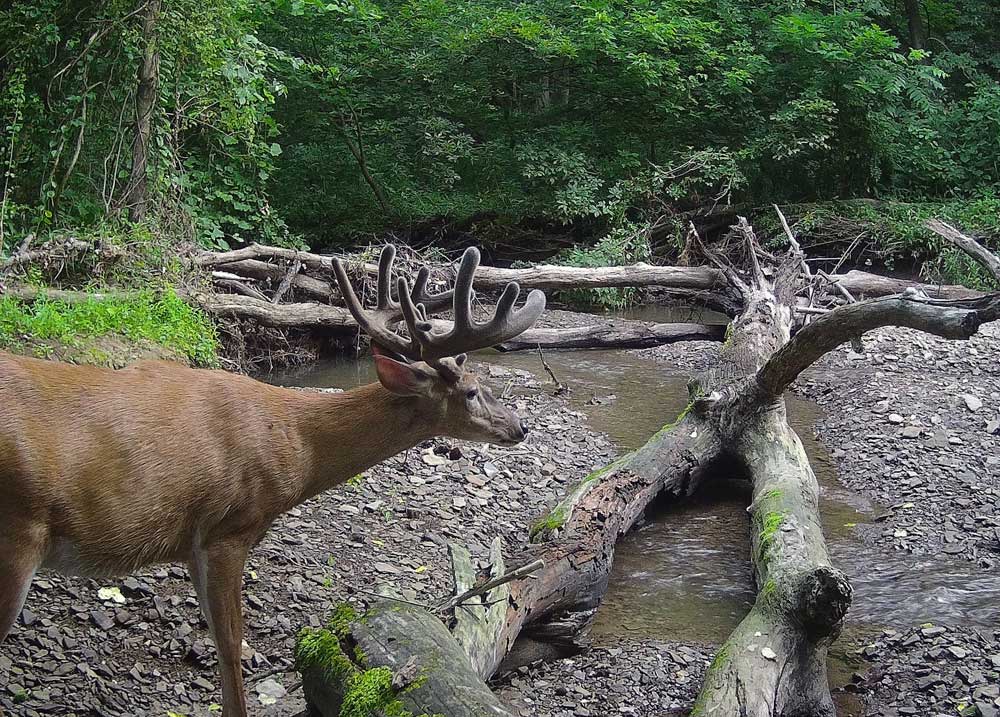
Look at inside edges of fields, low spots, entry points, and staging areas leading to food sources as good spots to set a camera. Look for water sources, especially in the hot summer months. You will be amazed at the activity that a good water source will get. As we progress into fall, I start looking for does. Find the does and the bucks will soon follow. I love ridges above and downwind of bedding areas. Bucks will cruise these ridgetops trying to pick up scent. Mock scrapes are also a favorite of mine. I have several scrapes that are visited all year long. Once a few bucks begin visiting they become hotspots in no time.
Another trick I use to get quality shots is the placement of a scent where I want an animal to stop. I’ve used everything from commercially available scents, to vanilla extract, to even a chunk of coyote scat. Animals are naturally curious and will most often pause for a second or two to investigate, thus allowing a few pics.
I hope that this might help you in one way or another. Maybe it will save you a few bucks or allow you to get the “postcard” quality shot for which we strive. Better images equal better information. Trail cameras are a great way to stay in touch with what’s happening in the woods when we can’t be there. They provide invaluable intelligence for the serious hunter, gamekeeper, and scientist. On top of that, an all day sit in a cold, wet treestand can be much more enjoyable if your trail cam has shown you images of a trophy whitetail in the area.