Andrew Walters | Originally published in GameKeepers: Farming for Wildlife Magazine. To subscribe, click here.
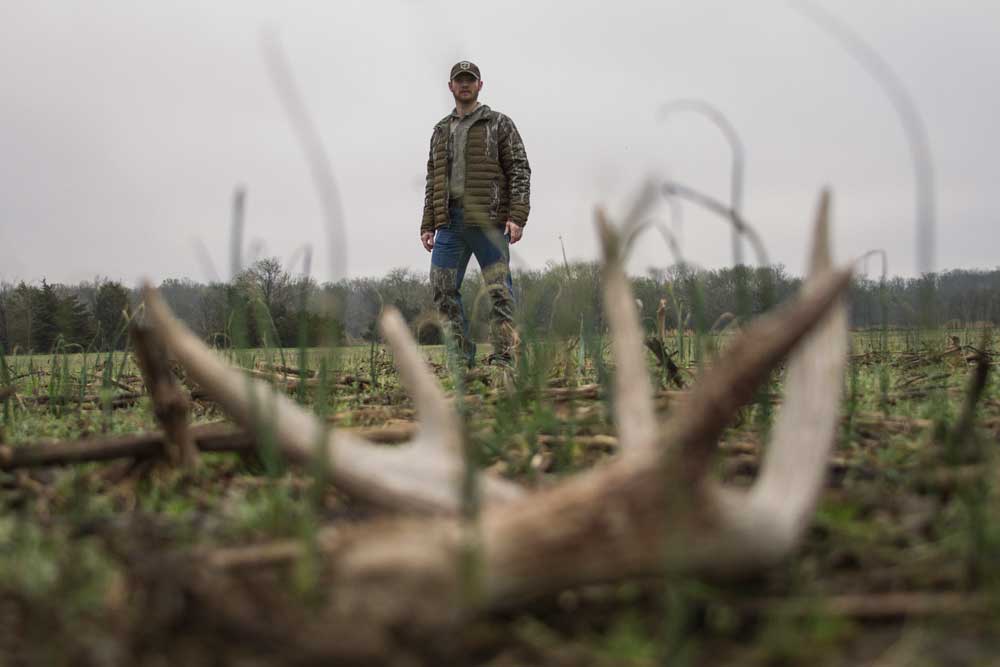
There is something special about a shed antler. Those fallen pieces of calcified bone have mesmerized hunters for ages. There is a story behind each and each one stirs-up new questions - how did the buck survive, why did it fall off at that particular spot, where is the matching side and will the information learned help me close in on the buck during the next hunting season? The funny thing is that these questions rarely get answered, but that doesn’t keep us from pondering and trying to find yet another cryptic, cast-off antlers.
Shed hunting is now a hobby many hunters use as a reason to hit the woods after deer season and before wild turkeys begin gobbling. From analyzing and categorizing them to using them for projects, here’s why you should hang on to your sheds. Let’s be honest, patterning a buck and harvesting him is tough enough. By the time you factor in the miles they cover, finding a fallen shed antler is the definition of a hard-earned trophy.
Over the course of the spring we manage to stumble across our fair share of shed antlers, but some highly secluded ones remain hidden until following seasons, or those that are never found or eaten by vermin. Many antlers are left on the porches of hunting cabins or near skinning sheds and weather badly in the elements until they are chalky and brittle. If you are like me, you view a shed antler as “a trophy in its own right.” The information we can gain from a shed antler can be extremely insightful from a management standpoint or for developing a hunting plan. In addition to the valuable information they can supply, the actual antler can be utilized in many ways.
Management Applications
Every year hunters harvest bucks that aren’t as large as they thought when they “dropped the string” or pulled the trigger. Some have coined this as “ground shrinkage.” Most of us have hunted bucks we have captured on camera but Then later, found their sheds and were glad we never had to make a quick decision to shoot because they aren’t what we thought they were. Pictures can sometimes be deceiving. It’s no doubt, trail cameras are great for aging bucks, but having an actual antler to hold is hard evidence to how large a buck’s headgear is and could be next year. Hanging onto your sheds can also give you a benchmark for gauging how well your habitat management is working.
We all know the best way to grow better deer is to let bucks mature, enhance their habitat and provide nutritional food sources. The herd’s health and balance is much more important than large antlers, but comparing the increased frequency of found antlers and the size of the antlers before and after the implementation of certain habitat projects can be a huge motivator. Don’t make the mistake of gauging your habitat management success only by the harvest of mature bucks – it’s only one benchmark.
By having evidence of “hard antler proof in your hands” that your management efforts are working from years recently passed, makes it much easier to stay the course, even if no bucks are harvested.
Home Range Utilization
Much of the time a buck’s home range will only encompass a portion of your property and they may only use a fraction of it during certain times of the year. The number of sheds you find on your property can provide some insight to the deer usage of particular areas. When a shed is found we obviously have a good idea of when they are using the area; however, we don’t know for sure based solely off finding a shed whether they will be in this same area during the hunting season.
In some regions whitetails may move into wintering areas where they will likely drop their sheds. However, some territories they may inhabit all year-round. In this case, much can be learned from finding sheds. If you are having a tough time finding sheds (and other sign) it is an obvious indicator they have moved elsewhere. Recall where you have found shed antlers before. Suppose your neighboring landowner is consistently finding more sheds. Their property probably possesses something yours lacks.
This should not only give you insight as to what your property needs, but also motivation to implement a plan to secure it for yourself. This can be extremely insightful and provide an edge when designing and launching new habitat projects.
Recordation for Hunting
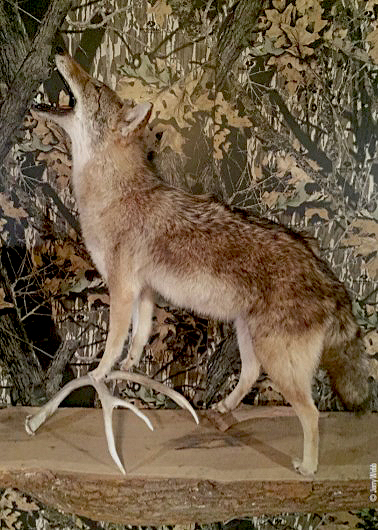
make great accompaniments to other creations such as this
coyote mount.
In order to learn as much as possible from shed antlers you must keep them or at least photograph and record them. I can usually remember where I found an antler, but I still use a sharpie and mark the year I found it on the bottom of the pedicle. Some of the larger antlers and matching sets are on display, but most end up in boxes categorized by years and even particular farms. This makes it incredibly easy to backtrack and see if I had any history with a harvested buck or one captured on camera.
I have occasionally harvested a buck only to realize that I had his shed from a year or two before. If you know for a fact that you will not use the shed antler for anything else, such as a craft or home furnishing, you can write the info down on the antler’s main beam. Or many choose to use a paper tag and attach it to the antler with a small diameter wire for identification. These can be found at any taxidermy supply or office supply store and are what taxidermists commonly use to categorize their client’s trophies.
Storage boxes/containers should be categorized by years and property. Matching sheds can be tied together with small rope or twine. Durable, deep plastic containers with tops are the best way to store them. These can be found in discount stores just about anywhere. This allows you to stack boxes on top of one another without collapsing and keeps rodents out, unlike a cardboard box. Write the description on some tape and adhere it to the side so the container can be reused again.
Most hunting outfits or property owners have an enlarged aerial map of their property somewhere in their lodge, skinning shed or office. Stand sites and other noteworthy features are typically named and marked on the map. The same can be done for discovered antlers. Simply mark the spot or general area where an antler was picked up and after a couple seasons you may see a pattern. There are a number of mapping software programs available so this can be done digitally while in the field with a smartphone or GPS unit. It’s as easy as connecting the dots.
Displaying and Refinishing
The most common way a hunter thinks of using a shed antler is simply to display on a table or shelf. This usually occurs when the hunter tags the buck that dropped a shed in a previous year, when they happen to find a matching set, or when they find an unusually large antler. If you have a shed from a buck you killed, it can be displayed under the shoulder-mount of the buck. This can be done with a rawhide strip or Paracord lanyard.
When you find a matching set, they can be mounted on a plaque just like a harvested buck would be. There are several kits available that help you to create realistic European mounts with shed antlers. The antlers are easily screwed into the top of the skull. Some hunters have gone so far as to have their target buck mounted and had the same buck’s shed antlers from previous years mounted on the cape of a totally different buck. This display shows what they deer looked like during the years he was maturing up to the year he was harvested.
In other instances a buck has been mounted on a pedestal form and the previous year’s shed is displayed at the bottom of the mount in a natural setting along with some faux vegetation, adding a touch of creativity to their mount.
Crafts and Other Uses
There are various crafts and other uses for sheds. Record any necessary data, take a photo and then at least you have the information you’ll need to put together a plan, if not the actual shed. Now it can be made use of.
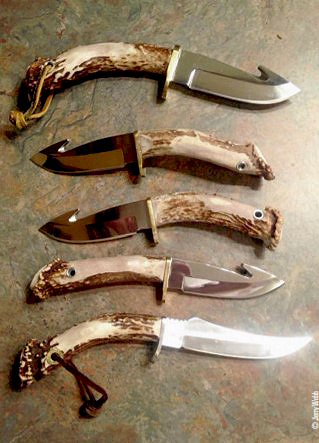
projects. Medium size sheds tend to work best for
knife handles.
As in any project, the materials must fit the task. Buttons, zipper-pulls and key-chains are common trinkets that are best for smaller antlers. Buttons can be cut, typically around the base of the antler after the burr is removed to create unique looks. Two holes can easily be drilled in the button to make for easy sewing. Just one internet search of antler buttons can yield a ton of photos and DIY projects in various sizes and shapes. Antler tines are also commonly used for key-chains. The goal is to have an antler that is large enough to keep the key ring from getting lost, but also small enough to be carried in your pants or coat pocket. In this case, a spike antler or the end of a tine is best. A zipper-pull is very similar to the key chain. In both instances the antler tine is cut and smoothed off at the base, then drilled through and threaded with a key ring of some sort.
All of these projects have how-to videos online. There are also a few projects that are best suited for medium-sized sheds. Many blacksmiths and cutlery designers can fashion a blade of your choice onto a shed antler. The tang of the knife is inserted into the antler and held with epoxy.
While a massive antler is neat, when it comes to gripping the handle of a knife, a regular sized antler handle is preferred. Also, be sure not to use a fresh shed antler for this project. The antler has the potential to shrink some once it is brought indoors and if the knife tang is inserted into the bone before it is ready, it could loosen up over time. Just about every project will require the removal of the burr, due to the pedicles’ uneven surface. Paper weights and cabinet knobs can be cut out of the main beam, just above the burr of the antler.
In this case, the antler is roughly an inch or so tall and the pedicle is facing upwards/outwards. This allows the side of the shed that was cut to sit flush on a tabletop or be mounted onto the cabinet. As you can image, smaller antlers are obsolete here so this is where medium to large antlers really shine.
Refinishing Antlers
In some cases a sun-bleached antler is found. There are a number of things that can be done to bring the antler back to life. Just about every taxidermy business sells a product that will add a natural color to the antlers. Leather shoe polish or wood stain can be applied directly to the antler as well. The older and drier the antler, the more stain the antler will absorb, effecting the color.
After the antler is cleaned, the stain or finish can be applied with a rag or brush in sequences. This is very similar to applying stain to a wooden surface. The finished product will turn out better if the stain is applied little by little, and not all at once. In some cases a polyurethane or finish coat is applied to give the antlers a glossy appearance after the stain has been applied and dried. Use a satin or flat finish to give the antlers a fresh look, all the while avoiding a glossy, unrealistic sheen. Hit the woods in search of fallen sheds. Not only will this help you beat cabin fever, it will also help you gain valuable knowledge of your deer herd, provide direction for your next habitat management projects and possibly put you close to a trophy this coming hunting season.