Scott Bestul | Originally published in GameKeepers: Farming for Wildlife Magazine
 Scouting cameras have come of age. Only a handful of years ago, remote cameras were little more than a novelty; I vividly recall sticking out a camera, pulling the 35mm film roll a week later, then rushing to the one hour developer to get my photos processed. Invariably, those pictures contained a handful of deer, followed by a single weed or tree branch I’d forgotten to trim. The wind would kick up, blow the obstruction across the camera sensor, and it ate up an entire roll of film. When I was lucky enough to get a buck, it seemed the only good photos occurred when an animal paused to stare at the camera. If that event happened with only a few frames left, well…let’s just say I rarely left the processor in a good mood.
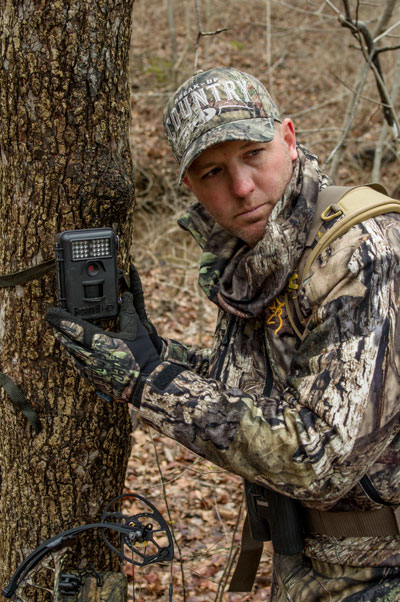
Like all things technological, scouting cameras have taken a quantum leap forward. These days, ultra-responsive sensors, digital cameras, sharp lenses, and memory cards that hold thousands of images have allowed even techno-idiots (like me) to capture high-quality photos. Instead of thumbing through a small stack of photos, I now have the luxury of storing literally thousands of digital images from a single season alone. Even better, prices for quality cameras seem to drop every year, allowing even folks of modest means to own several; increasing their scouting reach and viewing pleasure in the process. In short, scouting cameras have become so good — and are so much fun — that I now view them as an almost separate hunting season. While my state agency tells me how many days I can go afield to pursue deer with a gun or bow, trail camera season is always open.
Still, as good as modern cameras are, they remain a simple tool that functions best when used correctly. What follows, then, is advice on how to get the most from your trail cameras while scouting for whitetails and in your wildlife management endeavors.
Summer Setups: Mineral Mojo
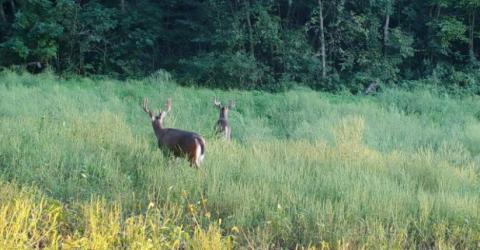
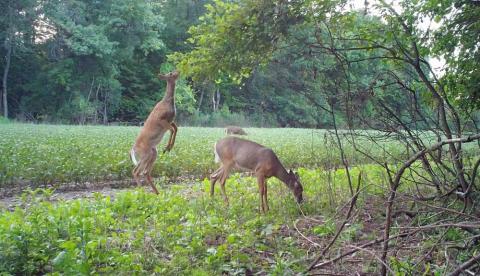
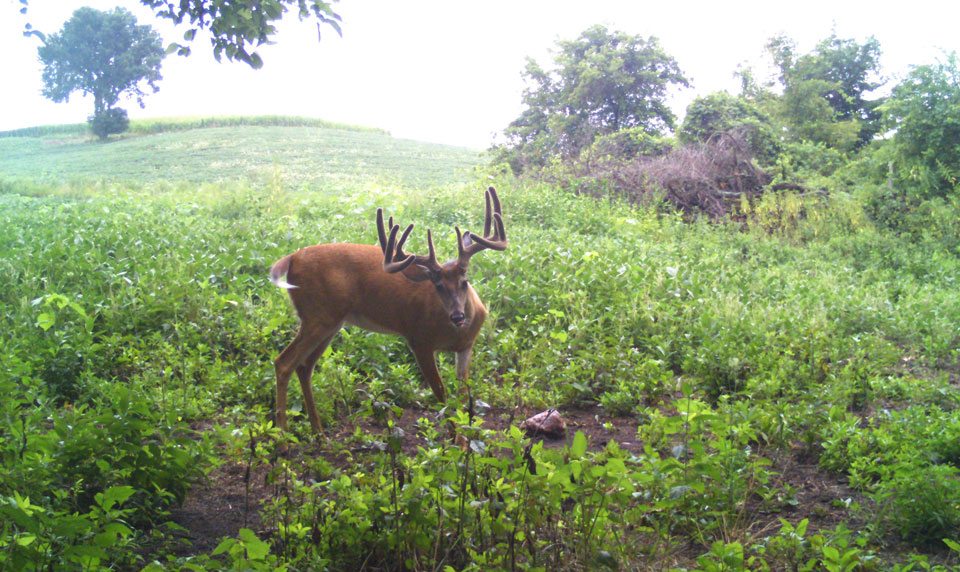
I look forward to the Fourth of July now more than I ever did as a kid. That’s because Independence Day is when I start hanging my summer trail cams, in an effort to see what bucks are living on the properties I’ll be hunting come fall. Any bucks I capture on camera will have a good start on antler growth by early July, and finding these “quick starters” (as I’ve come to call them) gives me an idea of the numbers and sizes of the bucks I can expect to see. While I’ve yet to assemble one of the now-popular “hit lists” (a gallery of bucks open for harvest and those that need another year), I like to know the general potential of each farm that I hunt.
Trail cameras have taken a quantum leap forward from the slow, costly, 35mm versions we had 15 years ago. Now we have ultra-responsive sensors, digital cameras, sharp lenses, and memory cards that will hold hundreds of high quality images. Instead of thumbing through a small stack of photos, you now have the luxury of storing literally thousands of digital images from a single season alone.
Mineral licks, I’ve found, are the quickest and easiest way to start a summer inventory. There are many quality mineral mixes and blocks/rocks available at most deer hunting shops, and they’re usually priced competitively. Hint: one good way to save money is to keep an eye out for mid-summer/early fall sales, when the peak mineral season has passed. The discounted mineral you buy can be saved and used next year.
Starting a mineral lick is best done as soon as winter gives way to spring (in the North), but I’ve started licks as late as July and had good results. I like to situate licks close to a food source I know deer will use for many summers, and since I live in farm country, that usually means a field edge. In more wooded areas, the edge of any forest opening makes an excellent site for a lick. I’ve also had good success starting licks near a water source such as a stream or pond. If you’re using a mineral block, starting a lickis as simple as plunking the blockdown within easy range of a good camera tree. When I’m using loose mineral I use a garden shovel to spade up dirt in a 2-foot circle, and then use the spade to mix half the mineral into the soil. When I’ve got the mineral mixed in well I pour the remaining mineral on top. Deer seem to like to have some kind of “vehicle” when taking in mineral, and you’ll find them scraping, licking and even chewing the dirt to take in the substance. Rotting stumps are another excellent vehicle for getting deer to take in loose mineral.
I’m often asked how many mineral licks should be placed on a given property. Most experts I chat with recommend one lick per 80-100 acres. That’s a good guideline, but I’ve learned to push that figure a bit, especially when establishing licks on a new or unfamiliar property. For reasons known only to deer, some places are just not mineral-friendly, and whitetails just don’t use them that much. As an example, I got permission to hunt an 80-acre parcel three years ago. That summer, I started two mineral licks, one on each end of the property. One of these licks is being pounded by deer as I write this; the other was investigated a few times during that first summer, but quickly abandoned. If I’d have limited myself to the “one-per-80 acres rule” and chosen the site of the dead lick, I’d have lost an entire summer’s worth of photos.
Mock scrapes are a great way to learn which bucks you have in an area. They work well from mid-September (just after they shed their velvet) through mid-November, and then again sometimes after the peak of breeding.
Fall Follies: Increase Your Scrape Savvy
As summer gives way to fall, mineral licks can lose their attraction for whitetails. Now it’s time to switch strategies — or at least locations — to keep tabs on bucks. As soon as September arrives, I relocate my cameras to mock scrapes, one of the best spots to capture buck photos, especially ones that can directly translate to hunting success.
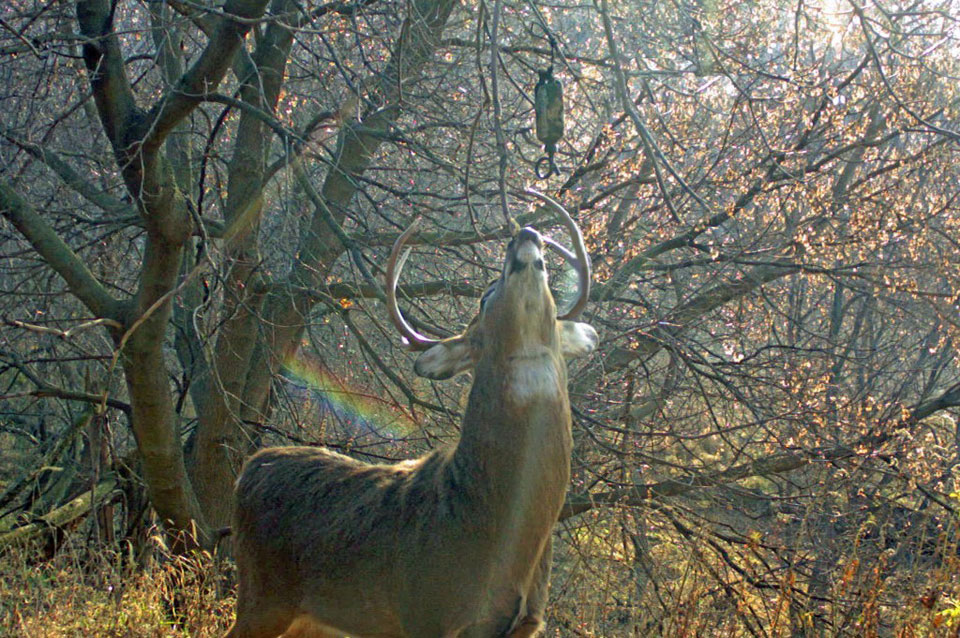
I’ve had the pleasure to talk to some of the smartest whitetail biologists in the country, and none of them claim to know all the purposes of a scrape. What most agree on is that scrapes are a huge communication tool for all deer, but especially bucks. They’re also my favorite trail camera site, largely because bucks usually spend quite a bit of time working a scrape, and by the time he leaves I have multiple photos of him, and usually from a variety of angles. Scrape photos are, in my opinion, the best way to judge a buck’s rack and get a glimpse of his personality. More aggressive bucks will stay for a long time and work a scrape over. Timid bucks tend not to linger as long, or just cruise past the scrape - recognizing these personality signs can help me decide how aggressive to be when calling, rattling or setting up on a particular deer.
I’ve been playing with mock scrapes for several years now, and the darn things just excite me, mostly because they’re so effective, and partly because they’re so easy to make. I divide my mocks into two basic categories; those I make from scratch and what I call “take-overs.” The latter are just what the name implies; when I find a scrape that a buck has already started, I simply make it mine. This is best done as soon as the first tentative scrapes appear (usually early October in my area of the upper Midwest).
By starting on these early scrapes, you can dictate to some degree which scrapes will be hottest and visited the most. I use a couple simple tools to take over a scrape; the first is a hand-held weed scythe (available at hardware stores) which I use to clear additional grass, leaves and dirt and double the size of the original. The second tool is a bypass pruner, which I use to bend potential and additional licking branches.
Finally, a bottle of deer urine completes the illusion that a wandering buck has found the original and decided to leave his mark. If you don’t want to use commercial urine, simply douse the scrape with your own “product” (don’t laugh, this really works) and, after hanging your camera, simply walk away. Your pictures will almost certainly include some bucks that your summer mineral licks capture, as bucks are simply running larger loops through their home range, keeping tabs on what’s happening in the neighborhood.
True “mock scrapes” differ little — in construction, at least — from take-overs. The advantage is that you can start a mock whenever and wherever you want; you’re in the driver’s seat. My most active mocks are those I build in an area that a buck would naturally want a scrape; food source edges, travel corridors, and habitat transitions. I’ve also learned that making a mock in a highly visible area is the most effective strategy. Whitetails rely on scent for almost everything, but their eyes play a role, too. Make it easier for a buck to spot a scrape, and you’ll double or triple your odds of creating an effective trail camera setup. /our-obsession/blogs/how-to/best-locations-for-trail-cameras
One truth about mock scrape photos that can frustrate some people is that most of the images you capture will be at night. This doesn’t bother me in the least. Knowing the buck is in the area is my greatest concern. Once I have that information I can make a game plan for getting on him, especially if I’m lucky enough to snap his photo at more than one scrape. Just last fall, I emailed a photo to my dad of a nice crab-claw 9-point that worked a mock scrape I’d started right behind my house. “Nice buck,” dad said in his reply, “But if he’s hitting that scrape at 2 a.m. it isn’t doing us any good.”
But I had an ace up my sleeve; in early fall that same deer had hit a different scrape next to a food plot that was a quarter-mile away. The buck was kind of a wanderer, so getting his image by the house told me he was in the area and looking for does in the early stages of the rut. When the wind was right for a stand near the food plot, I called dad and told him to get in there. He did, and shot the Crab Claw buck that evening.
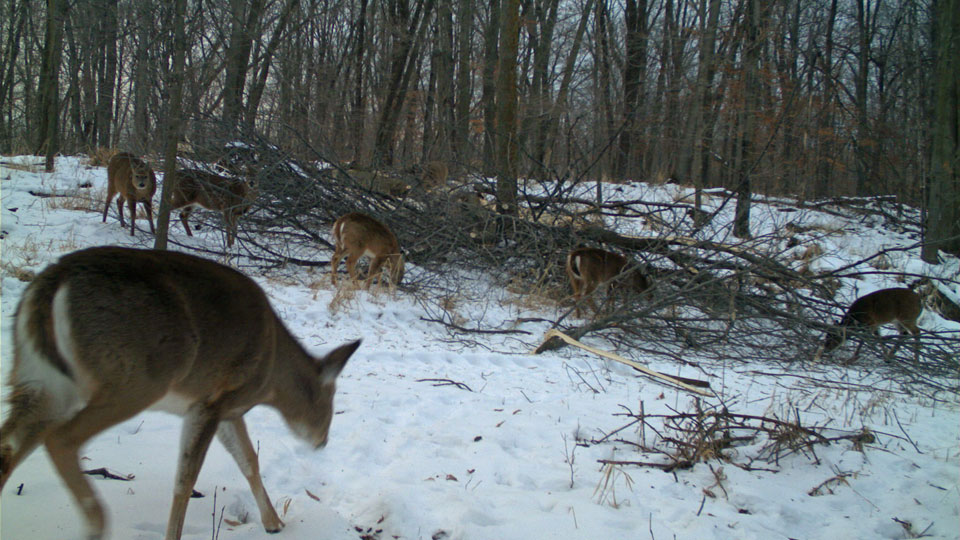
Winter Wonderland: Taking a Post-Rut Inventory
It’s not time to stash your cameras just because the excitement of the rut has passed. Once deer have settled down from breeding and escaping hunters, I pull my cameras out again for a final push for pictures. While hunters are often as tired as the deer we’ve been chasing all fall, I still consider the weeks following the post rut to be an exciting time for trail cameras. Part of my zeal lies in the fact that I’m usually still hunting (and can use the images I get to formulate a late-season game plan), but I also love to see which bucks are still walking. These are the animals that motivate me for post-season scouting, shed hunting and, of course, next fall’s hunt.
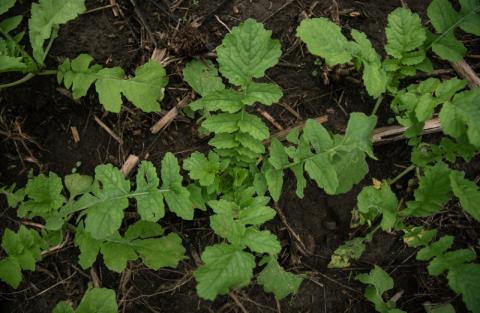
Post-rut trail camera setup is all about finding food. Bucks will definitely still hit scrapes, but right now they’re doing most of their thinking with their bellies. Find the hottest food source in an area, and you’ll not only be shooting photos of resident bucks, but wanderers that could have traveled several miles to eat. In my region, those sure-bet food sources are often standing fields of corn or soybeans (or harvested ones that haven’t been tilled) or food plots. Every year I plant several plots into brassicas, like rape, turnips or forage radishes and while they’re certainly visited in the weeks previous, these hearty, high-carbohydrate plots are an absolute killer draw for late season.
Late season food sources present problems for camera setups, however. I’m a diehard late season hunter, both bow and muzzleloader, and I rarely set a camera on a plot or field I plan to hunt. I just don’t like the extra disturbance and potential risk of bumping deer or leaving scent. However, once the seasons close, I set cameras immediately, and most of these setups occur on entry or exit trails that funnel deer into the food source. I frequently use two or more cameras on a single food source, even if it’s a small food plot. I’m always surprised how often a buck that walks right past one camera (often multiple times)will not swing past another placed just 50 yards away. Late season deer are pretty business-like about their eating and often don’t wander around much.
Another tactic I’ve found successful for late season cameras is to use a tripod or other mobile mount. On many fields it’s nearly impossible to find a good tree to mount your camera where you most need one. But I can stick a tripod right in the middle of a field, within easy camera range of the best feeding sign, and capture some great images. The best setups occur when I can place the tripod near some brush or weeds to camouflage the setup. Lacking those, I simply clip some corn stalks, native grasses or brush, and zip-tie them to the legs of the tripod. Brushing the camera in like this is a great way to keep late-season deer from getting camera shy.
Conclusion
As I write this, I’m preparing for the trail camera season and as excited (well, almost) as I am for opening day of hunting. Cameras have added a new dimension to my hunting experience and my love for, and understanding of, whitetails. There are critics who feel that trail cams take the mystery out of hunting and give us an unfair advantage over deer. I couldn’t disagree more. While cameras have given me scraps of information about this buck or that one, they invariably offer more questions than answers. As in “if I can get 10 pictures of a buck, how come I can’t lay eyes on him?” Cameras have taught me that I have much, much more to learn about deer, and rather than feel anything like cheating, have only added to the wonder and mystery of my favorite game animal.