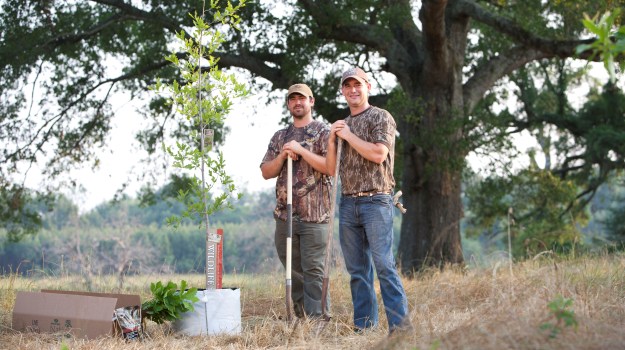
Walking through a park, watching the leaves change in the Fall - these are actually beautiful moments in time that we take for granted. But as environmentalism has grown in both numbers and publicity over the last two decades, the plight of the tree became worldwide news. From industrialization to pollution to the destruction of habitats - the tree which was once a given in life became threatened.
However, nurseries are now providing nearly 1.5 billion trees for planting in the U.S. every year which has caused the negative news to turn positive. Even the U.S Forest Service has reported that three million acres are now forested.
But you don’t need to be the U.S. Forest Service in order to plant a tree so that the next generation can benefit from its beauty. In fact, planting a tree and making it grow is absolutely easy for individuals to do in their own backyards.
So…how do you plant a tree?
As with anything in life, for something to survive long enough to reach maturity a healthy head start is a must. And when it comes to a tree, that head start is all about proper planting and maintenance. To get this project done, you’re looking at a very simple list of tools: a shovel, tape measure and garden hose should do it.
Whether back or front lawn, pick a location that’s at least fifteen-feet away from the house, sidewalk, driveway, not to mention other trees. Also, be well aware of power lines overhead because most all varieties of shade trees will grow to that height.
After picking the spot, place a stake in the ground and then measure the diameter of the tree’s root ball; mark this spot by making a circle around the stake that’s at least two times wider in diameter than the root ball itself.
Now, carefully remove the soil from the top of the root ball. You’re only going to dig a hole deep enough so that the root flare is not completely covered when the tree is planted. To do this, measure the height of the root ball from the ground to the top of the exposed root flare and then make SURE to take away two inches from that measurement in order to exactly know how deep the hole should be.
Using a shovel to cut all around the perimeter of the circle, remove the grass. You do not reuse this grass around the tree once it’s been planted, but when it comes to the soil, use a tarp to hold the soil you’re removing so that you can easily get it back into the hole when the time comes.
Drive a stake into the ground beside the hole you’ve just created and tie a string to it at grass level; pull the string tightly across the hole and measure down to the bottom to see just how far you’ve gone. If it’s necessary, dig more, but make sure you reach the right depth before carefully placing the tree into the hole.
Remember, correct positioning is a must, so after placing the tree, stand back and make sure that the tree’s face is aimed in the most prominent direction for good, solid growth. Remove the wire basket from the root ball when you’re satisfied and then peel away the burlap, carefully loosening that hard-packed soil in order to expose the tiny roots.
Blend that superphosphate and fertilizer into your soil pile (the right amount for your size tree will be on the packaging), and when the soil is well mixed, shovel it back into the hole without burying the root flare. When the hole is filled, use the blade of your shovel to create a five to six-inch crater around the tree and then, with a garden hose, fill it with water. As the water absorbs into the soil, knock down the crater and smooth out the dirt. Cover with bark mulch but do NOT pack it too close to the trunk of the tree. This new life needs room to settle and mulch packed too tightly will trap moisture and can cause the trunk to rot.
For six to eight weeks comes the tender-loving care, so whether using drip-irrigation bags or a garden hose - make sure to water your tree properly in order for this new beauty to grow!
The world looks far better green. So play a role in making our scenery shine!
Find the best selection of plants for creating and restoring wildlife habitat at nativnurseries.com. Our plant species are hand selected and hand grown with special attention to be sure we provide you with the absolute best Mother Nature has to offer.


