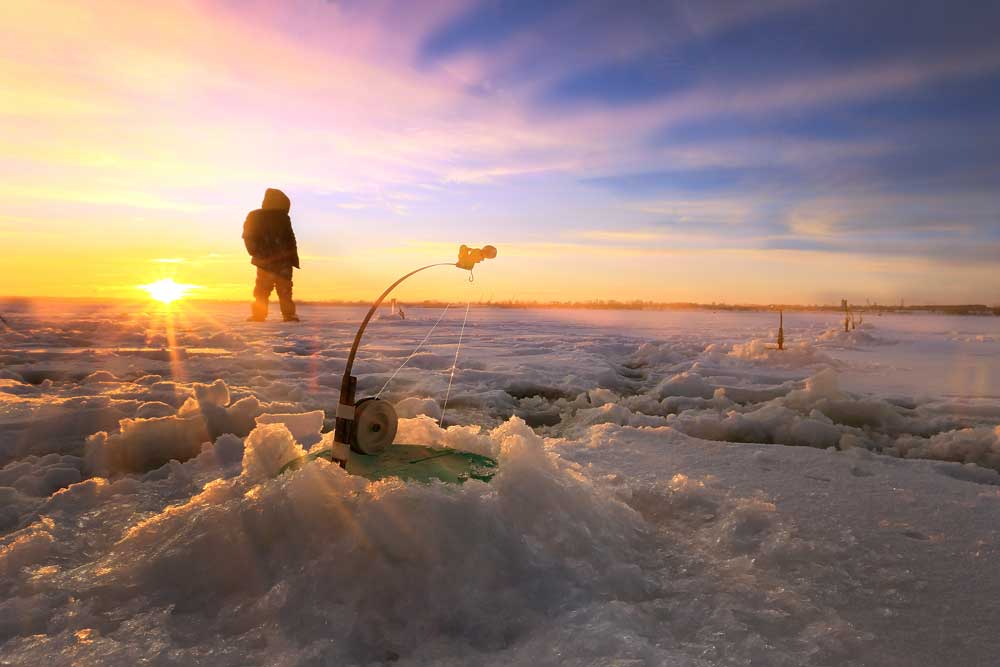
Ice fishing is a popular winter pastime, but it takes some preparation and planning. With a little know-how and forethought, your first forays into drilling an ice fishing hole can be both fun and productive. This adventure or hobby enables you to experience subsistence fishing in the winter and within a small radius. Here’s our guide for how to drill an ice fishing hole.
1. Scout out your spot ahead of time.
The earlier you scout out your spot, the better: Figure out what’s going on beneath the surface of the water before it freezes over. In general, the best depth to fish is two-to-four feet from the bottom of the lake. Use a depth indicator after drilling holes—ice fishing requires a good deal of precision.
Searching out your spot or spots also enables you to identify signs and clues as to where the fish are most likely to be. You can spot sheltered, rocky areas, or deep pools, depending on your fish of choice. Look for high underwater rocks, stumps, or extremely weedy areas to avoid. Knowing where you want to drill your hole before the river ices over is important to a successful day of ice fishing.
Pay attention to how you want to access your spot in the wintertime. Ask any veteran fishermen if they’ve noticed any spots that tend to freeze later than others, and take every possible safety precaution before you venture out on the ice.
Stay in touch with the dredging and water maintenance crew in your area; they may be able to provide you with additional information. As a rule of thumb, remember that the ice is thinner where the water is moving faster. It’s best to avoid inlets and other quicker-moving water features as you’re searching for a spot to drill.
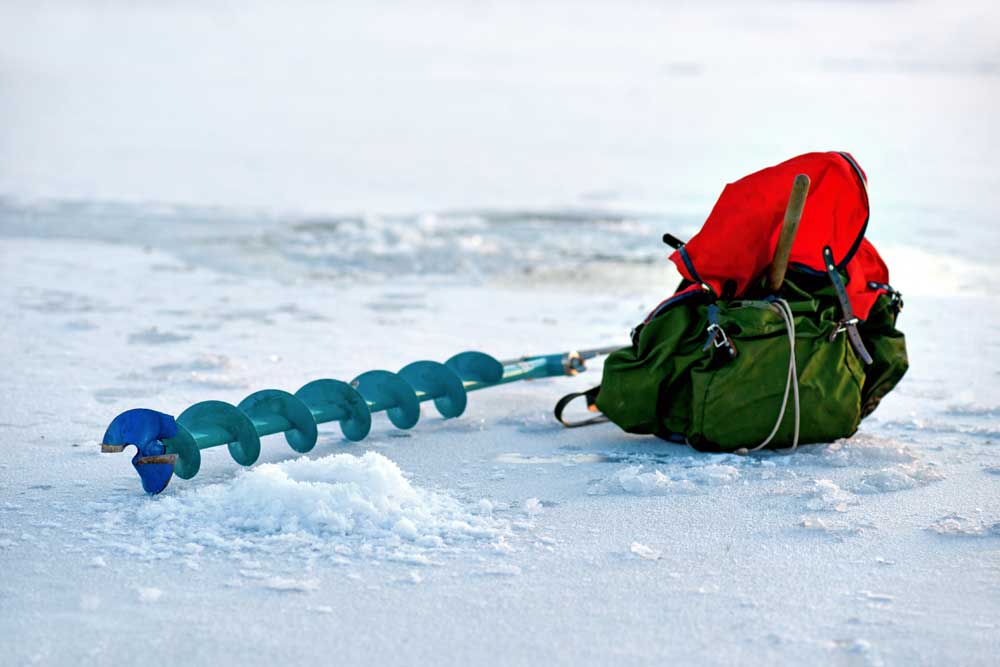
2. Know your auger.
Preparing for ice fishing is an involved, fun, and technical task. Before you venture out onto the ice, choose your auger. Power drill ice augers tend to be the auger of choice for many. While standard power drill ice augers are especially useful for drilling through thick ice and drilling multiple holes very quickly, they are also heavier than hand augers.
Hand augers have their own advantages. They take a lot more work and might be impossible to use on ice thicker than four feet deep, but they’re also lighter than power drill augers. Unlike power drill augers, they’re also safe to use on slightly thinner ice. Both types of augers are useful to have in your arsenal.
3. Secure your footing.
Plant your feet firmly before you begin drilling. This is essential, as solid footing helps you operate the auger with safety and care. Consider drilling small snow patches into the surface of the ice for a wide, solid stance, as snow offers better traction than ice. This serves a dual purpose: Whenever your auger breaks through the ice and surges into the water, the snow at your feet will turn to slush from the sudden spray. You can use this slushy snow to secure a tent skirt or anchor a portable ice hut.
4. Let the blades do the work.
Whether you’re using a power drill auger or a hand-powered auger, it’s essential to let the blades do their job. Pushing down with too much pressure can cause the blades to operate more slowly. You shouldn’t feel like you’re at risk of losing your balance when the blades break through the ice and into the water.
With hand drills or chipper drills, apply just enough pressure to encourage the drill downward. On the other hand, Lazer Drills require no downward pressure. In fact, if you use a Lazer Drill, it’s best to pull upward a bit when the drill breaks through the ice.
5. Prepare the ice hole.
Clear the ice hole of any debris. Kick the snow away from the downwind side of the hole in order to create a channel for the debris you’ll pull out of the ice hole. The remaining snow around the hole will act as a barrier between slush and the ice hole.
Use the auger to lift out any residual slush or loose ice from the hole. Dump the slushy debris into the clear channel you created.
6. Clean your auger.
As a final step, clean off the blades of your auger. If you’re planning on drilling multiple holes at a time, bear in mind that ice build-up on your blades can reduce the effectiveness of your auger. To quickly clean off your blades, simply run your auger above the ice to spin off any residual moisture.
When you set your auger down, place it on the ice rather than in the snow because snow can freeze to your blade and make it more difficult to use. Place the auger in the sun, rather than the shade, to keep the blades as warm as possible.
If a substantial amount of ice does build up on the blades in between uses, clear as much of the ice away as possible before you fire up your auger. This can help keep you safe from flying chunks of ice and keep the auger working efficiently.
Final Thoughts
Ice fishing is a historic North American pastime that has been used for centuries to secure access to food, pass down traditional subsistence methods, and bond family members and friends. It can bring generations together and demonstrate the importance of connecting with nature, no matter the weather or temperature. Sometimes, all you need is to venture out into the cold and experience nature’s bounty.
Due to the risky nature of ice fishing, it’s essential to remember that this isn’t a complete guide. Take every proper precaution and learn about the ins and outs of your local lake’s conditions and freezing patterns before you venture out.