You can tan a deer hide in just a few easy steps. Let’s see what it takes to put a tanned deer hide on your wall.
Good Handling from the Start
You shot your deer in what you consider the best food plot for deer ever. The moment you have the skin off the deer, bacteria is a problem. You want to eliminate and control the growth of bacteria as best you can. High temperature, moisture, blood and dirt are all working against you. The rule of thumb is to treat your deer hide like you would a chicken you bought at the grocery store. Don’t attempt to tan a deer hide that is green and stinks to high heaven. The tanning process cannot undo the damage that already exists.
How to Butcher and Process a Deer at Home – Skinning a Deer
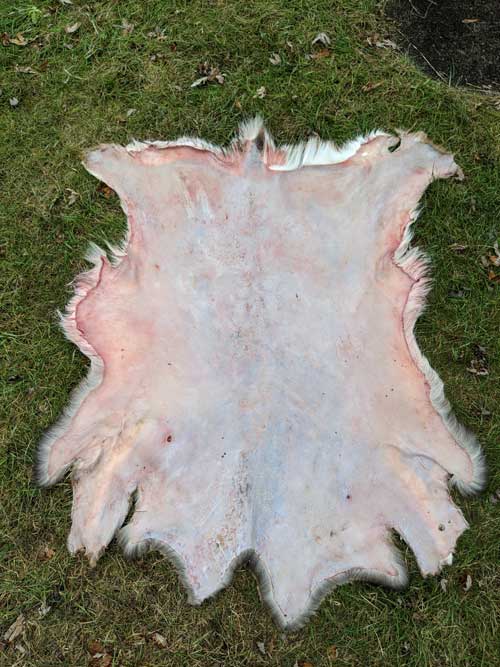
Fleshing the Hide
There are several ways to tan a deer hide. You may not go to all the same trouble and expense to tan a hide for a cabin wall as you would if you were a taxidermist working on a deer mount. For the sake of time, let’s assume you want to tan a deer hide for the cabin wall.
1. In either case, you begin by fleshing the hide. It helps to put your deer hide in the fridge the night before you plan on fleshing. It hardens up some of the fat and meat left on the hide, making it easier to remove. You will need a skinning knife, fleshing knife and skinning pole. Using the skinning knife, remove as much of the large chunks of meat and fat as possible. Using the fleshing knife, work up and down the hide, removing as much of the remaining fat as possible.

Salt and Pickle
2. Next, salt the hide. Non-iodized table salt is the best to use. Don’t use rock salt. Salt is cheap, so don’t skimp out on it. Work the salt in as best you can. You want a quarter- to half-inch layer of salt. Let it rest for 24 hours. The next day, you will notice the salt has absorbed a lot of blood. Shake off the bloody layer of salt and you’re ready for the next step.
3. Pickling is the most important step of the whole process. It works to kill any bacteria the hide may have. It also preps the skin for the tanning agent. Start by putting five gallons of water in a large tote. Add two quarts of non-iodized salt to the water, stopping to stir as you go. Add your pickling acid. It’s usually a half-ounce per gallon of water (2.5 ounces for 5 gallons of water). Be sure to check the instructions on the bottle. Two popular acid choices are McKenzie Ultimate Acid and TASCO/Rittel’s Saftee-Acid. Be sure to stir thoroughly.
4. Check the pH of the pickling acid. The ideal pH level is between one and two. You can pick up pH test strips or meters from many taxidermy supply stores. If your pH level is right, immerse the skin in the pickling acid. Make sure there are no air pockets and sink completely. Leave in a minimum of three days, stirring several times a day. Also, periodically check the pH level. If the pH level goes up, add more acid and stir.
Final Trim and Rinse
5. Remove the hide from the pickling acid. Use a skinning knife to remove any remaining fat or hair.
6. Fill a large tote with five gallons of water and five heaping teaspoons of baking soda. Then, immerse skin in the solution to neutralize the acid wash for 30 minutes.
7. Remove skin and lay flat on a dry towel. Place an additional towel on top of the skin. Roll them up to dry the skin.
Time to Tan
8. Lay the skin flat with the hair side down. Brush or work tanning oil into the skin. You want to be liberal with the tanning solution and cover every nook and cranny. Let the skin rest with the tanning oil overnight. The next day, fill a tote with five gallons of clean water. Immerse the skin in clean water to rinse any excess oil off, this will not affect the tanned hide. Dry again with towels and lay flat. As the hide dries, occasionally work and stretch the hide. This will help to keep the hide soft after it dries.
Breaking the Hide
9. In some cases, the hide may be stiff and the skin itself may be a dark color. If you notice this, you will need to break the hide. You’re basically going to break the stiff fibers to make the hide pliable and soft. The outside is much easier to break than the inside. You don’t have to have a special breaking tool. You can use the back of a chair, a pipe or even a tree. You don’t want to use anything that splinters.
10. Work the hide over the back of a chair or whatever you’re using with the skin side up. Work from one end to the other. You will notice the skin turning a light tan to white color. As the hide gets softer, the skin will get lighter. Work or break the hide until you get the desired softness and you’re done.
Making Memories
The tanning process is rewarding and you’re left with more than a deer hide. You have a lasting memorial to a youngster’s first deer – especially if they were involved in the tanning of the deer hide. Along with deer antlers, it may be something you display in your cabin as a conversation piece. You can brag that you and your young hunter tanned that hide. Whatever your motivation, a nicely tanned deer hide is more than a rug. It’s a reminder of a hunt long passed but not forgotten.