Bill Gibson, GameKeeper Kennels | Originally published in GameKeepers: Farming for Wildlife Magazine. To subscribe, click here.
Now that your puppy has reached the sixth month plateau it’s time to begin formal training. One frequently asked question is, “Where do I begin?” The answer is with “basic obedience.” First, we will discuss the use of the slip-lead in obedience training; second, the importance of eye contact and focus during obedience training sessions; and finally, teaching the young pup to sit and heel. Obedience training is simply a matter of applying fundamental repetitive training techniques in a controlled environment until each command becomes a conditioned habit. The basic obedience commands are “sit,” “heel,” “stay,” “here” and “place.”
A word of caution, do not rush obedience training, because these basic commands are the foundation for the building blocks of both starting and finishing gun dog training. Starting advanced training with a weak foundation will result in the dog never reaching its full potential as a hunting companion.
Proper Placement and Use of Slip-Lead
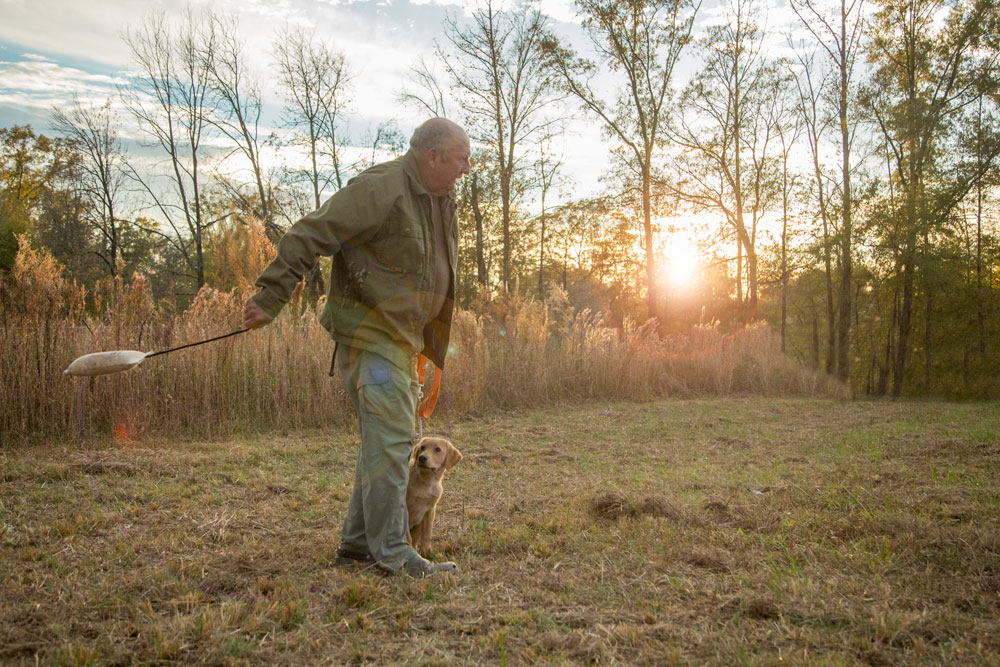
Building a strong foundation in formal training requires that you, the trainer, maintain control over pup at all times. This is accomplished by using a slip-lead. Since immediate application of both negative pressure and positive reward are essential during all training sessions, proper placement of the lead is of utmost importance. Proper placement of the slip-lead depends on which side you plan to work the puppy on. If the pup is to be heeled on the left side, face the pup and hold the slip-lead so that the loop that goes around the pup’s neck forms the letter “P,” and then place it on the pup. If pup is to be heeled on the right side the reverse should be done. Placing the lead in this manner allows pressure to be applied immediately by pulling on the lead (negative pressure) and assures that the pressure from the lead releases immediately so that the pup does not receive mixed signal(s). Realize that when improperly placed, the pressure generated by using the slip-lead will not release and the end result of the constant pressure is that the puppy has learned nothing. During training sessions, the dog should be on a slip-lead until you, as the trainer, are absolutely certain they can be handled successfully off-lead.
Eye Contact and Focus
It has often been said that “the eyes are the window to the soul.” In dog training this statement is particularly true because a dog can read you through your eyes. Developing and maintaining eye contact is a trait that should be cultivated in the earliest stages of training and maintained throughout dog’s life. This brings up one important point, you cannot establish eye contact with a puppy when you are wearing sunglasses; thus, you should never wear sunglasses during training. You start developing eye contact and the puppy’s focus on the task at hand by ensuring they have eye contact with you prior to giving the command. Each day you can extend the time that eye contact is maintained until dog stays focused on you until a command is given. As an example, I call the dog’s name and when it looks at me (establishes eye contact) I give the command “sit.” Then I get the pup’s attention again by calling its name, and as we maintain eye contact I give the command “heel.” As we walk, I stop, get the puppy’s attention by calling his/her name, and while maintaining eye contact command “sit.” Eye contact between you and the dog must be is lengthened by incrementally increasing the time between getting their attention by calling his name and the time the verbal command is given. Remember that developing eye contact and focus in the earliest phases of training will pay big dividends as their training progresses.
“Sit” Command - Initial Training Sequence
To begin your puppy’s formal training, kneel down, put their lead on, position them on your left side and then get them to focus on you. When the pup is focused on you, give the command “sit” and gently put pressure on his rear with your left hand while retarding the pup’s forward movement by applying slight upward pressure with the slip-lead. At first the pup will offer some resistance, but this resistance should fade quickly. As soon as the puppy sits, give him lots of praise. This phase of sit training may not be necessary if the early food training was successfully completed. After the pup is instantly obeying when the command “sit” is given, go from kneeling beside the pup to the standing position and repeat the sequence above but applying slight pressure by holding up on the slip-lead. Again, resistance by the pup should fade very quickly.
To further reinforce the “sit” command, stand in front of the puppy and while verbally giving the command “sit” tug lightly on the lead – the pup should remain in the sitting position. If pup moves, repeat the process until pup remains in the sitting position and, as always, end the session on a positive note. Once the pup is sitting on the voice command “sit,” spend a few days repeating the procedure, but immediately after giving the verbal “sit” command, blow one short note on your whistle. With the pup promptly sitting using the combination of voice and whistle command(s), you can then transition to one short blast on your whistle without the accompanying voice command. From this point forward the whistle command should always be used albeit, on occasion you may have to use the voice command at the same time.
This transition from voice to whistle is very important because this forms the basis for controlling the dog during future training sessions. During the early stages of this phase of training, the puppy should never ever be called off sit nor trained to stop and sit on the whistle while going out on a retrieve. Why you ask? Because, at this stage we don’t want to put the pup in a scenario that could cause him to start popping.
Once your dog is satisfactorily sitting on the whistle, expand the use of this command by using the whistle command when the pup is airing at a distance. Simply blow one note on the whistle and, if necessary, give the verbal command and the pup should sit. Continue this until they immediately sit at a distance. Once they are sitting on one blast of the whistle, continue the training until you are satisfied they fully understand and promptly obey the command. Jumping ahead, on completion of the next phase, “heel” training, teach the puppy to immediately sit when you stop walking.
Again, they should sit in the proper position, i.e., facing forward with his/her head at your left knee. This should become an automatic response by the pup with no voice or whistle command needed. This sit response can be quickened by using a “heeling stick.” Simply hold the “heeling stick” in your right hand and behind your back, pointed in an upright position. When you stop let the “heeling stick” fall to your left so that it very gently hit’s the pup’s rear and your pup immediately sits. Repeat this drill until you’re satisfied they fully understand they are to immediately sit when you stop. Keep this in mind as we move on to and progress through the “heel” command.
“Heel” Command - Initial Training Sequence
With your dog on a properly placed slip-lead, line them up with your left leg, and position them between you and a barrier such as a wall, a fence, or any object that will limit their movement to the left. Get their attention. When they look at you (focuses on you) give the command “sit.” Wait a few seconds; again get the pup’s attention, and give the command “heel.” Move your left foot forward while giving the pup a slight tug with the slip-lead. The pup should immediately stand and walk beside you. Repeat the command “heel” as necessary and use the slip-lead to keep pup in the proper heeling position (i.e., with his/her right shoulder in line with your left leg). If the pup’s shoulder gets out past your left knee, correct them by reversing your direction and lightly snapping the lead. Conversely, if they lag behind, put them back in the proper position by applying very easy forward pressure on the slip-lead.
Remember to praise him when he maintains the proper healing position. You should see incremental improvements during the first few sessions, with the dog walking in the heel position for longer and longer periods of time. Once they heel properly you can go to the next phase of “heel” training (i.e., training without the barrier). Walk the pup at heel, keeping a close eye on their heeling position. Again, his/her right shoulder should be in line with your left leg. If they lose focus and get too far out front, immediately reverse your direction of travel while at the same instance giving the verbal command “heel” and applying a quick but gentle snap with the slip-lead. If the puppy loses focus and wanders to the left side, simply turn right, and simultaneously give the “heel” command and a slight snap of the slip-lead. When walking the pup at heel, vary your walking speed from slow-to-fast-to-slow and use the verbal command “heel” in conjunction with the slip-lead to maintain the puppy’s position on your leg. Also, when walking them at heel, make frequent changes in your direction of travel, from left to right, right to left, and forward to backwards, all while using the command “heel” and the slip-lead to maintain the puppy’s proper heel position. When you are walking backwards, the puppy should be walking to your left with his head just in front of your left leg. The puppy’s initial response to reverse heeling is normally to transverse to your right leg. You can easily correct this by using the slip-lead to keep them to your left.
At intervals, walk in a tight left counterclockwise circle. If the puppy fails to maintain the proper heeling position by getting too far out, you will step on the puppy’s toes and the dog will get a clear message that he/she must maintain the proper heeling position to avoid this unpleasant experience. Remember the use of this and all other heeling techniques discussed are based on the puppy heeling on your left side. If heeling on the right side, obviously, a sharp turn to the right would be called for. When you are satisfied that your pet fully understands the “heel” command, it is time to progress to the other basic obedience commands. These will be discussed in upcoming articles.