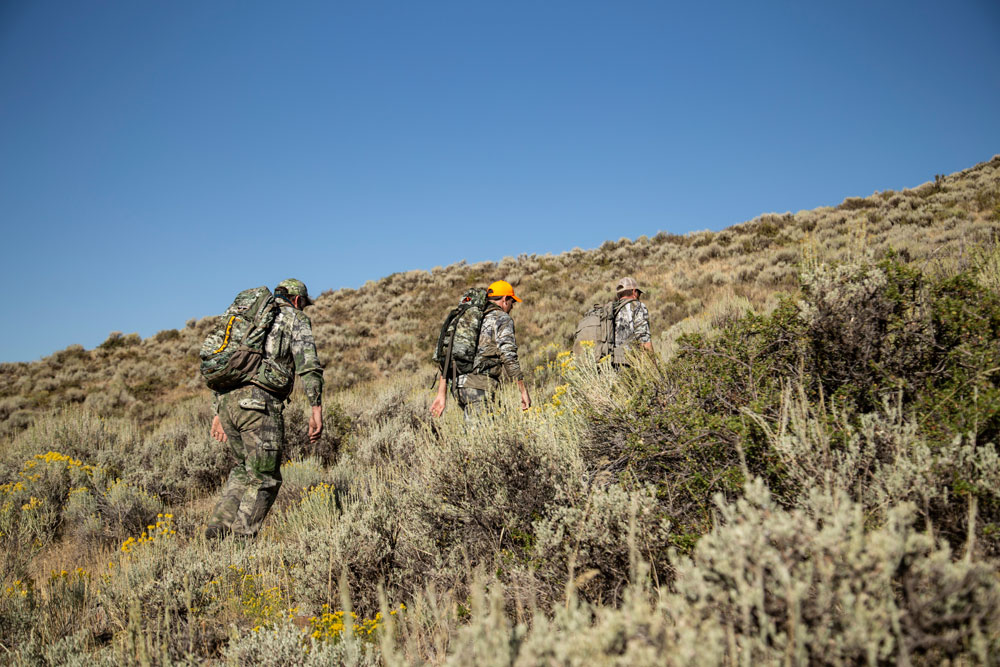
Seasoned hikers are well aware of the pain and discomfort even the smallest of blisters can cause. No matter where a blister forms, whether between your toes or on your heel, it can turn your hike into an unpleasant and possibly painful experience.
You might think that blisters are necessary hardships for hikers to endure, but there are some effective steps you can take to prevent blister formation and enhance blister healing.
What are blisters?
Understanding the anatomy and causes of blisters can help you prevent and care for this common hiking ailment.
Blisters are the forced separation between the layers of your skin. As you walk, your looser outer skin layer comes into frictional contact with your hiking socks and boots, causing this layer of skin to move more than the less movable inner layers of skin.
In response to this separation, the two skin layers create a blister filled with a water-like serum. Having to deal with these painful fluid-bubbles increases your normal levels of post-hiking fatigue.
Blisters are most common around the feet and toes but can also form around your rucksack straps and belts; wherever there’s friction between outerwear and your skin, you might find a blister.
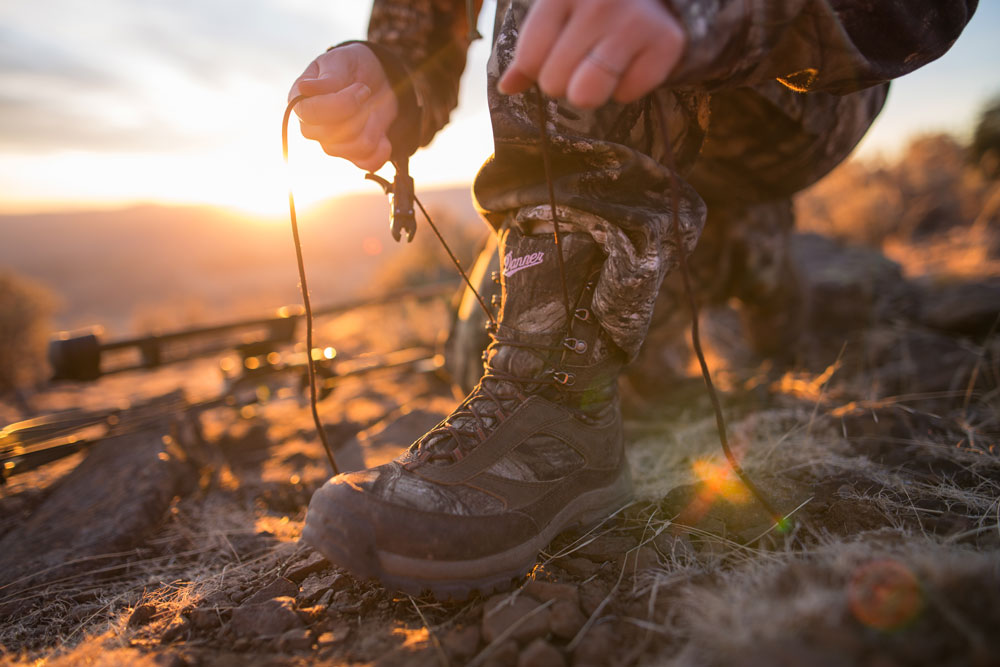
Choose good-quality hiking shoes or boots.
High-quality walking shoes are a must if you’re serious about hiking, especially over long distances. Your shoes should feel comfortable when you put them on. In general, just over half an inch of space between your toes and the end of your shoes provides enough breathability and room for your feet to expand during a long hike. Consider choosing hiking boots half a size larger than your normal shoe size.
Try to find a shoe that doesn’t rub or slide against your heel; this increases the chances of blisters forming as you walk.
If you have wide feet, some shoes will feel tight on your toes and cause rubbing in this area. Always try to find boots that provide space to move and stretch your toes.
After you’ve purchased a new set of hiking shoes, it’s a good idea to break them in before heading off on long-distance walks. Give yourself and your feet time to get used to the new shoes. Build up the distance you walk or run in your new shoes incrementally before heading out on a proper hike.
Last, choose waterproof boots. Blisters are far more likely to form in wet, warm conditions when the outer skin layers can move more efficiently, so keeping your feet dry can help prevent blisters.
The hiking socks you wear can make a difference.
Like shoes, well-fitted hiking socks are important for blister prevention. Try to avoid cotton socks, which absorb and hold moisture, creating damp conditions ideal for blister formation. Instead, choose synthetic or wool socks.
It’s a good idea to wear multiple layers of socks when walking long distances. The extra layer shores up and stabilizes friction between your outer layer of skin and your boots and provides extra protection against moisture.
Invest in sock liners, or sweat-wicking socks, designed to remove sweat from your feet. These socks should be the layer directly in contact with your skin.
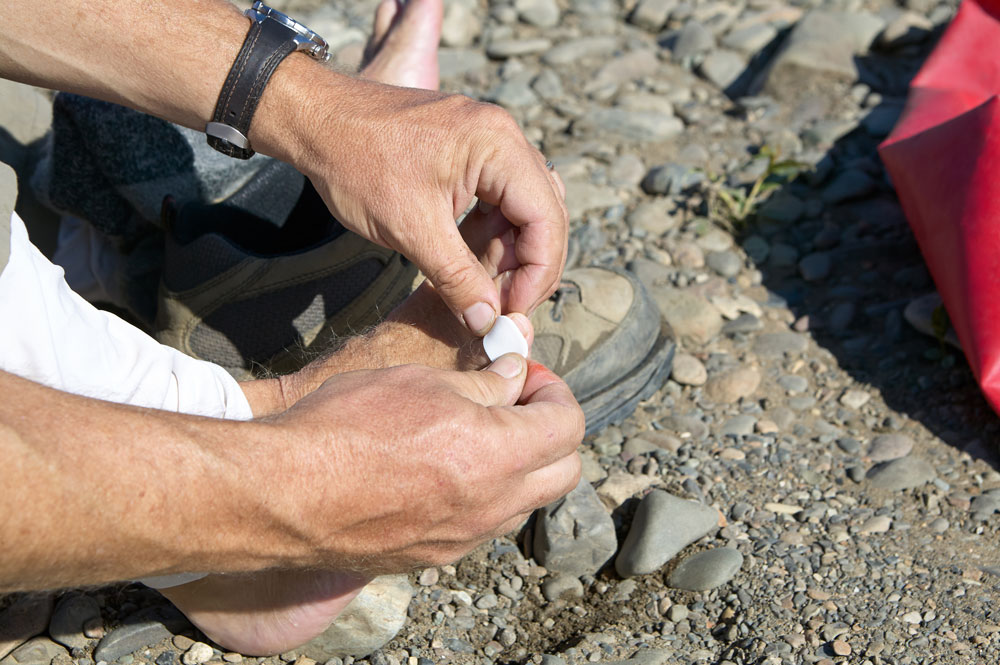
Tape covering is an effective preventative measure.
Tape covering can be an effective measure for blister prevention and care, especially if you can identify a particular spot where you routinely get blisters.
It’s best to tape up these areas before lubricating them. Moleskin, special blister patches, and sports tape can all help you prevent blisters or manage those that have already formed.
If you’re blister-prone in-between your toes, try cutting special gel elastic material to size and fitting it around your toes.
Lubrication can help minimize friction.
Lubricating your blister-prone areas before your hike can reduce the tension between your skin and clothes. By keeping your skin cool and lightly lubricated, you can minimize the friction that creates pockets of fluid.
If you’ve chosen to tape up your feet, the next thing you should do is lubricate these areas. Vaseline is a suitable lubricant, or you can also use AD ointment and sports gel materials to oil up your taped areas.
If you’ve already sustained a blister, you can minimize the consequent pain by caring for the blister properly.
Pop the blister.
This is a hotly contested tip. If you’re hiking by yourself and you haven’t brought a first-aid kit, it might be best to leave the blister unpopped. The serum fluid in the blister keeps the inner layer of your skin clean and healthy. Popping the blister introduces the risk of exposing your underlying skin to dirt and infection.
However, it can be very uncomfortable and impractical to leave a blister unpopped for a long-distance walk, particularly if it’s on the back of the heel or at the ends of your toes.
If you must, here’s how you can pop a blister safely and cleanly:
1. Clean the area.
First, clean the area around the blister with soap and water. The goal is to create an antiseptic environment. Dry the area properly after washing it.
2. Sterilize the instruments.
Sterilize the implement you’ll be using to pop the blister, whether that’s a needle, tweezers, or a small pocket knife. You can do this by holding the instrument in a flame for several minutes, cleaning it with an antiseptic wipe, or placing it in boiling water.
3. Pop the blister.
Prick the lower part of the blister so it drains naturally. You can lightly push down on the top of the blister to get all the fluid out.
4. Dress the wound.
Dab on some antibiotic ointment to prevent infection, and then cover the blister in whatever wrapping you want.
Blisters can ruin a hike, but, with the right gear and preventative measures, you can keep these painful bubbles at bay. Look to Mossy Oak, the outdoor authority, for more tips on how to make the most of your time off the beaten path.