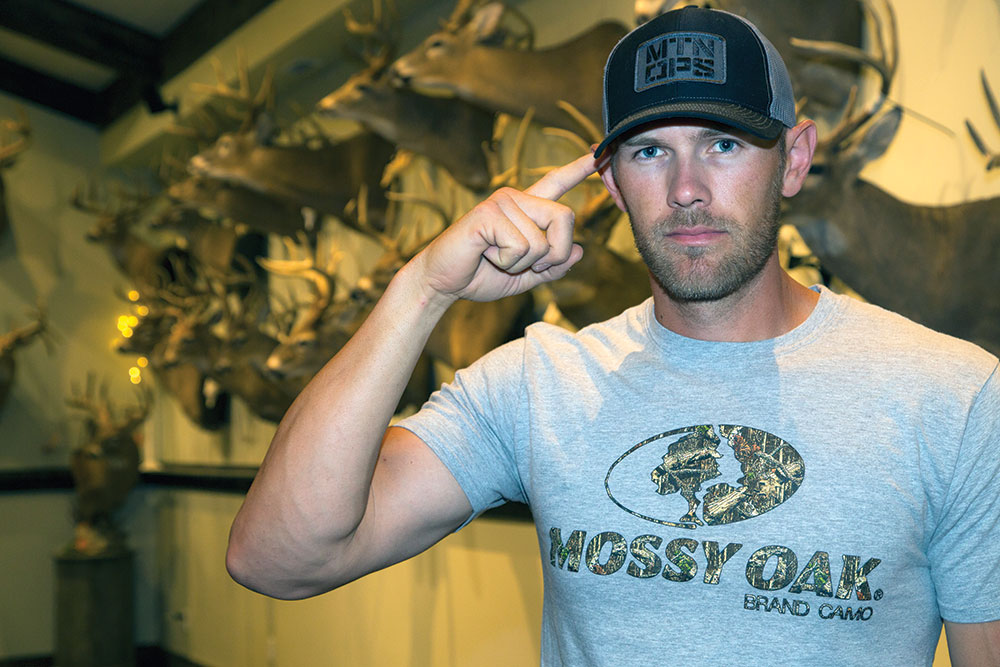
 Levi Morgan won his first professional archery tournament in 2007, when he also went on to win the Archery Shooters Association Shooter of the Year and World Champion titles that year. Since then, he has won the Shooter of the Year title 11 years in a row. Levi is the host of Bow Life, airing on Sportsman Channel.
The following topics are from the column, "Changing the Game" in Petersen's Bowhunting.
by Levi Morgan
In the following article, I will address:
- How to Overcome Target Panic: The Aiming Drill
- Achieving Perfect Bow Balance
- How to Grip a Bow
- Shooting a Bow: Pushing and Pulling
- Anchoring a Bow: Three Steps to Success
- Write It Down
- Serving a Bow String
- How to Stand When Shooting a Bow
- Paper Tuning a Bow
- Preparing Your Mind for Success: Mastering the Mental Game of Archery
How to Overcome Target Panic: The Aiming Drill
If you’ve shot a bow long enough, you’ve probably heard about – or experienced for yourself – the demon we call “target panic.” The main form of target panic is best described as the inability to hold your pin on the target and squeeze the release slowly enough to cause surprise when it fires. Essentially, you punch the release prematurely. While there are many forms of target panic and just as many ways to cure it, there are a few things you can do to prevent or beat this horrible condition. Surprisingly, the one solution I’m most fond of doesn’t even require you to fire an arrow.
The main form of target panic derives from what I call “anxious aiming.” This occurs when the pin settles in where you want it to and you feel like you have to fire that release immediately. The problem with firing a release on command (the way 90 percent of people trigger their release) is that from the time your mind tells you to fire that shot to the act of your finger actually doing it is enough time to move off the spot. Generally, this is the main cause of inconsistent groups. You may say you don’t have target panic, but if you can’t aim in the middle and slowly fire that shot, then I’ve got some bad news: you have target panic. Luckily there is a cure for this.
You are probably wondering how I can suggest solving this problem without even shooting an arrow, but the fact is, the problem lies between your ears, not in the act of shooting. What you need to do is commit two weeks to the cure; every day or every chance you get, go out in the yard with an arrow nocked, just like you would normally practice. You will simply draw the bow and address the target, aiming with your finger on the trigger – but don’t pull that release; you want to focus only on aiming. Keep that pin where you want to the arrow to hit until your aiming starts to break down. Then let down and reset, never firing the arrow. Treat this just as you would any practice session, except never actually shoot your bow.
This will do two things that benefit you greatly as an archer. First, it will teach your mind that it is OK for that pin to settle on the bulls-eye without firing that arrow. Second, it will increase the length of time during which you can effectively aim before your shot breaks down. Over time, you will be able to add shooting back into your routine, but if you ever feel those anxious or rushed feelings, take a few days and just commit to this simple drill.
Target panic is a horrible thing, and if you don’t know how to cure it, it can really mess with your confidence, taking the fun out of shooting your bow. Even if you aren’t struggling with target panic, this aiming drill can and will make you a better archer, regardless of whether you are a novice or a top-level competitor.
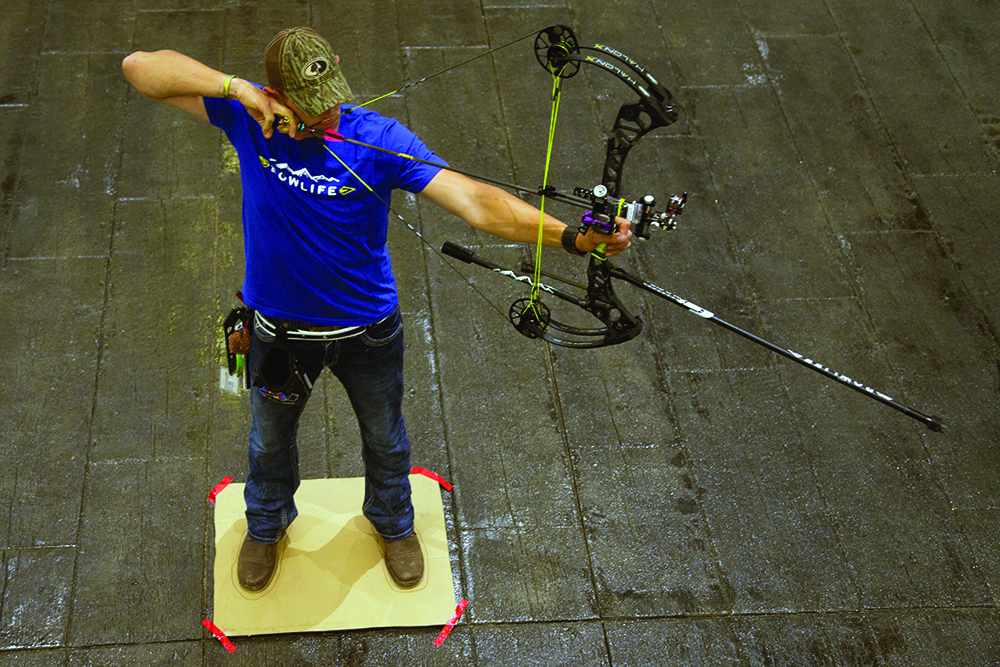
Achieving Perfect Bow Balance
Maybe you are new to archery and trying to learn everything you can. Maybe, however, you have been a successful archer for years and are simply reading this because you are addicted and can’t get enough. Either way, we all want to be better shots, and if you say you don’t, I’d say you’re not a passionate archer/hunter.
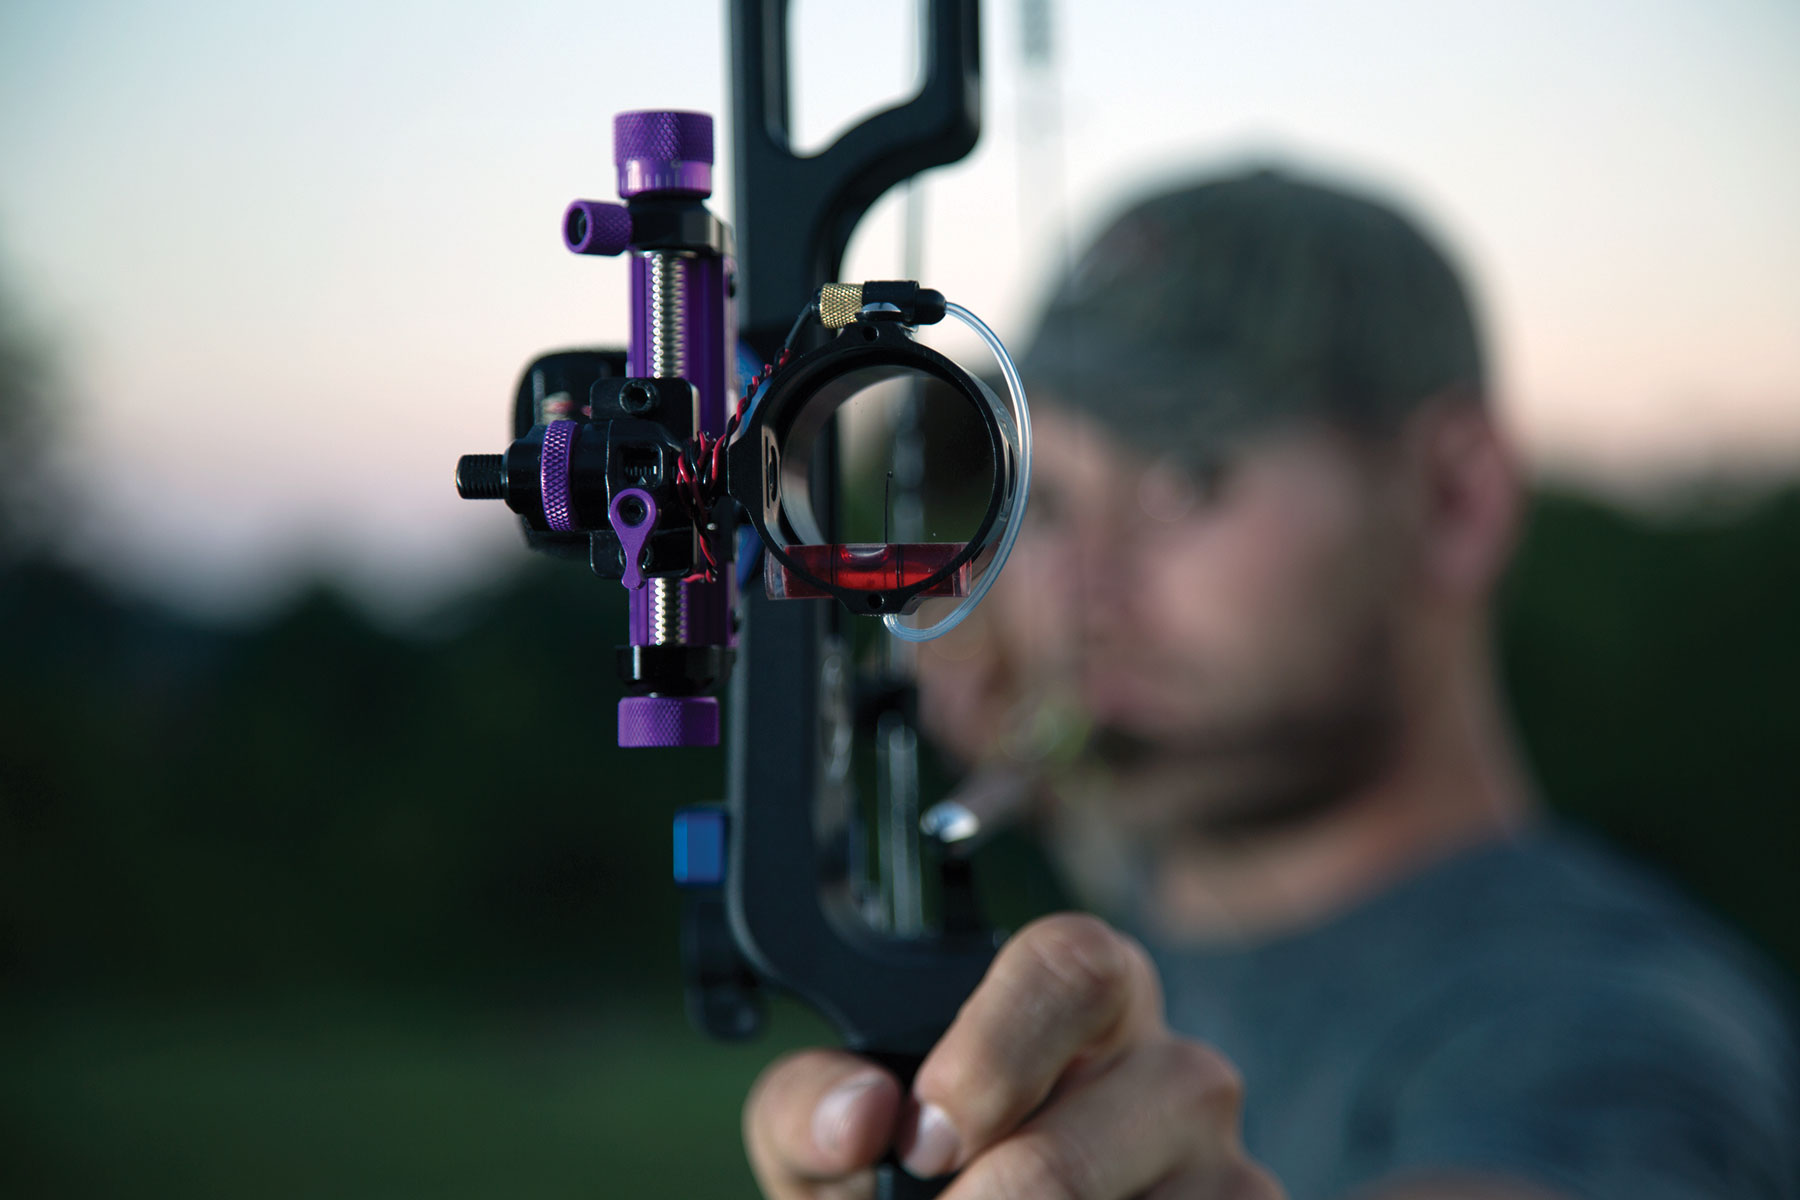
 There are many things that make up a great archer, but no one thing is more important than having a perfectly balanced bow. The overall goal of finding perfect balance is to be able to draw the bow with your eyes closed, settle in and open your eyes to a perfectly level bubble. This takes away human influence or torque that is necessary to level your bow otherwise. Proper balance will better your aim in all areas. Better aiming then leads to improvements in every aspect of your shot and can even cure most forms of target panic.
To achieve perfect balance, you will need a front stabilizer bar (I’d recommend at least 10 inches), a V-bar bracket that will allow you to adjust side to side and up and down, and a rear stabilizer bar that’s at least 8 inches. In addition, you will want a few weights to play around with.
First, you will need to put the stabilizers on and level the bow from side to side. I would recommend trying 4-5 ounces of weight on the front bar and 10-15 ounces on the back bar. You can fine-tune the weights from here, but this is a good ratio to start with.
Next, draw the bow with your eyes closed, anchor with a relaxed grip and open your eyes. If the bubble on your sight is not level, then adjust the rear stabilizer accordingly until you can repeat this process and your bow is perfectly level from side to side.
Leveling your bow front to back is a little different because you will adjust by adding or removing weights rather than adjusting the bars from side to side. To level your bow front to back, come to full draw aiming at a horizontal line. If your pin wants to dip or bounce below the line then add weight to the back bar or take the weight off the front. If your pin bounces above the line, do the opposite. After this step is complete, your bow should be very close to balanced. While you probably won’t be aiming perfectly still, your aiming pattern should be centered on that horizontal line, not bobbing up or down.
Obviously, we all want to be the best archer we can be. Balancing your bow properly will help you tremendously. Some people say balancing your bow makes it too heavy, but I’d rather carry a few more ounces and hit where I aim.
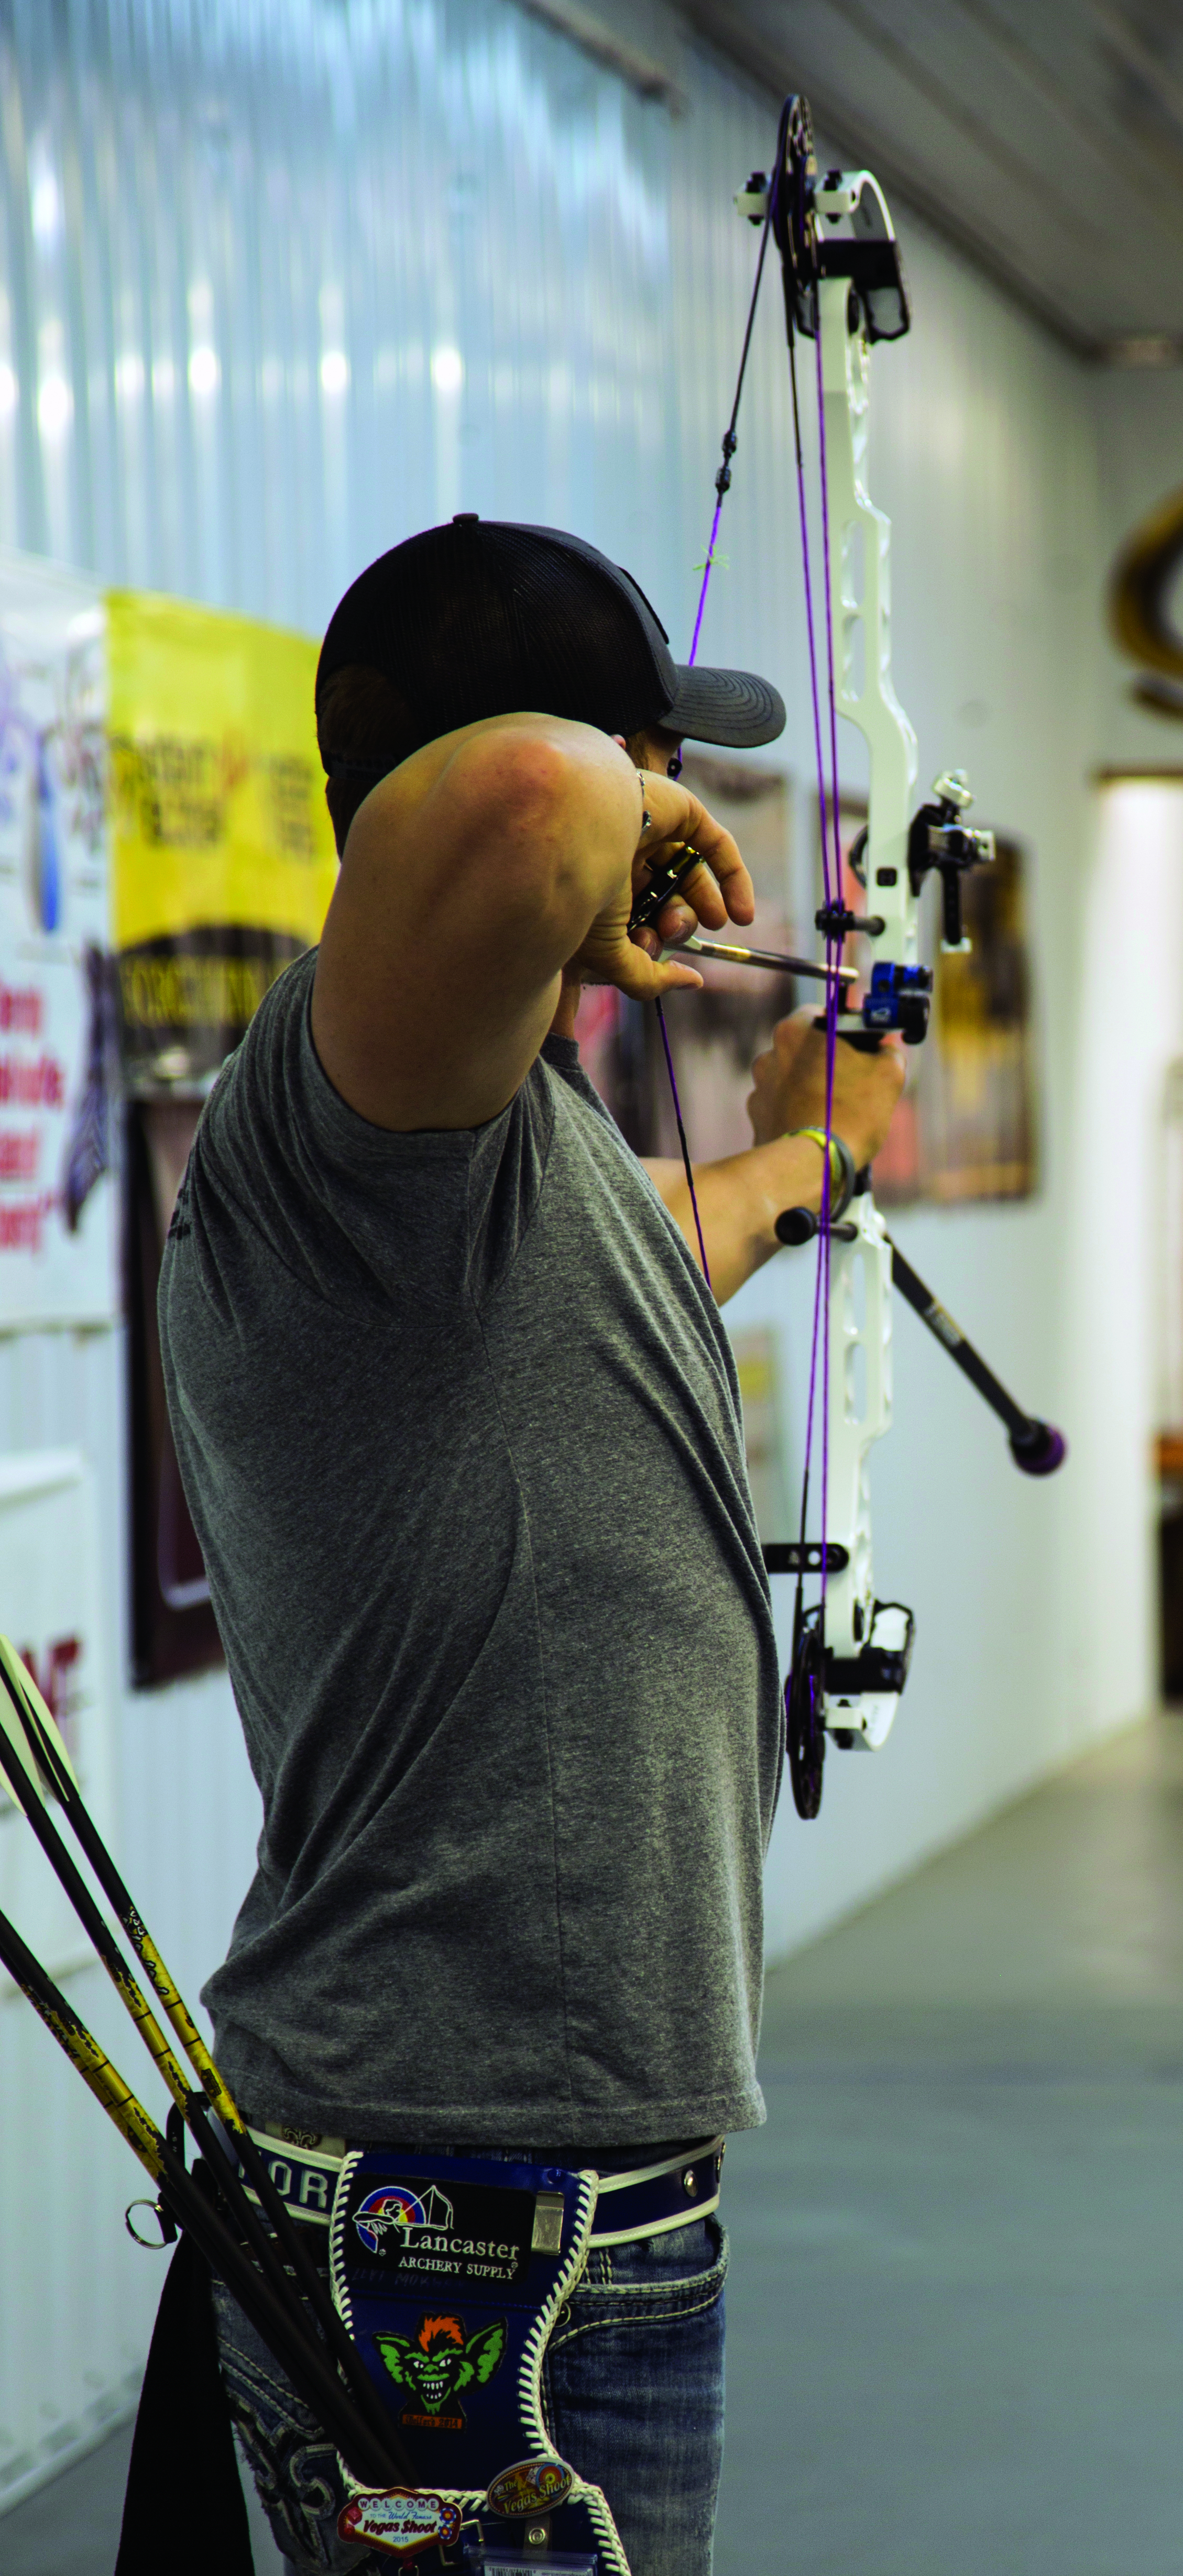
How to Grip a Bow
The grip is the only part of your bow you actually touch during the shot process, meaning the way you handle it is critical. Despite that, I believe grip remains one of the most overlooked aspects of good shooting form.
Over the years, I’ve seen many variations of how people grip their bows, and guess what? None of them are necessarily wrong. Just like any other aspect of archery, the proper grip is simply one that can be repeated consistently shot after shot. However, there are several things that can make that task much easier. One is to keep the entire grip on the thumb side of your lifeline. Then you want to point your thumb at about 2 o’clock (10 o’clock for left-handed shooters), making sure it isn’t riding up against the shelf of the riser. Lastly, you want to have a loose hand, not squeezing the grip and not with your fingers stuck straight out; just let your hand relax.
 There are two main muscles in your hand, one on each side of your lifeline. If your grip crosses over onto both, then it’s a lot easier for you to torque the bow just by tensing your hand slightly. It’s very important to keep the bow on the thumb side of that lifeline only, making it almost impossible to torque with the muscles in your palm.
The best way to do this is to make a thumbs up sign, turn your thumb to 2 o’clock (or 10 o’clock for lefties), open your hand and place it on the grip. This will help prevent your thumb from pressing too hard against the shelf, which can create sideways torque and cause inconsistencies in your balance while aiming.
Now, your bow isn’t going anywhere. So, stop holding onto it for dear life at full draw. Just relax your bow hand. Now, squeeze the grip again and see what it does to the bow and level. That’s called torque, and it’s bad. You want a completely relaxed hand. Just allow your fingers to lie softly on the back of the grip. Don’t stick your fingers way out trying to avoid torque, because when you do that you can’t help but tense up those muscles, which defeats the entire purpose. It’s OK if your fingers are touching the riser, as long as they aren’t influencing it.
Again, there is no right or wrong way to grip the bow if you can do it the same every time, and the method I just described will help you achieve consistency. Keep the grip on one side of the lifeline in your hand, keep your thumb from pressing too hard up into the shelf and relax your entire hand. A consistent grip is absolutely crucial to accurate shooting.
Shooting a Bow: Pushing and Pulling
We all realize that to shoot a bow, some form of pushing and pulling has to take place – but probably not as much as you’ve been told. My entire life, I was preached to on how I needed to push my bow arm at the target and pull on my release arm firing the shot using my back muscles. I quickly realized that doing that the same way each time was next to impossible. Archery, as I’ve always said, is a game of repetition, and trying to rip the bow in half just wasn’t something I could repeat. One day I’d do great, the next I’d be pulling harder and hit to the right or pushing shots out to the left. The inconsistency was really frustrating.
Now, many of my struggles were from the equipment I was using combined with this push/pull method. But mainly, it was
because this entire method is flawed, in my opinion. Back when this “back tension” method was introduced, bows had hardly any let-off and spongy back walls. Pushing and pulling really hard probably was the most consistent way to shoot that setup. These days, however, bows are built with solid back walls and high let-off, and when you start pushing and pulling on something that doesn’t give, it just doesn’t work. Think about it; you’re shooting a bow with a solid wall, and when you pull, something has to give. In this case, that would be your bow arm. And when you push and the bow can’t give, then the movement is transferred to your release arm. I truly believe this is the reason so many people struggle with this technique. It’s not that they’re doing it wrong. It’s that the entire process is no longer necessary.
I understand that to keep the bow at full draw, some form of “back tension,” or pushing and pulling, has to take place. I also believe that’s about all you need, just enough to keep the bow at full draw. You have to look at your cam system, holding weight, bow weight and type of draw stop to come up with a consistent push/pull method that suits you. However, if you’re shooting a bow made in the last decade, more pushing and pulling probably isn’t the answer to making you a better shot.
If you are struggling with aiming or consistent groups and you have been taught to push and pull on the bow, let’s try a different approach. Try to relax a little more in your shot. Pull just hard enough to keep the string against the stop and let the bow do the rest. After a while, you should find a really comfortable, less stressful way to fire the shot. This will be way more repeatable for you, and you will be engaging fewer muscles than before. Yes, the fewer muscles during the shot the better. When you’re nervous, that’s what causes tension and shaking, and that’s what gets us tired. So, the fewer muscles used the better. The days of ripping the bow apart are over. It’s time to relax and let these bows shoot themselves.
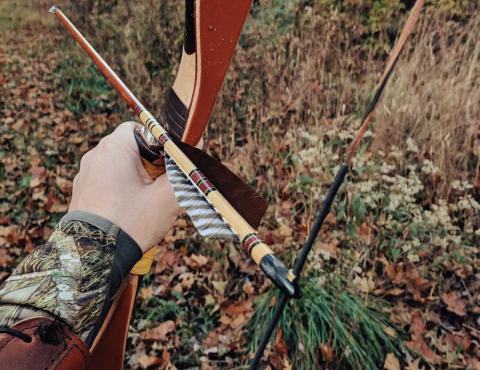
Anchoring a Bow: Three Steps to Success
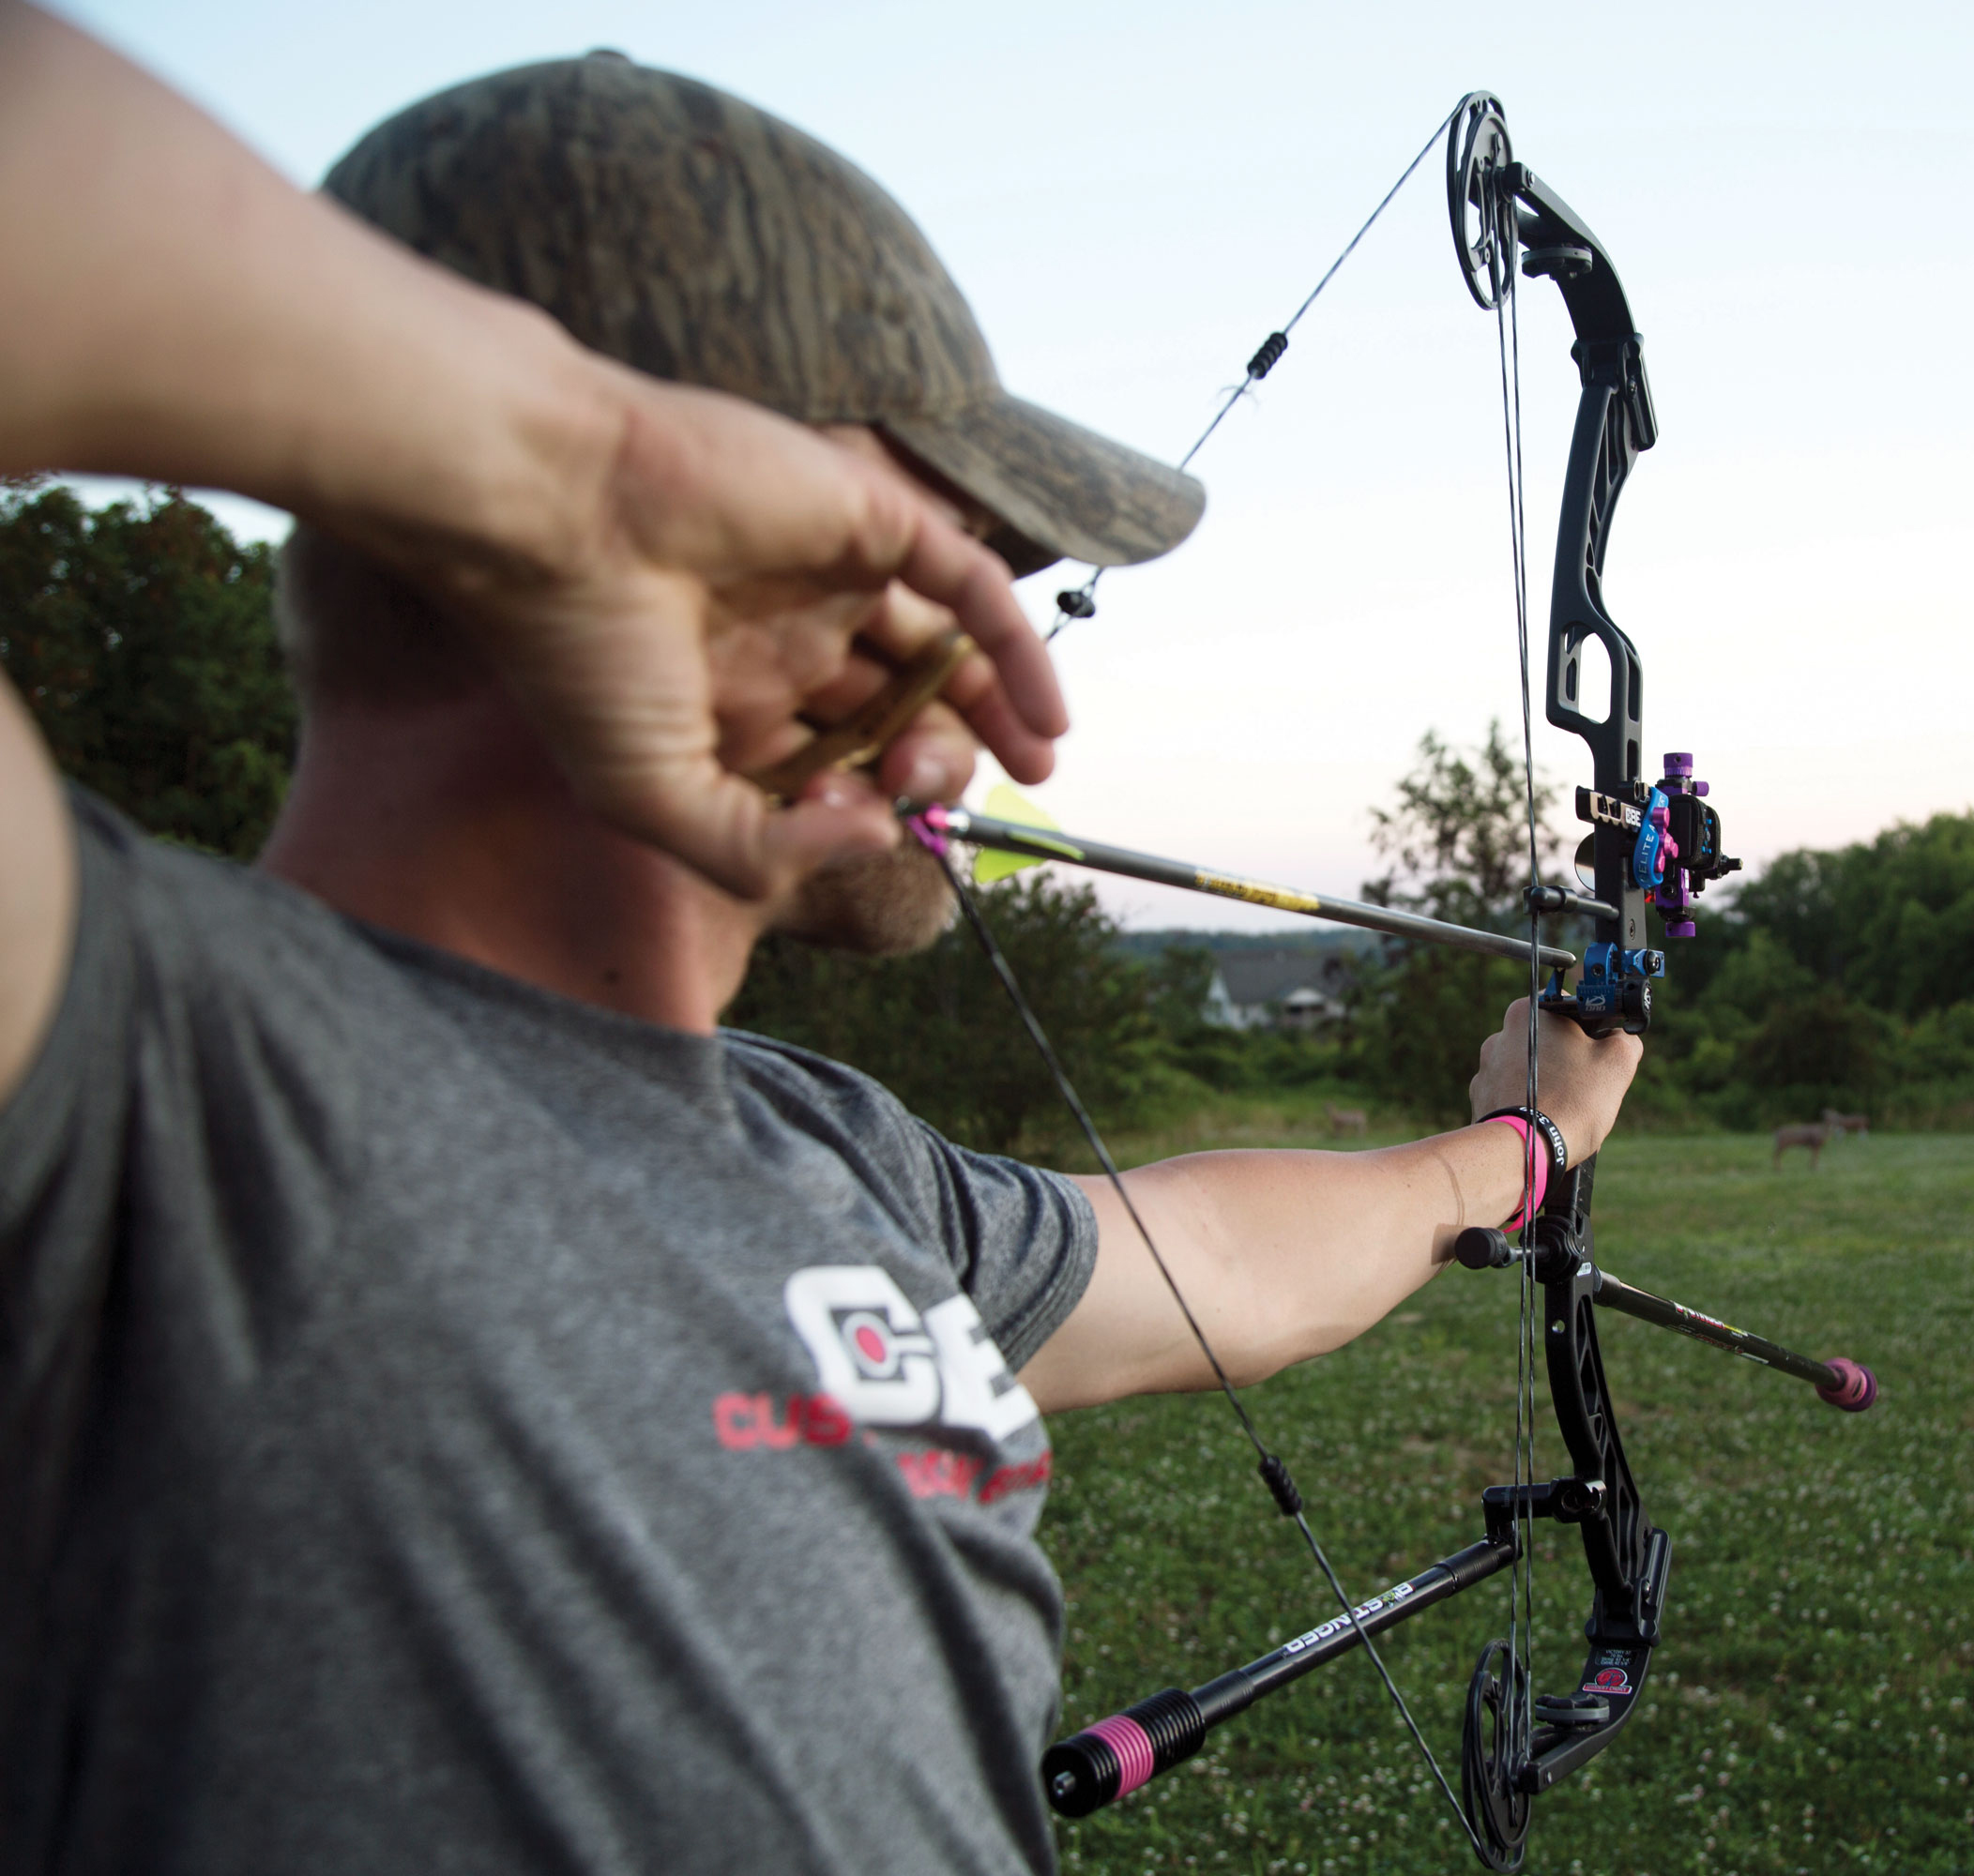
If you know archery, you know how important a consistent anchor is. Most people just think of anchor as a being only one thing. But the truth is, having a repeatable anchor position involves three major components. Everyone’s anchor involves – or at least should involve – the following: release-to-hand contact, hand-to-face contact, and string-to-face contact. If you have these three components down, you will have a solid anchor position.
Release-to-hand contact is very crucial in all parts of your shot, but none more so than your anchor. If you are shooting a handheld release, that importance doubles. You can literally change your draw length and entire form just by positioning the release differently in your hand from one shot to the next. It is critically important to find a comfortable spot in your hand where the release just seems to fit. It’s not a bad idea to even mark that on your hand with a marker or tape while you practice. Make a conscious effort each shot to place that release in your hand exactly the same. Soon, that will be the only place you can comfortably place the release, and any slight change will be noticed immediately. At this point, the marking and/or tape is no longer needed.
A consistent hand-to-face contact point can be a little trickier. I’ve seen guys and girls mash their hands into their faces, and I’ve seen them completely avoid any contact with their face at all (both are disasters). You want to find a comfortable pressure point somewhere along your jawbone. I like to slide my jawbone between my first knuckle and middle knuckle. I don’t mash my hand to my face. I just very lightly touch my hand to that spot on my jaw so I can execute my release properly. I’ve found that the more pressure I put on my face, the harder it is to execute the shot. On the other hand, no contact or a floating anchor even worse, in my opinion. How can you ever know when you are anchored if you can’t feel any contact with your hand?
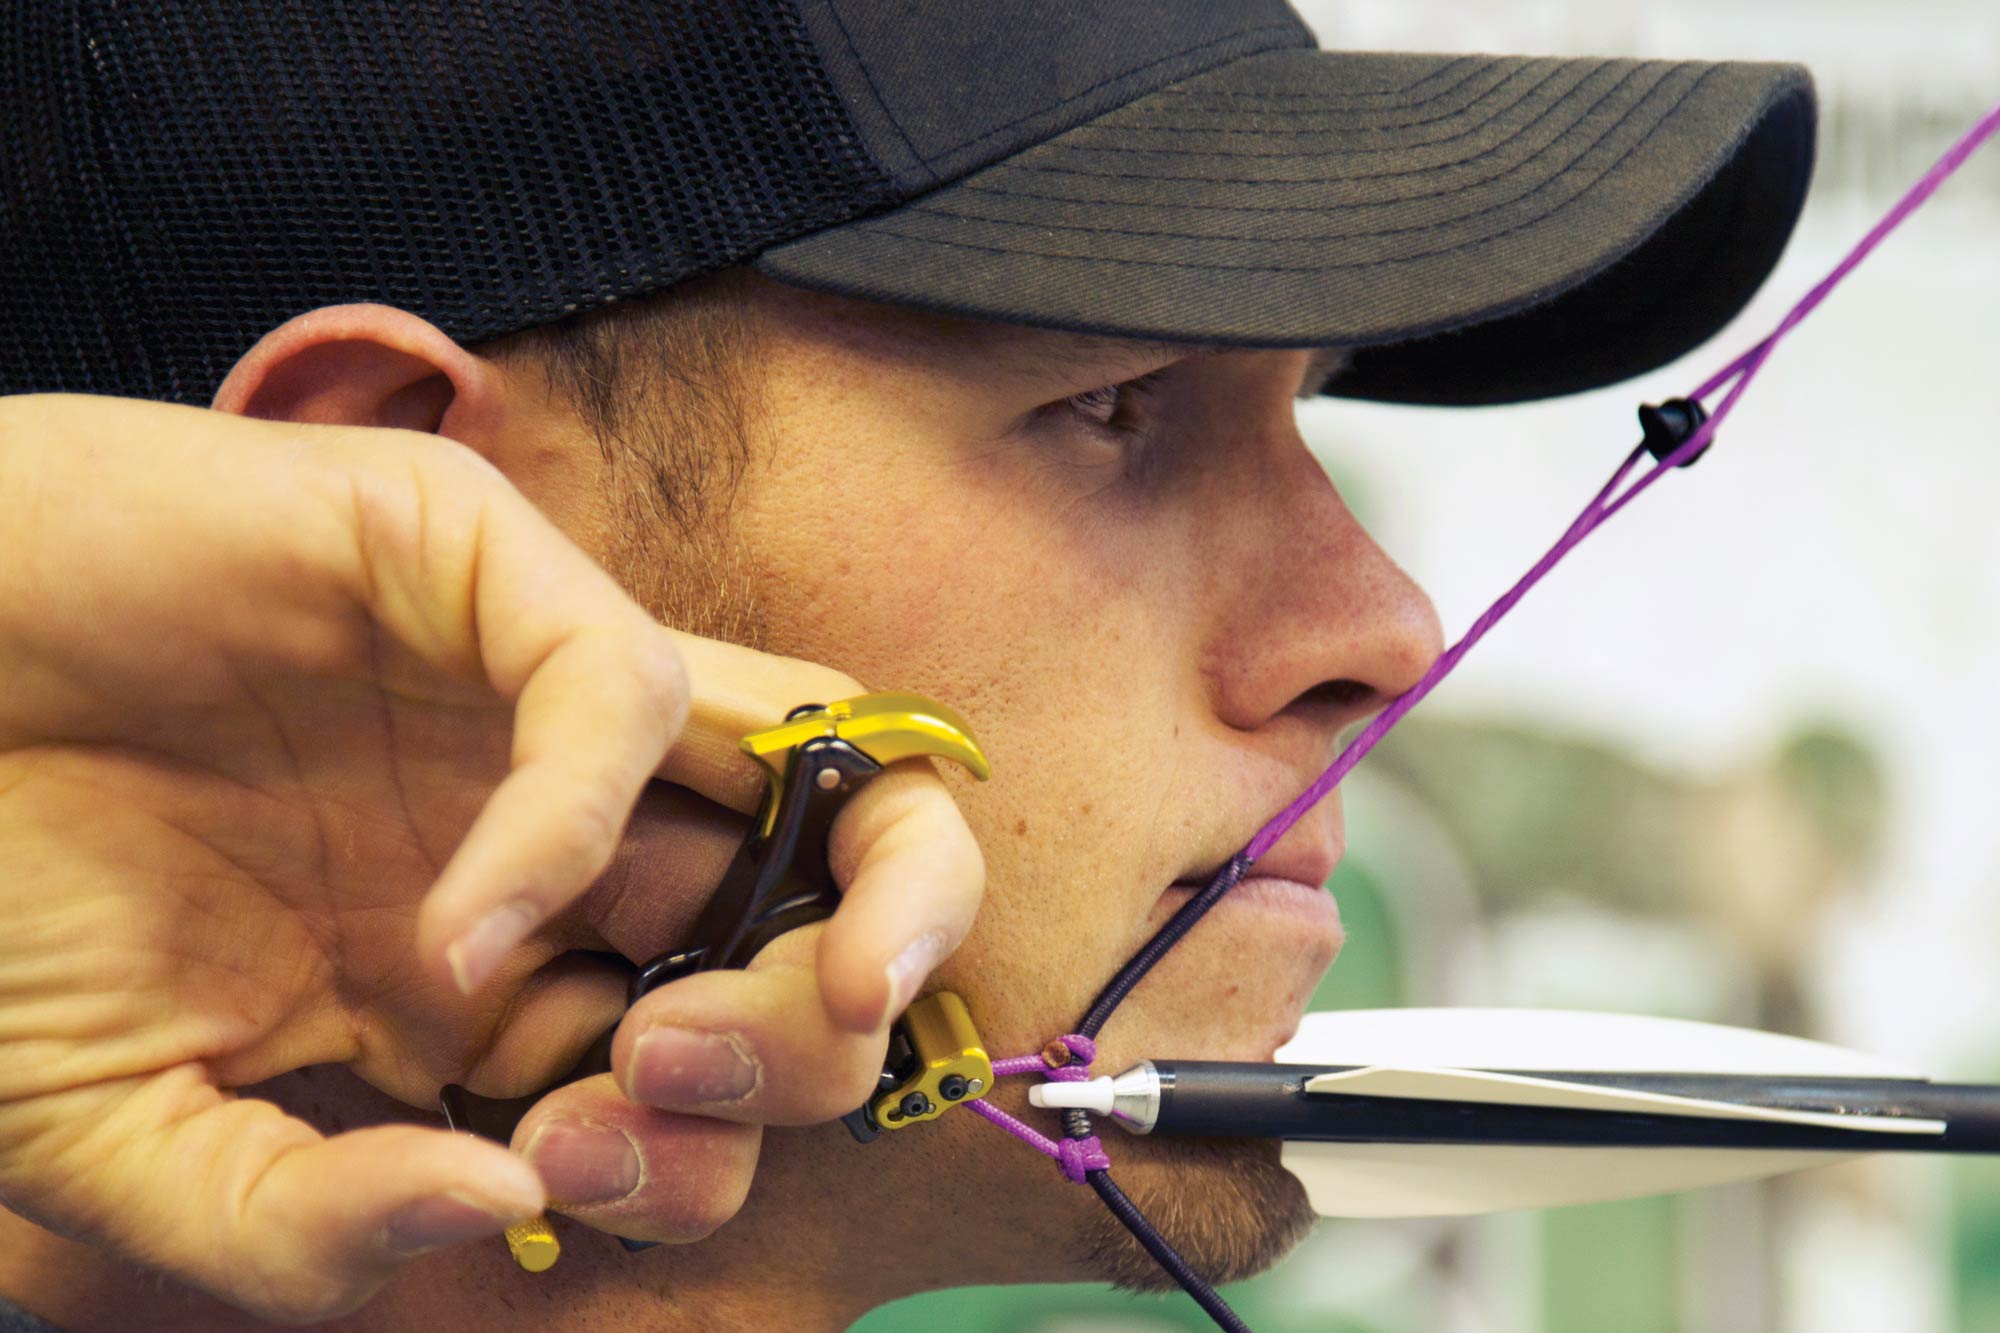 The final piece of the anchor is the contact between your face and the string. While you need this contact, you absolutely can’t press on the string with your face, as this will cause nightmares with shooting consistency. The absolute best and most repeatable string-to-face contact point I’ve found is to very lightly touch the string to the tip of your nose. If you use your cheek or the side of your nose, it’s hard to put the string in the exact same spot every time. The tip of your nose is always in the same place.
Just like every other aspect of archery, there is no right or wrong anchor – if you can repeat it from shot to shot. Having the correct draw length is very crucial in comfortably anchoring with the method I’ve just described. Assuming your equipment fits you perfectly, this three-part anchor method is, in my opinion, the best way to go about fine-tuning your archery game. Always remember your release-to-hand, hand-to-face, and string-to-face contact points. Stay consistent with all three and your anchor position will never fail.
Write It Down
Everyone has had that one setup that was money – that one bow they always shot better than any other. The problem is once you replace the strings, cables or limbs, it’s never the same. You can go to the same model, poundage and draw length, but it still doesn’t feel right. If only you had taken notes on everything. There are some key things you always should write down once you have that dream setup you are in love with. First, write down all the measurements on the bow. Then take notes on how your arrows are built. Lastly, take notes on other things in your shot more along the lines of feel and execution.
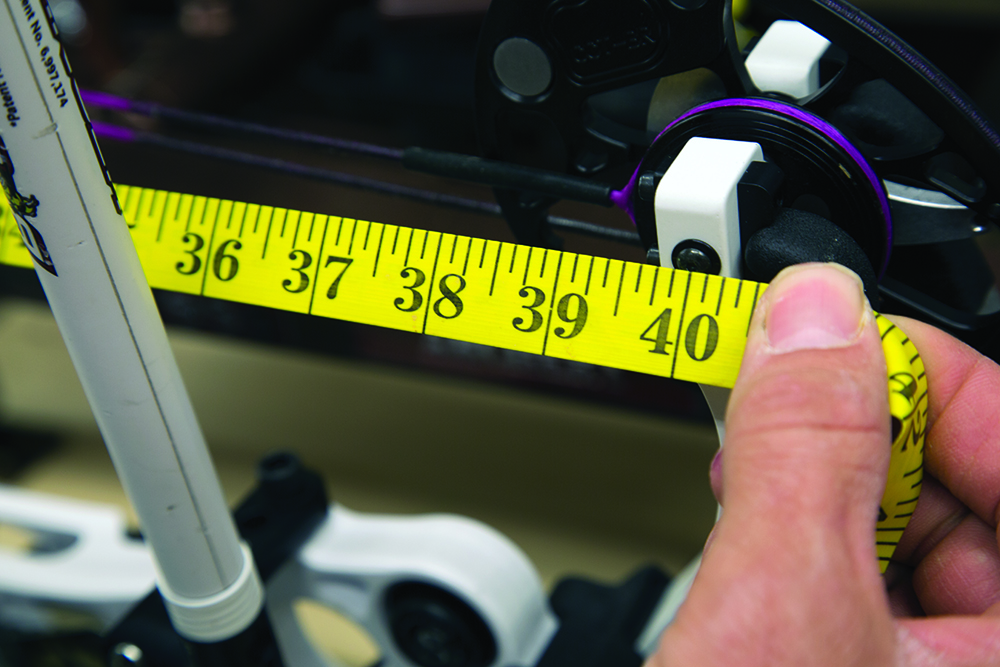 When we have the best set up of our lives, we need to realize that bows change with use, and before it’s too late, we need to write down everything about the setup. Some of these things are draw length measured from the throat of the grip, d-loop length, peep height from the loop, nock height from axles, draw weight, holding weight, axle to axle, brace height and let-off. Then, move on to things like stabilizer lengths and weights, sight choice, fiber size, lens magnification, peep aperture size, rest location from burger hole and, if you shoot a blade rest, what size launcher. Nothing is too small or unimportant to write down about this setup.
Next up are your arrows. Nothing is more critical to a forgiving and accurate setup than your arrows. You need to log all of this info as well. How long are your arrows carbon to carbon? What model arrow are you shooting, including spine? Vane selection and the helical or offset on those vanes are very important. Write down what nock, what grain point and then overall arrow weight. Arrows come in so many sizes and spines these days that if you can’t remember what arrow you had, all the other info isn’t nearly as important.
Lastly, you need to log every part of how you are executing your shot. Are you relaxed at full draw or are you pulling hard on the wall? What is your bow arm positioning? Straight arm or slightly bent? Same goes for release arm and even how you hold your release. Write down how you are anchoring in and what release you’re shooting. Bow grip is another crucial piece, but it’s very hard to write down specific details about some things, so I would also suggest taking pictures and keeping those with your notes.
If you are shooting the best you’ve ever shot and have finally found the setup you’ve been looking for, take some advice now that may save you a headache later. Write down everything you can about your setup. Log all the measurements on your bow, all of the brands and models of equipment you are using, what arrows and how you have them built and your current shot process and form. I know at this moment everything is great and you may think this is unnecessary, but one day you will be glad you did it.
Serving a Bow String
Few bowhunters spend much time worrying about the serving thread on their bowstring and/or cables. However, poor servings can cause major inconsistencies in how your bow performs. Whenever you are working with servings, there are several keys to make sure it will hold up and perform well.
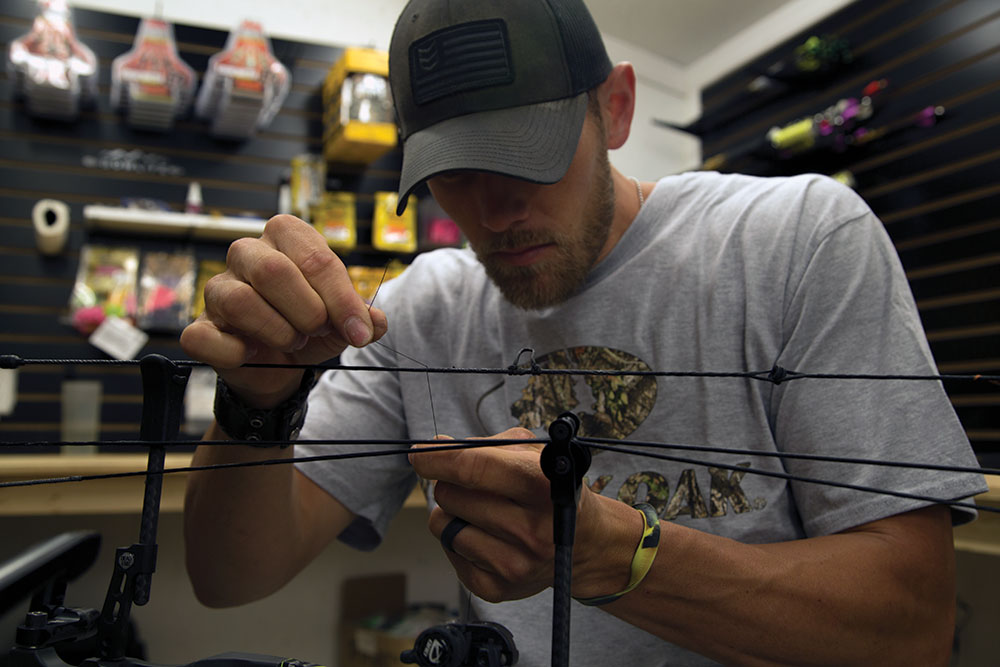 The most important difference between how I serve and how I see most others serve is that I weave the lead line in and out of the main serving. This holds the entire run together and keeps the serving from separating or “crawling” up and down the string. I’m sure you’ve seen it. You take the D-loop off your string and there’s a big gap in the serving where the loop material was tied onto the bowstring. Unfortunately, when this happens the serving has to move. More importantly, the serving where your nock goes has to move. You also can probably look at your cams right now and see where the serving is separating because of pressure and stress from the cams. Now, to fix or prevent these things from happening, you have to tie the entire run together. I take the serving tag end and make it at least as long as the run I’m about to serve. I go about 10-20 wraps over that tag or lead line and then I pull it out, wrap once and lay it back down for 10-20 more wraps. I do this for the entire process. When I get about half an inch from where I need to end, I just pull that tag out and finish the serve without it. The tighter you serve the run, the better and more effective this will be. It should prevent any type of crawling you would see otherwise.
You also want to keep even pressure while serving a run. The more loosely you serve, the bigger the serving diameter and the weaker it will be. As you increase the tightness (tension) of your serving, its diameter will shrink and its strength will increase. The only real way to tie a tight serving is to use a serving tool you can adjust. Keep that tool firm against the string, and once you have your desired pressure (tension), try not to influence the serving pressure otherwise. The beginning and end may be a little off because you have to manually serve them without a tool, so give yourself enough room on each end so that’s a non-issue.
Finally, when you finish your serve, there should be two ends sticking out – the tag end and the main line you used to wrap. Cut those down and leave at least a quarter inch sticking up. Fray the ends before burning them with a lighter, and as the burn gets close to the string, mash it down flat around the serving that’s wrapped. This keeps those tag ends from working back through and unraveling the entire run. Most of the time, I also apply a tiny dot of glue to those burns, just as an extra measure to hold them in place.
Serving isn’t an exciting part of being a great archer, but it is a critical component and something you must know how to do properly when working on your own bow. As I explained, there are a few things you can do to have the strongest, most effective serve. Most importantly, weave the tag line in and out of the main wrap throughout the length of the serve. Second, keep tight and even pressure on the thread throughout the serving process. And lastly, flare and burn both tag ends against the serving when finished to prevent them from slipping through. These three things will make your serving more durable and consistent.
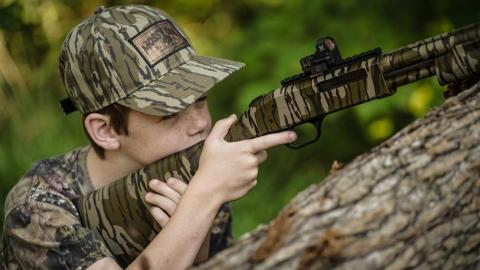
How to Stand When Shooting a Bow
Archery at a glance seems simple. You pull back a string and let it go, right? How hard could it be? Well, the answer is pretty dang hard if you’re looking to be the best archer possible. Archery is made up of so many steps you must be able to repeat to shoot consistently. One of those many steps is your stance.
Stance is the foundation on which your shot rests, and if it is different from one shot to the next, chances are your arrows will hit in different places too. Some of the key components of a proper stance include keeping your feet shoulder width apart, pointing your toes slightly outward and opening your hips to the target.
It is important to be steady while shooting a bow. So, naturally, your body needs to be planted solidly on the ground. You don’t see tall buildings that are smaller at the base than at the top. So, why would your stance be more narrow than the rest of your body? It shouldn’t. You want to keep your feet about shoulder width apart. I see a lot of people shooting with their feet close together. Simply put, that can and will cause aiming nightmares.
 After a lot of trial and error, I’ve found that if I point my toes out just barely, it helps with my overall balance. I used to shoot with my toes straight and I struggled with swaying forward and backward if the ground wasn’t perfectly level. I started pointing my toes out and it immediately got rid of the swaying and gave me a great awareness of my overall balance.
I see too many people closing themselves off to the target. You need to open your hips up. Not drastically, but enough to where you’re not having to turn your head 90 degrees to your body. When you are forced to turn your head that hard to address the target, it gets uncomfortable and you will find yourself drifting out of your peep. Archery is all about repetition, and when you are comfortable things are much easier to repeat.
Now, take all this information and when you have a comfortable stance you are happy with, address the target as if you are getting ready to shoot and have someone trace your feet. Don’t move the target or the trace marks for a few days, or as long as possible. Every time you go practice, stand in those prints. Before long, it will become natural for your feet to find that position and alignment on their own. You will have a solid and repeatable stance.
Your stance is one of many things that need to be repeated to be a consistent archer. It’s something that is often overlooked, but it can really help your game. You want a solid base, so start with your feet shoulder width apart, point your toes slightly out for all-around balance, open your hips up so that it’s easy for you to address your peep, and finally – after all those are correct – trace your stance out on the ground and shoot from that position until you can do it without trying.
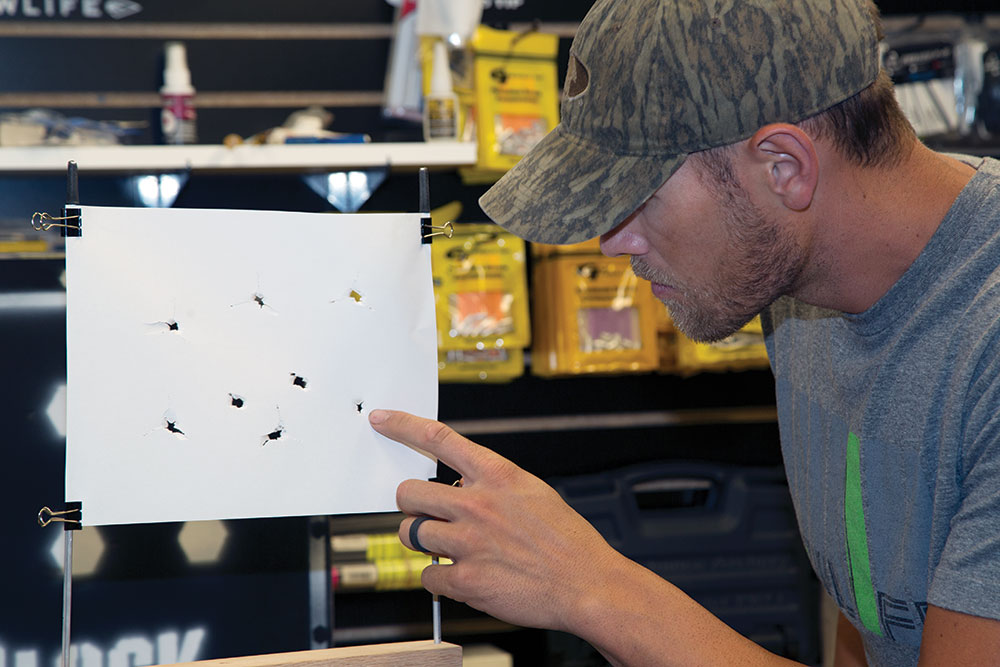
Paper Tuning a Bow
The idea of “paper tuning” bows has grown over the last few years. There is more and more information out there about tuning bows, which is a good thing. When I was growing up, paper tuning was pretty much nonexistent. For those who don’t know what this is, it’s simply shooting an arrow through a piece of paper to see if it is traveling straight or kicking one way or the other coming out of the bow. The only problem with this is that sometimes the vanes could be contacting the riser or rest and you could never get a perfect tear (bullet hole), no matter what you did. On top of that, the vanes can act as a Band-aid, covering up or slightly correcting the actual tune of the bow. I take paper tuning a step further now. I shoot an arrow through paper that is the same length and weight as my others, but this one will have no vanes. In the archery world, it’s called bare-shaft tuning.
You can either leave one un-fletched when building your arrows, or you can take a razor blade and scrape off the vanes on your current arrows. The main thing is to make sure they have the same specs (length, weight, and spine). Obviously, when you take the vanes off, it will weigh less, so I like to take electrical tape and wrap the arrow exactly where the vanes were until I get them to the weight of my other arrows. Don’t wrap the tape anywhere else on the shaft because it’s important that the spine reacts correctly.
Then, walk up to about 2 yards from the paper and shoot through. I like to shoot very close because I want the initial reaction right out of the bow. Depending on the tear, you can adjust your rest slightly. Sometimes tears that are high can mean the spine is too weak and low tears would be the opposite. If you get a bullet hole at 2 yards, then you know from the start the arrow is coming out perfectly. When you shoot a fletched arrow through, it should also be a bullet hole. If not, then you have a clearance issue. Your vanes must be contacting either the riser, cables or rest, causing them to fly off plane. I won’t get into that here, but spray some powder spray like athlete’s foot spray all over that area, and it will show you exactly where the vanes are hitting.
Bare-shaft tuning is the best way to see if, when uninfluenced by the vanes, your bow is properly tuned. Ideally, when a bow is properly tuned, I can take an arrow with vanes and shoot an X at 20 yards and then take an arrow with no vanes and do the same. It will show you if your setup is perfect or if you still have some work to do. I’m not saying you can’t shoot well with a bow that doesn’t shoot a bullet hole, because that’s false. I’ve won national championships with bows that weren’t tuned perfectly. That being said, as a right-hander, the only tear I’m ok with is slightly high left, which means the back end of the arrow is getting away from the riser so there will be no clearance issue. The opposite would apply to left-handers. Having a paper-tuned setup isn’t the magical answer to making you a great archer, but it will most certainly be a step in the right direction.
Preparing Your Mind for Success: Mastering the Mental Game of Archery
I’ve used almost all the principles that made me a champion archer to make myself a better bowhunter. It’s all about complete preparation. For me, the most important part of that is prepping my mind. All serious hunters spend so much time and money preparing for the fall. We have the best bows, accessories, and camo that money can buy. We set up stands, plant food plots and shoot all summer long. We are ready! Or are we? The truth is, most probably aren’t, even if they’ve done everything I just mentioned. See, no matter how physically prepared, or how prepped your spots are, or how patterned that big buck is, if you’re not mentally capable of holding yourself together in the moment of truth, all that hard work is for nothing. I may have never stumbled across the importance of mental visualization had I not grown up in the competition world, but nevertheless, I now use it every time I pick up my bow.
In the realm of competitive archery, confidence is everything. Of course, my equipment must be flawless and so must my form. But that won’t mean anything if I can’t keep myself together on that final arrow. How do I prepare for that moment? I visualize every shot – every possible scenario; I shoot every arrow in my mind before I shoot it in real life. And every time, the outcome in my mind is the same; I win! I do this over and over waiting on the finals or at night in my hotel room. Then when I’m there, in that moment, instead of feeling uncomfortable and nervous, I already know the outcome, because I’ve won 100 times in my head over the last 24 hours. Obviously, I don’t always actually win, but that confidence has carried me through more times than not. The problem is, sometimes the other guy has won 100 times in his head too.
If you love bowhunting like I do, then you already do some form of mental preparation and you don’t even know it. I involuntarily daydream about shooting giant bucks all the time, but then I take it a step further – and you should too. Every time I climb into the tree, I instantly go into “what if” mode. I think the deer is going to come from that patch of timber, but “what if” he comes from behind me. Most failure is prompted by surprise, which causes us to panic and then rush the moment. I try to go over every scenario, every way that big buck could come. I want to imagine it and know exactly what to do when it happens, because nine times out of 10, things don’t go the way they are supposed to when you’re hunting a mature animal. Then, when that 180-inch buck steps out in the one spot you never figured he would, you’re cool, calm, and collected because you just shot him there a few minutes ago in your mind.
Mental training has been one of my most important edges in competition for my entire career- if not the most important – and I’ve used the same method in bowhunting with similar success. We all put in so much work preparing for our favorite time of the year, but for most the mental training goes untouched, causing a lot of heartbreak in the moments that should be our biggest victories. Don’t let those opportunities slip away because you didn’t prepare your most valuable piece of equipment – your mind.