Taking advantage of today’s waste can help tomorrow’s garden and the planet. It’s a must for any devoted outdoorsman, and that’s why the Mossy Oak team has assembled this guide for how to start composting. Whether you’re an apartment-bound hunter or an aspiring backcountry homesteader, you can use composting as a way to boost your garden’s output and help the environment.
1. Understand Why Composting Is Important
At its most basic, composting is the process by which the products of the earth (vegetable matter and animal matter) are broken down and transformed into nutrients that enrich the earth.
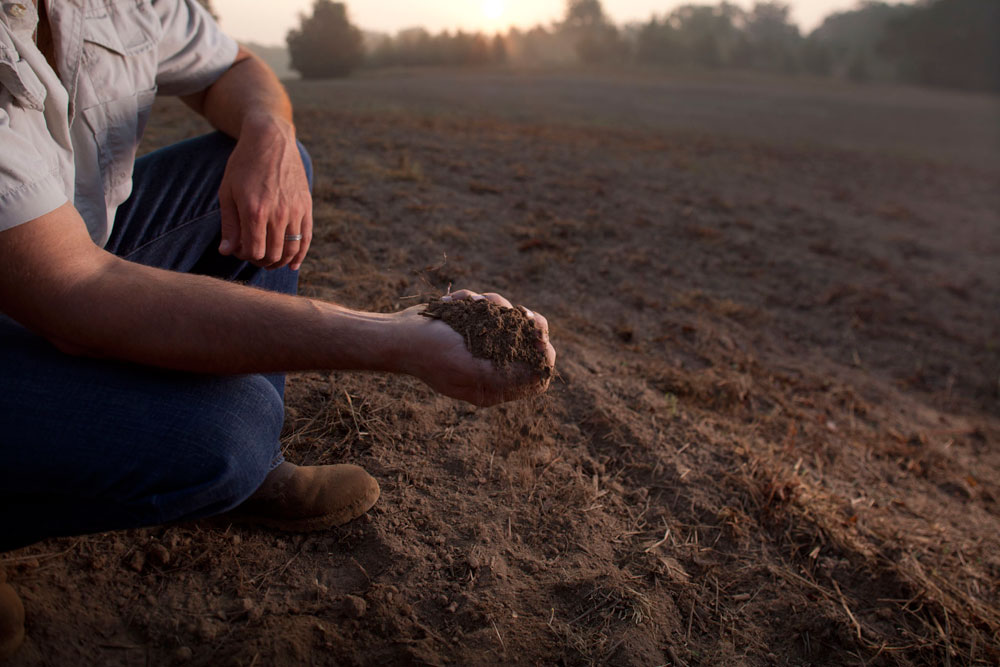
Composting is important because it saves materials that can promote long-term soil health and keeps biodiversity from being wasted in the landfill. Compost encourages a healthy root structure and good plant growth. Healthy root structures help to hold water and prevent soil erosion.
The body and bulk added to the soil by compost adds nutrients and attracts earthworms and beneficial microbes. It also lightens clay soil, helps sandier soil retain water, moderates soil temperature, and protects plants from freezing.
A healthy compost system effectively reduces the need for chemical fertilizers and industrial soil conditioners. It can even help keep weeds at bay when used as a mulch—which is as good of a reason as any to learn how to compost. Given all of these benefits, running your own composting system is one of the Mossy Oak team’s top planting tips.
2. Know the Uses for Compost
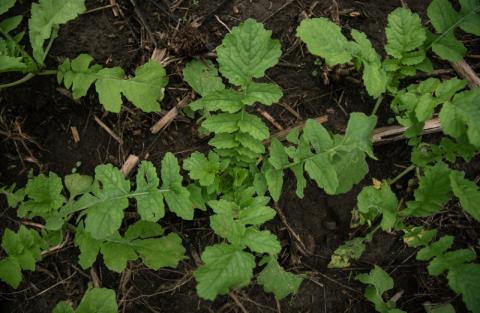
Composting is one of the best ways you can improve your food plot soil quality. You can also use composting on a larger scale to help you improve the quality of native browse for deer. If you have an area or patch that’s struggling to produce the browse you want, you can fortify the soil to encourage more wildlife to come to your property.
Even individuals who don’t have a yard or extensive property can reap some benefits from composting. Some people have an apartment porch garden, an indoor container garden, or simply an arrangement for a local collection service to pick up the compost or drop it off at a composting location.
3. The How-to-Compost Recipe: Carbon and Nitrogen
Like many of the best recipes in life, composting comes down to two fundamental ingredients: carbon and nitrogen. The ideal carbon-to-nitrogen ratio for good composting is 30:1. Balancing your carbon- and nitrogen-rich materials can help you keep your composting system working efficiently.
Here’s a bit more of a breakdown of compostable materials, complete with their approximate carbon-to-nitrogen ratios.
Carbon-Rich Materials
The exact carbon-to-nitrogen ratios for these materials depend, in part, on the state of decay they’re already in. For instance, rotting autumn leaves will have more nitrogen than leaves that have just fallen off the tree. Regardless, these brown materials are crucial to the functionality of your compost. Their bulk allows oxygen to penetrate the compost and nourish the organisms that break down your materials into good “dirt food.”
- Corrugated cardboard and newspaper: 560:1
- Sawdust and wood chips: 100-500:1
- Mixed paper: 150-200:1
- Bark: 100-130:1
- Straw: 40-100:1
- Autumn leaves: 30-80:1
From this list, you can tell that not all “brown waste” is made the same. For instance, if you throw a lot of cardboard and sawdust into your compost bin, you’ll want to compensate with more nitrogen-rich materials from the list below.
Nitrogen-Rich Materials
These materials are rich in nitrogen, which is essential in turning carbon-rich materials into good “dirt food.”
- Grass clippings:15-25:1
- Coffee grounds: 20:1
- Vegetable scraps: 15-20:1
- Manure: 5-25:1
Too much nitrogen-rich material can result in a smelly, anaerobic pile that takes forever to decay. Healthy compost shouldn’t reek. In fact, it should just smell like dirt. If it doesn’t, find ways to aerate your compost, think about your layering, and add more brown materials.
4. Choose Your Compost Method and Get Building
Not everyone has the space for a massive composting operation. Even individuals who have plenty of outdoor space will want different things from their compost program. Some prefer an open-air compost system, and others will wish to have a closed bin.
Collecting Compost Indoors
If you’re composting indoors, you’re probably just collecting compost in a bin to take to a composting center. This is admirable, as it saves waste from landfills. Use biodegradable bags and an air-tight container.
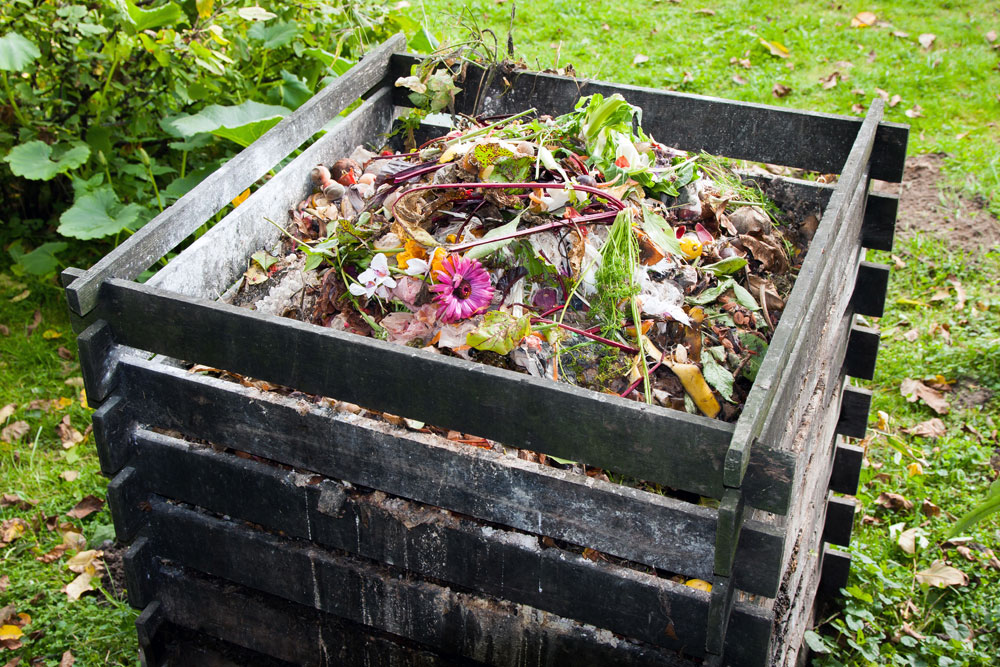
Closed-Container Outdoor Composting
Closed-container composting has the benefit of keeping critters at bay, especially if you’re composting food scraps. Some tumbler composters allow you to turn and aerate your compost with great ease; other pre-made or DIY compost containers will enable you to keep your compost contained.
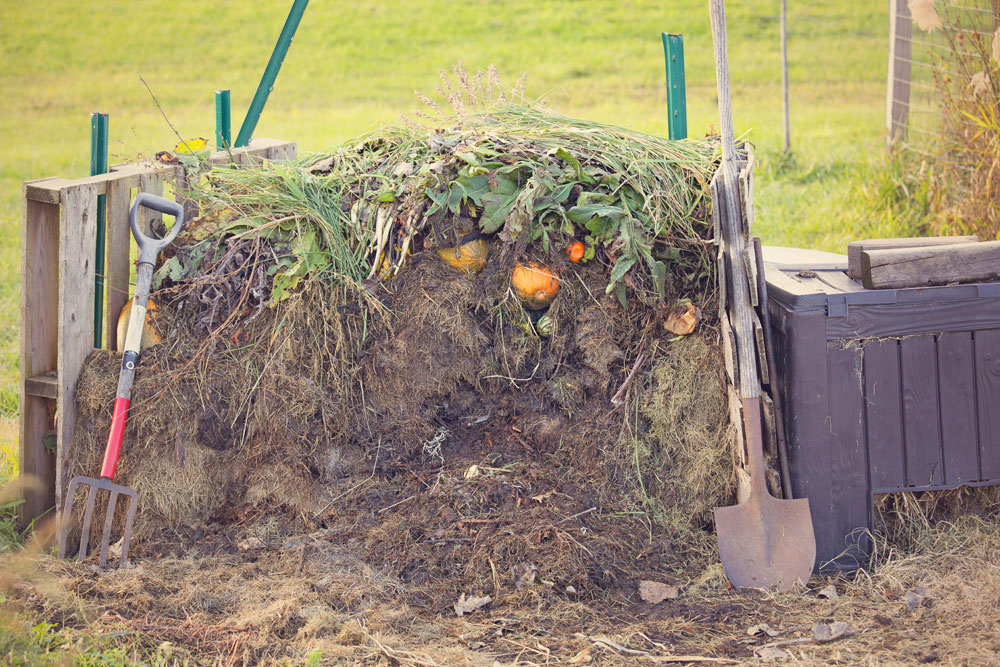
Open Outdoor Composting
One of the benefits of this method is that it allows for easy oxygenation. One of the drawbacks is that you will want to avoid putting a lot of food in the composting bin, lest you attract unwanted pests. Of course, you can avoid this problem by putting your open-air composting bin in an old dog run or fencing it in, if you’re willing to put in a little extra construction time.
5. Layer and Aerate
Once you’ve chosen your compost method, it’s time to get started. Here are the basic steps to composting once you’ve built your composter:
Start on bare earth or add worms.
You want to encourage and welcome worms into your compost pile. They’ll help break it down for you. If you’re starting on bare earth, remember to lay down a few inches of straw, twigs, or small sticks to enable the compost pile to drain.
Alternate between moist and dry layers.
Layer your compost, adding moist and dry layers in turn. Use extremely carbon-rich materials like cardboard and sawdust sparingly and follow with high-nitrogen materials.
Don’t forget your nitrogen sources.
Remember to add your nitrogen sources: manure, grass clippings, and coffee grounds.
Keep the compost moist, but not sodden.
Compost needs to be moist to break down, but you don’t want it to be soaked through.
Trap heat.
Heat is just as important as moisture for breaking down compost. Use a cover—an old tarp or a wooden roof, for instance—that can help you trap heat and regulate moisture levels in your compost pile.
Turn your compost.
Remember to turn your compost pile every few weeks with a shovel or pitchfork. This introduces essential oxygen to your compost pile.
Final Thoughts: Use Your Compost
This is where all of your hard work finally pays off. Mix your compost into the dirt, containers, and raised beds. Use it as mulch to keep weeds at bay, enrich native browse, and give your garden a boost. Enjoy contributing to the natural cycles of Mother Nature and remember that the team here at Mossy Oak wishes you every success in your composting endeavors.