Tracy Schmidt | Originally published in GameKeepers: Farming for Wildlife Magazine
silver skin from the meat. Besides tasting better, removing fat helps
the lids seal better on your jars.
The snow is drifted across the driveway. I line up the truck for a straight shot up the driveway to reach the garage. I hit the gas pedal and hold onto the wheel tight. There is no margin for error, and I plan on making it inside and heading straight for the kitchen. It has been a long day of hunting and it is time to reap the rewards of an easy prep meal.
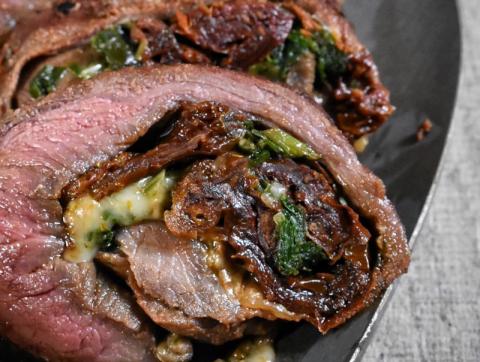
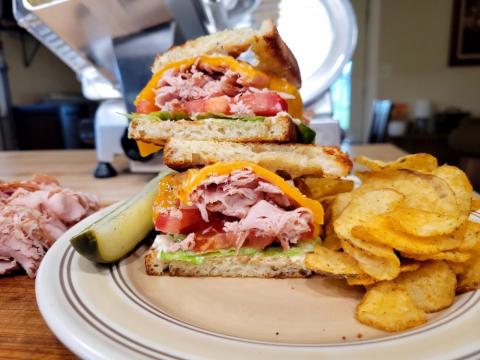
I know that waiting inside are venison over noodles and a comfortable chair. Everyone at deer camp likes to eat this meal and the key to its success is home-canned venison. In my opinion, there is no equal. Would you like to know how you can come in from the cold to a great easy venison feast? If so, read on.
I usually have two rounds of canning venison per year. The first comes when the meat comes back from being processed and a second if I need to empty out my freezer when preparing for the next hunting season. The first round is generally more in terms of quantity than the second batch. I try to plan my meals so I don’t have too much left to can during the early summer.
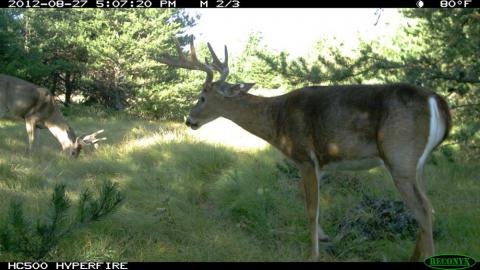
My family bow hunts, so we often have early bow-season venison to can before gun season even begins. Making partial batches is OK, but we’ve found it’s just easier to go out and target a young doe early in bow season with the sole intention of using that entire deer for canning.
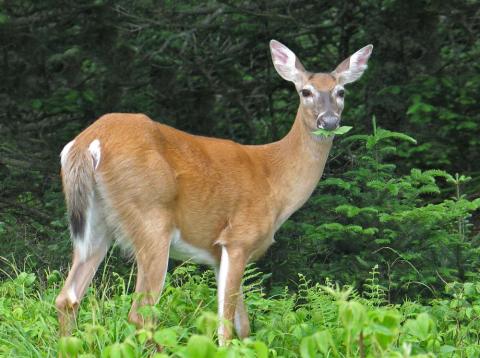
In our home state of Wisconsin, deer grow big fast. A yearling doe, for example will weigh about 100 pounds, field dressed. That equates to about 40 pounds of boneless venison. We will, of course, save the back-straps and tenderloins for grilling. That usually leaves us with more or less 30 pounds of venison meat that could be used for canning.
The great thing about canned venison for deer camp and in general is not having to keep it in a refrigerator or freezer. When I use it to make venison over noodles I use canned carrots and beans, so it is as simple as emptying a few jars into a deep frying pan and boiling some water to cook the noodles. Now that I have shared why I love canned venison so much, I will share how you too can enjoy making your own canned venison.
Safety First
Venison is a low-acid food so it must be processed in a pressure canner for the full amount of time indicated in the recipe. Cooking it thoroughly is important to destroy any food-poisoning bacteria that may be present. To destroy clostridium botulinum spores, foods must be processed by surrounding the jars with pure pressurized steam. A large canner of 16-22 quarts must be used to be effective.
Make sure you use the clean, hot jars and lids and screw bands pre-treated according to package instructions. Avoid cross-contamination between prep equipment and tools used during the canning process. It is important to have sterile lids because bacterial growth on the inside of the lid means the whole jar should be considered contaminated and must be disposed of rather than consumed. There is no more sinking feeling than having to dump a jar of hard-earned venison into the trash can.
Quality Counts
Raw pack is just as it sounds - you pack raw meat into the jars.
Steam cooks the meat and cooking creates the liquid, so you
don’t need to add anything to the venison. The second method,
hot pack, involves pre-cooking the meat to 135° F and packing
venison into hot jars.
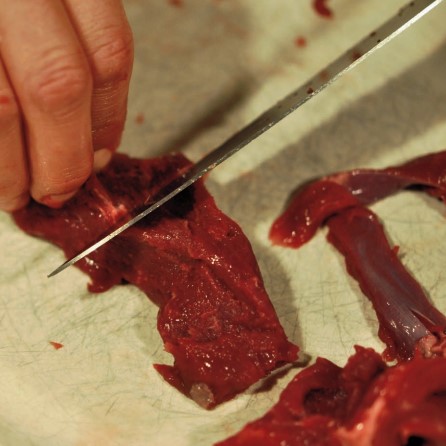
When canning venison, I only use good quality meat. I also remove any bruised tissue. I trim all visible fat from the meat and remove the silver skin as much as possible. Removing fat helps the lids seal better on your jars. The fat will melt at the high temperature during canning and could coat the rim of the jar underneath the lids making the seal fail.
If you are going to use previously frozen meat, make sure you thaw it in a 40 degree or colder refrigerator—not on the counter. Meat older than six months old may start to taste funny, so make sure your venison is not only marked with the cut, but also marked with the date you froze it. Especially when you have multiple deer you will be consuming.
Jar Packing Methods
There are two different ways to pack your jars: “hot pack” and “raw pack.” Raw pack works well for large pieces of venison. You put the larger pieces of meat into the jars loosely unit you reach the proper headspace. You pack the jars loosely so the steam can get around the pieces and cooking will create the liquid, so you don’t need to add anything to the venison. The venison is then processed according to the recipe instructions.
The second method, hot pack, involves pre-cooking the meat to 135 degrees Fahrenheit and packing venison into hot jars. Boiling-hot liquid is added to the jars, covering the meat, until the proper headspace is reached. The venison is then processed according to the recipe instructions.
Elevation is an important safety consideration in pressure canning. As your altitude exceeds 1,000 feet above sea level the atmospheric pressure is reduced. This causes water to boil at temperatures lower than 212 degrees Fahrenheit. A pressure canner must reach a temperature of 240 degrees Fahrenheit in order to stop botulism. To compensate for altitude differences, you must increase the amount of pressure used. The time does not change, only the pressure used.
This differs from water bath canning that adjusts the time to compensate for elevation. You can go to this site and enter your city and state, then zoom in to find your street. I recommend checking your personal street level, because there can be differences even in close proximity. In my case, most areas of my county are below 1,000 feet. My home, however, is located in a slightly higher place than the norm meaning I must adjust my pressure accordingly. I am off by only 51 feet, but better to be safe than sorry.
Equipment Needed
seals before using your canned meat.
Here are the tools you will need for canning cubed venison:
- A sharp knife and cutting board
- Quart-sized canning jars
- Lids and screw caps for your jars
- Wooden spoon
- Ladle
- Jar lifter
- Large glass bowl
- Bubble popper/measurer
- Pressure canner
- Meat thermometer
- Funnel Magnetic lid lifter
- Dish towels to put your hot jars on when they are removed from the canner
Canning Cubed Venison Recipe Ingredients
Here is my personal recipe for canning cubed venison:
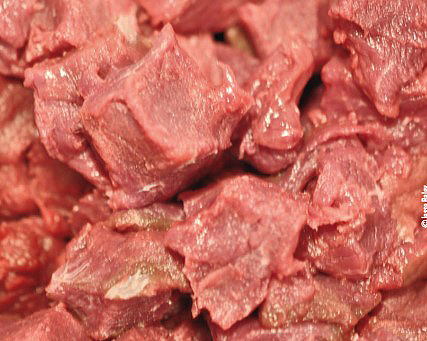
- 3 3/4 cups cubed venison (There are 4 cups in a quart so you will want to aim for about 3-3/4 cups, give or take a little.)
- 1 tablespoon vegetable oil
- 3 cloves of crushed garlic
- 1 48-ounce carton of beef broth
- 1 teaspoon dried thyme
- salt to taste
The Process
until it reaches a temperature of 135 ° F with a meat
thermometer.
First trim and cube your venison. See how many cups worth you have. That will help you determine how many jars you will need for the canning process. Keep your jars hot while you prepare the meat and liquid. I keep mine in a hot water bath in my large roaster. Prepare your lids and bands according to the package instructions.
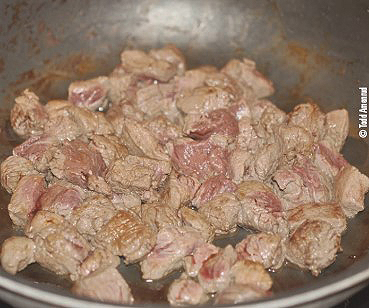
Pour the beef broth into a covered stockpot over medium heat. Add the thyme and crushed garlic to the broth and bring it to a boil.
Meanwhile, put 1 tablespoon of oil in a non-stick skillet and brown the venison. It must be cooked until it reaches a temperature of 135 degrees Fahrenheit with a meat thermometer.
Add 1 teaspoon of salt to each quart jar and then pack the hot jars with the hot meat. Bring over the boiling hot beef broth and remove the crushed garlic. I remove the garlic because it can turn blue in the jar and people might find it disturbing. The garlic turns blue due to an enzymatic reaction and is actually harmless; however, it may be hard to convince your deer camp friends of that fact so I prefer to remove it and avoid the conversation. By crushing the garlic, I am helping flavor the broth with the garlic.
It is important to understand that flavors often intensify during the canning process. Herbs can intensify a great deal. I season my broth when I can, but I season lightly so I can add some fresh touches if I want to when I prepare the food for a meal. You can always add, but you can’t subtract when it comes to food flavors.
I prefer to take a cup of broth and stir it into the renderings left in my skillet from browning the venison and then add that back to the broth mixture. This also helps add some great depth of flavor to the broth. Sometimes the balance of liquid you need for your jars may be over or under what you have prepared. If you are running short on liquid, you can dilute the broth by adding some water. However, you will have to return it to boiling before you may use it to fill your jars. Take your boiling broth and add it to your jars through the funnel with your ladle, leaving 1-inch headspace in the jar. Remove air bubbles, wipe jar rims, recheck headspace measurements, place lids and adjust screw bands on jars. Add the quart jars in batches to the pressure canner.
Process the quart jars for 90 minutes in a pressure canner at the recommended pressure for your elevation.
Weighted gauge: Up to 1,000 feet = 10 pounds pressure; Above 1,000 feet = 15 pounds pressure
Dial gauge: Up to 2,000 feet = 11 pounds pressure
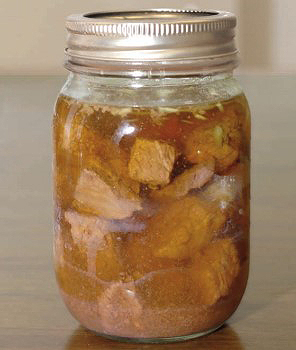
When it is safe to remove your jars from the canner, put the hot jars on a folded towel to cool. This will help to prevent them from breaking. When they have cooled, check the seals, wipe the jars and then label and date them. You will want to store them away from light. Look for signs of spoilage and broken seals before using the canned meat.
The Result

during the canning process. Herbs can intensify a great
deal. It may be best to initially season lightly and then add
some fresh touches when you prepare the food. You can
always add, but you can’t subtract when it comes to food
flavors.
Now onto the fun part, using your jars of meat. I like to can my venison in cubes. I find it is the easiest for me to work into the recipes I commonly prepare for my family. Here are some ways you can use the canned cubed meat: make a pot pie, make a stew, make a quick venison chili, drain the liquid out and use it to make tacos, shred it to use for a barbeque sandwich. Your imagination and perception of taste are your limitations.
Some people prefer to can their venison directly as a stew, venison burger, sloppy-Joe mix or spaghetti sauce. These are all great options to try.
The first night of deer camp, or the night before the hunt, is a perfect time for gathering friends and family. Everyone appreciates a little canned venison for dinner as the lore unfolds by the fire. I have to confess, though, I am partial to a little fresh tenderloin the second night of camp. Enjoy!
Venison over Noodles Recipe
- 2 quarts canned venison
- 1 pint canned carrots or 1 Cup frozen carrots
- 1 pint canned beans or 1 Cup frozen beans
- ¼ cup chopped onion (fresh or frozen)
- ¼ cup flour
- Cup water
- 1 package extra wide egg noodles cooked to package directions
Heat the canned venison in a large stockpot, add the carrots, beans, and onion. Mix 1/4 cup flour with 1/3 cup water and add to skillet and bring to boil to thicken. Serve over cooked egg noodles.
Conclusion
Canned venison is a great supplement to your wild game cache. Sure, we love back-straps grilled over hot coals and tender roasts that can be cut with a fork—those are staples in the venison lover’s diet. Equally important, however, are a few weeks’ worth of fast-and-easy-to-make meals. For “those times,” there’s no beating a pantry filled with ready-to-use canned venison. You can even do the same with your summer catch by canning fish.

Need wild game meat for a recipe you've been wanting to try? Check out GameKeeper Butchery. GameKeeper Butchery is dedicated to procuring the finest assortment and highest quality of specialty meats from the United States and around the world. Our commitment is to deliver the safest, freshest and most wholesome products.