Brooks Tiller
Processing a deer can be an overwhelming and time-consuming task. While we may have places to have our venison processed, I have always enjoyed having my hand in every step of taking my food from the field to my plate. We may not have a special processing building with a walk-in freezer, but with a little foresight and preparation, we can do it all on our own. Let’s start with the bare necessities for processing our deer. We can add more as needed to take our food from the field to our family table.
LOCATION
Having a designated place to clean and cut up our deer makes the process much better. At a minimum, being prepared and organized prevents us from wasting time looking for what we need. Before ever hunting, it is good to establish and designate an area to clean and process deer.
I once thought the kitchen table would be a great place to cut up a whole deer but my roommates did not share my point of view. With a sturdy and solid table to put meat on, we are able to use a little extra elbow grease as we cut, saw, and chop. Also, remember to wipe the table down and clean it well to prevent any metal shavings, drops of oil, or dust from woodworking projects in our meat.
TOOLS
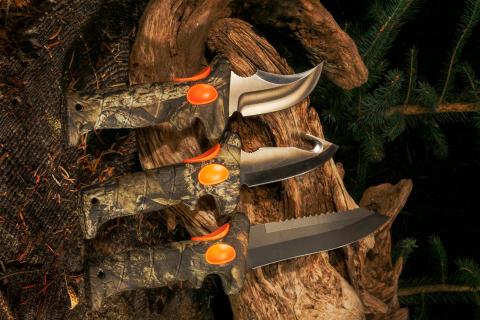
First and foremost, having a few good sharp knives is essential. While gutting in the field is an option, having a knife with a good gut hook can come in handy to empty the body cavity in the field or back at the shed. Use a smaller knife for the detailed work of skinning. Then when it comes time for cutting up the meat, we have a whole stash of knives in our skinning shed including our fish fillet knife. We found that a fillet knife from our fish cleaning stash works wonders. With a sharp edge, a fillet knife can cut close to the bone and is very effective at removing the tough silver skin.
A knife must be sharp for it to be useful. Butchering a deer can dull a knife in a hurry, making the job much more difficult. So having a good knife sharpener on hand is critical. There are a plethora of options from fancy electric sharpeners that are fast to the old school whetstone that we can use to keep our blades sharp and effective.
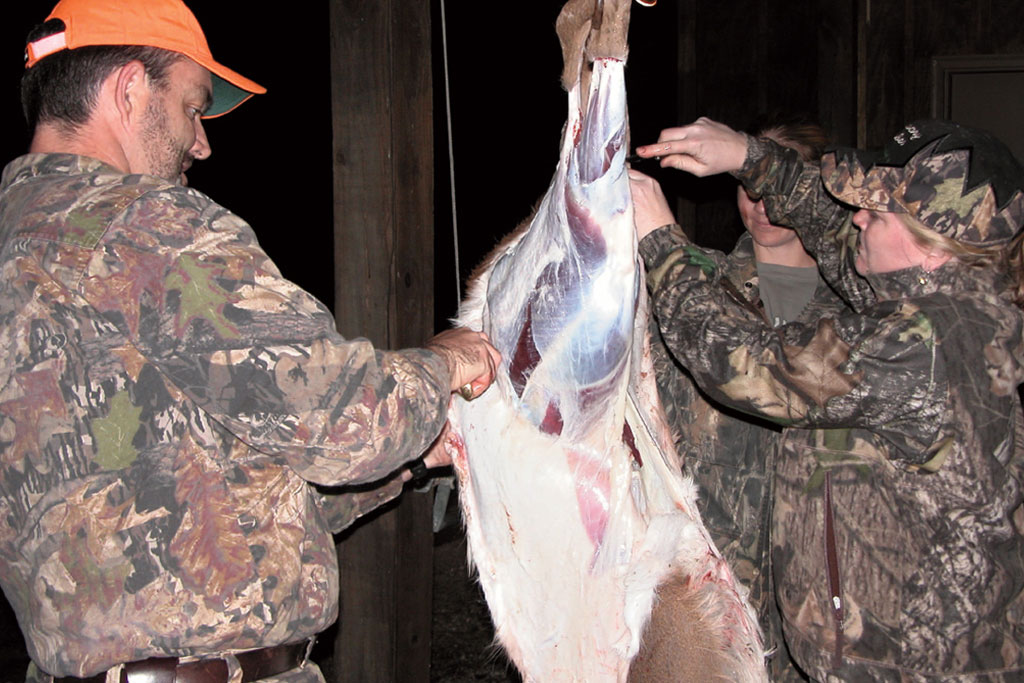
We can completely process a deer in the field but having a solid place to hang the deer makes life easier. At times, we have used a very primitive method of a gambrel tied to a rope and thrown over a solid limb. This can take some manpower or an ATV to help get the deer up. But run the rope through a pulley, and the strain to get the deer up decreases tremendously. Add a hand crank winch to make hoisting a deer truly a cinch.
STORAGE
If the temperatures are good and there are no concerns about dogs, coyotes, raccoons, bears, or other meat thieving varmints we can leave the deer to hang overnight. But having an old fridge on hand will allow us to break down the deer and place it in the fridge overnight. I like to give the meat time in the fridge to get cold. Cold but not frozen meat is firm and much easier to work with and cut off the bone.
When it comes time to cut up the meat, having a few tubs for meat and one for the scraps makes the job cleaner and more efficient. Separating the tender steak from stew meat will make the final step quicker.
WRAP IT UP
Once we have the meat cut up it is we need somewhere to put it. Wrapping tightly in freezer paper or vacuum sealing will help to preserve the meat and decrease the risk of freezer burn. Having a freezer or two will allow us to stash away enough meat to avoid any pandemic meat shortages that may arise!
We do not want to haphazardly throw the meat in the freezer. We have to protect it from freezer burn and keep it fresh. Roll out some freezer paper and place about a pound of meat in the middle and wrap it up tightly. A vacuum sealer can also be used to ensure our meat stays fresh.
CLEAN UP
After we have processed our deer and have it put away in the freezer, there is still a little work to do. We need to clean it up so we are ready for our next harvest.
Begin by wiping the knives and saws clean of meat and sinew. Wipe the table clean of blood and grime. Use hot soapy water to wash the knives, table, meat tubs, and all our processing tools. Next use disinfectant spray or wipes to clean the table. This will make sure our surface is clean and not allowing any funk to grow that we will have to scrub next time.
Finally, once it dries organize your tools by placing everything together. The knives, freezer paper, and needed tools can be placed in the meat tubs. And now we are ready for the next hunt and processing.
Like most things in life we can get as elaborate and make it as complicated as we want. But when starting our own skinning shed, start simple with the basics. Then add more gradually down the road. The first time or two processing our deer from field to the family table, we will realize things that we really need and notice others that are not necessary. Finally as we process more deer, we will subtract things that we do not need while adding tools that make us and our processing better. Take what is useful and discard what is not needed!