Sam White
No matter the type of fishing you do—or the species you pursue—the one area that is absolutely critical in attention to detail is in the knots we use. Any connection between the line and the hook is a potential failure point, but especially once we head offshore and target oversized offshore brawlers like big tuna and billfish. These species seem to be experts at finding and exploiting any weakness in the gear, and knots in particular must be as close to perfect as possible. If it doesn’t look or feel right, cut and retie it.
Fortunately, there are a handful of basic knots that will serve well for 90 percent or more of the offshore applications. The key is practice and repetition. The intention of this content is to explain why each knot is important and what its basic functions are, rather than explain how to tie each one. Let’s get started.
Bimini Twist
Probably the grandfather of all offshore knots, this is the one that is the basis for nearly every trolling setup. It’s used to create a double line from the main running line—by doubling the line and using a twist-style knot, in essence we are creating a shock absorber between the single running line and the heavier leader and hook. When a marlin or tuna strikes suddenly, this connection is better able to absorb that shock without immediately snapping. From the Bimini, you can attach either a heavy-duty ball-bearing snap swivel to use with heavy leaders, or you can use a No-Name Knot to create a light-tackle wind-on leader.
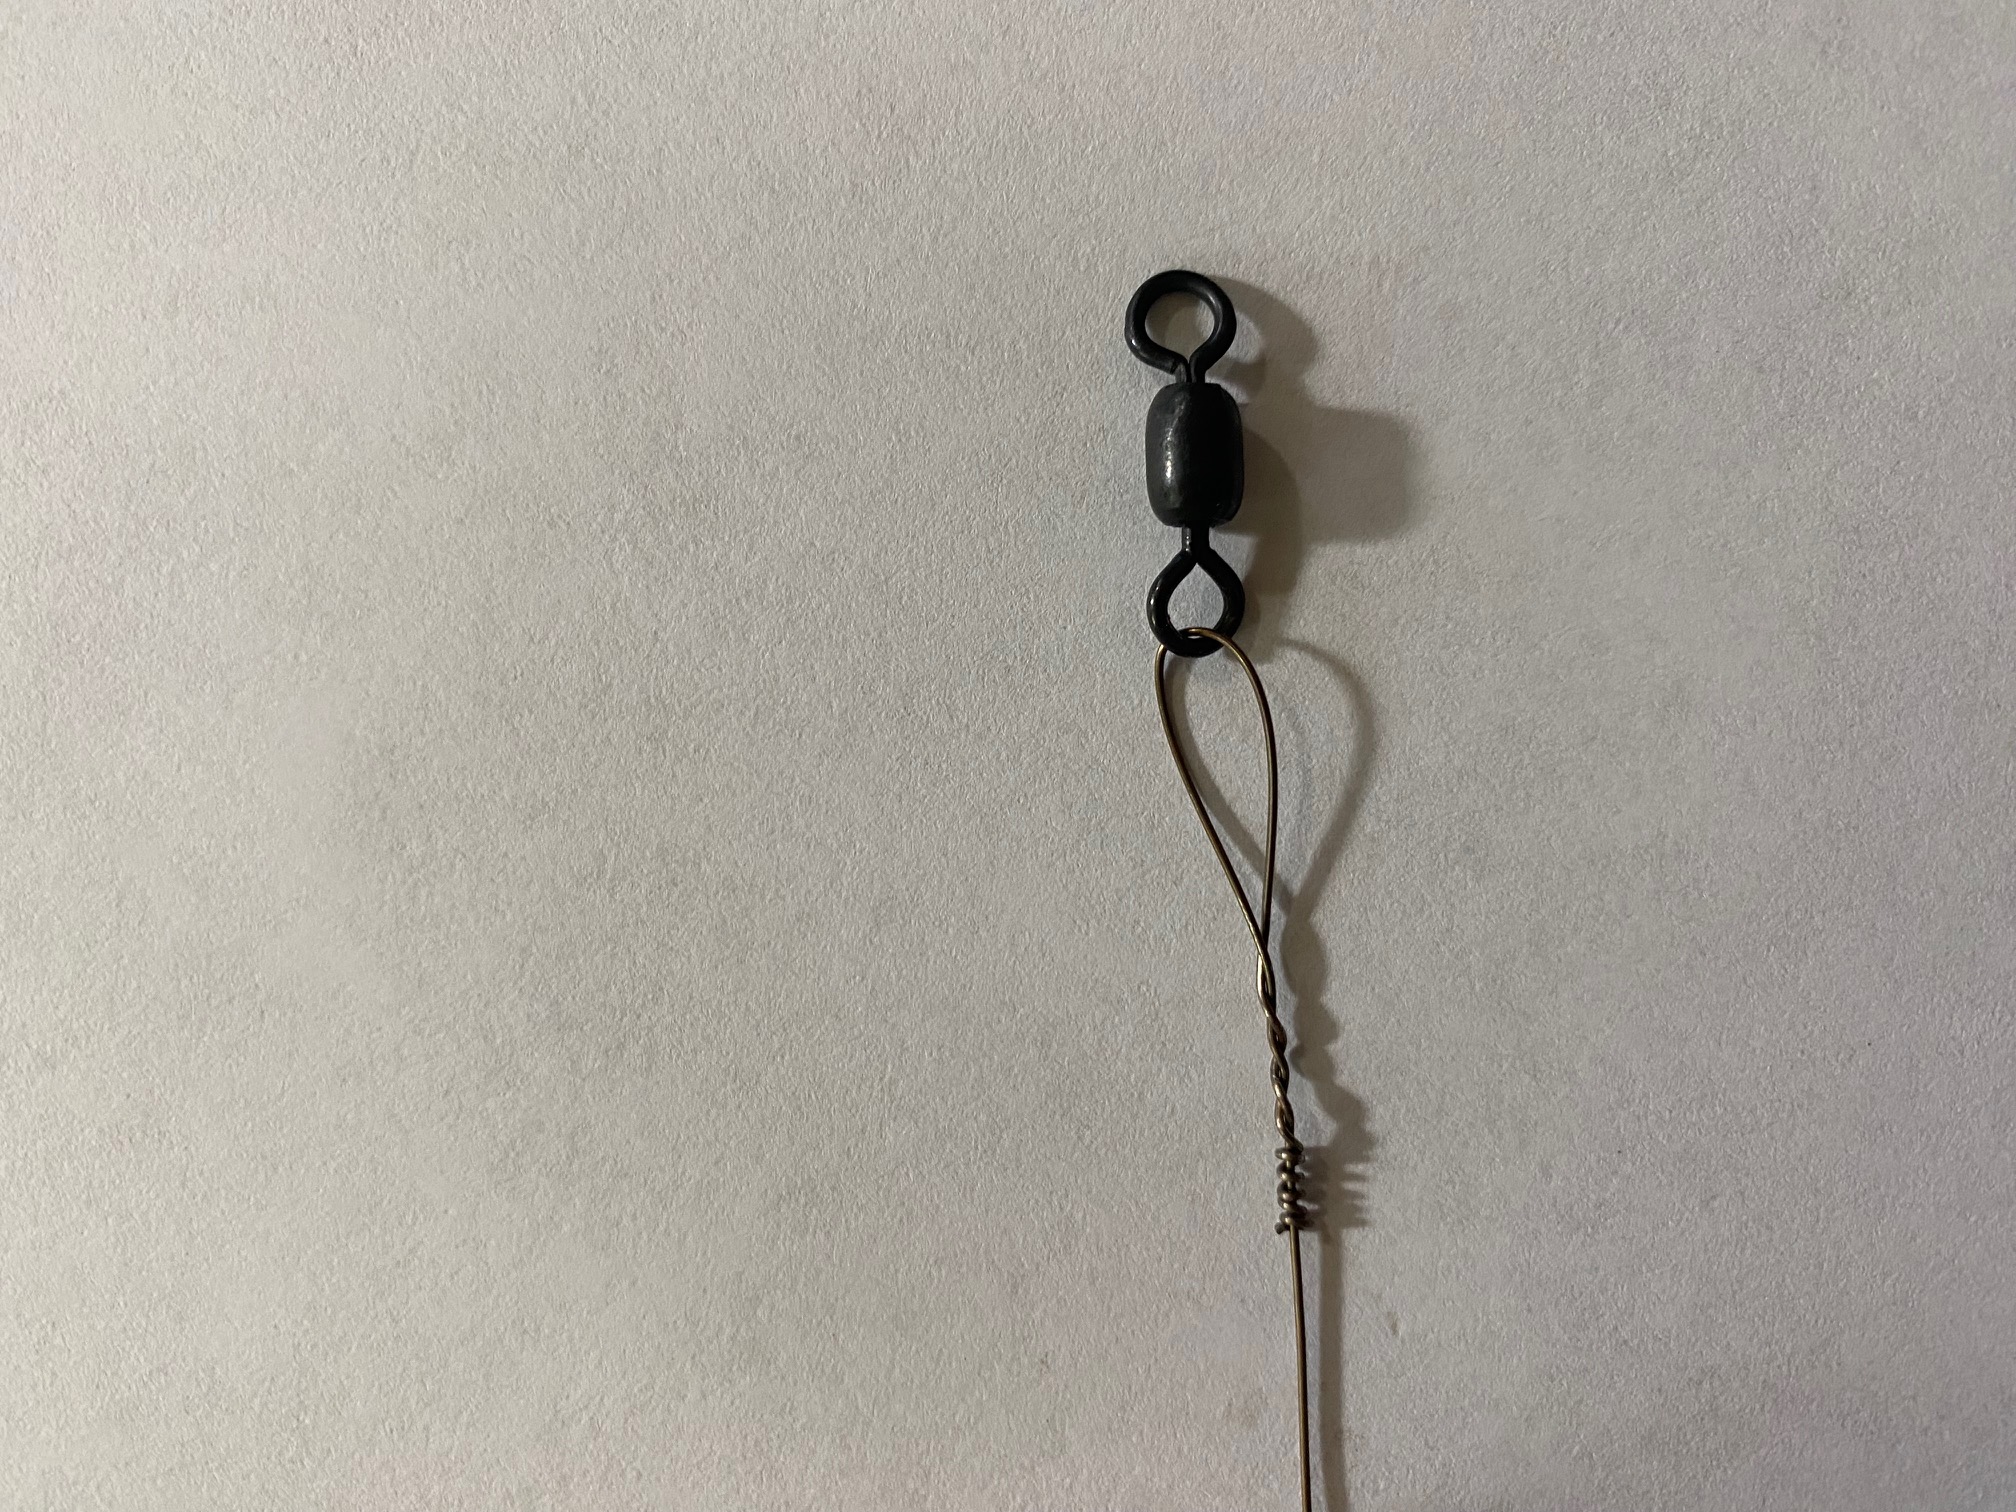
Benjamin Knot
Even under enough pressure to completely wreck a heavy-duty ball-bearing swivel, this Benjamin knot remained intact.
This is a great choice for heavy tackle. Thanks to the doubled twists and wraps of a Benjamin knot, it provides much of the same shock absorption as a Bimini but in a nearly bulletproof, streamlined package that is also highly durable. The best application for this knot is tying on a ball-bearing snap swivel to use with heavy trolling or live-baiting leaders; it’s easily tied with lines rating from 50- to 130-pound test. It can also be whipped with a bit of wax floss for even more abrasion resistance.
The No-Name Knot
For lines of less than 50-pound-test, this is an easy and strong way to connect a heavier leader to the main running line when used in conjunction with a Bimini Twist. The No-Name, also called the Jose Knot, is also small enough that it will pass through most rod guides, with the exception of the smallest roller and tip-top guides (be sure to check the clearances first). This means that a gamefish can be wound within reach of the deckhand for gaffing or release without having to leader the fish—perfect for crews that fish short-handed without a dedicated wireman on deck.
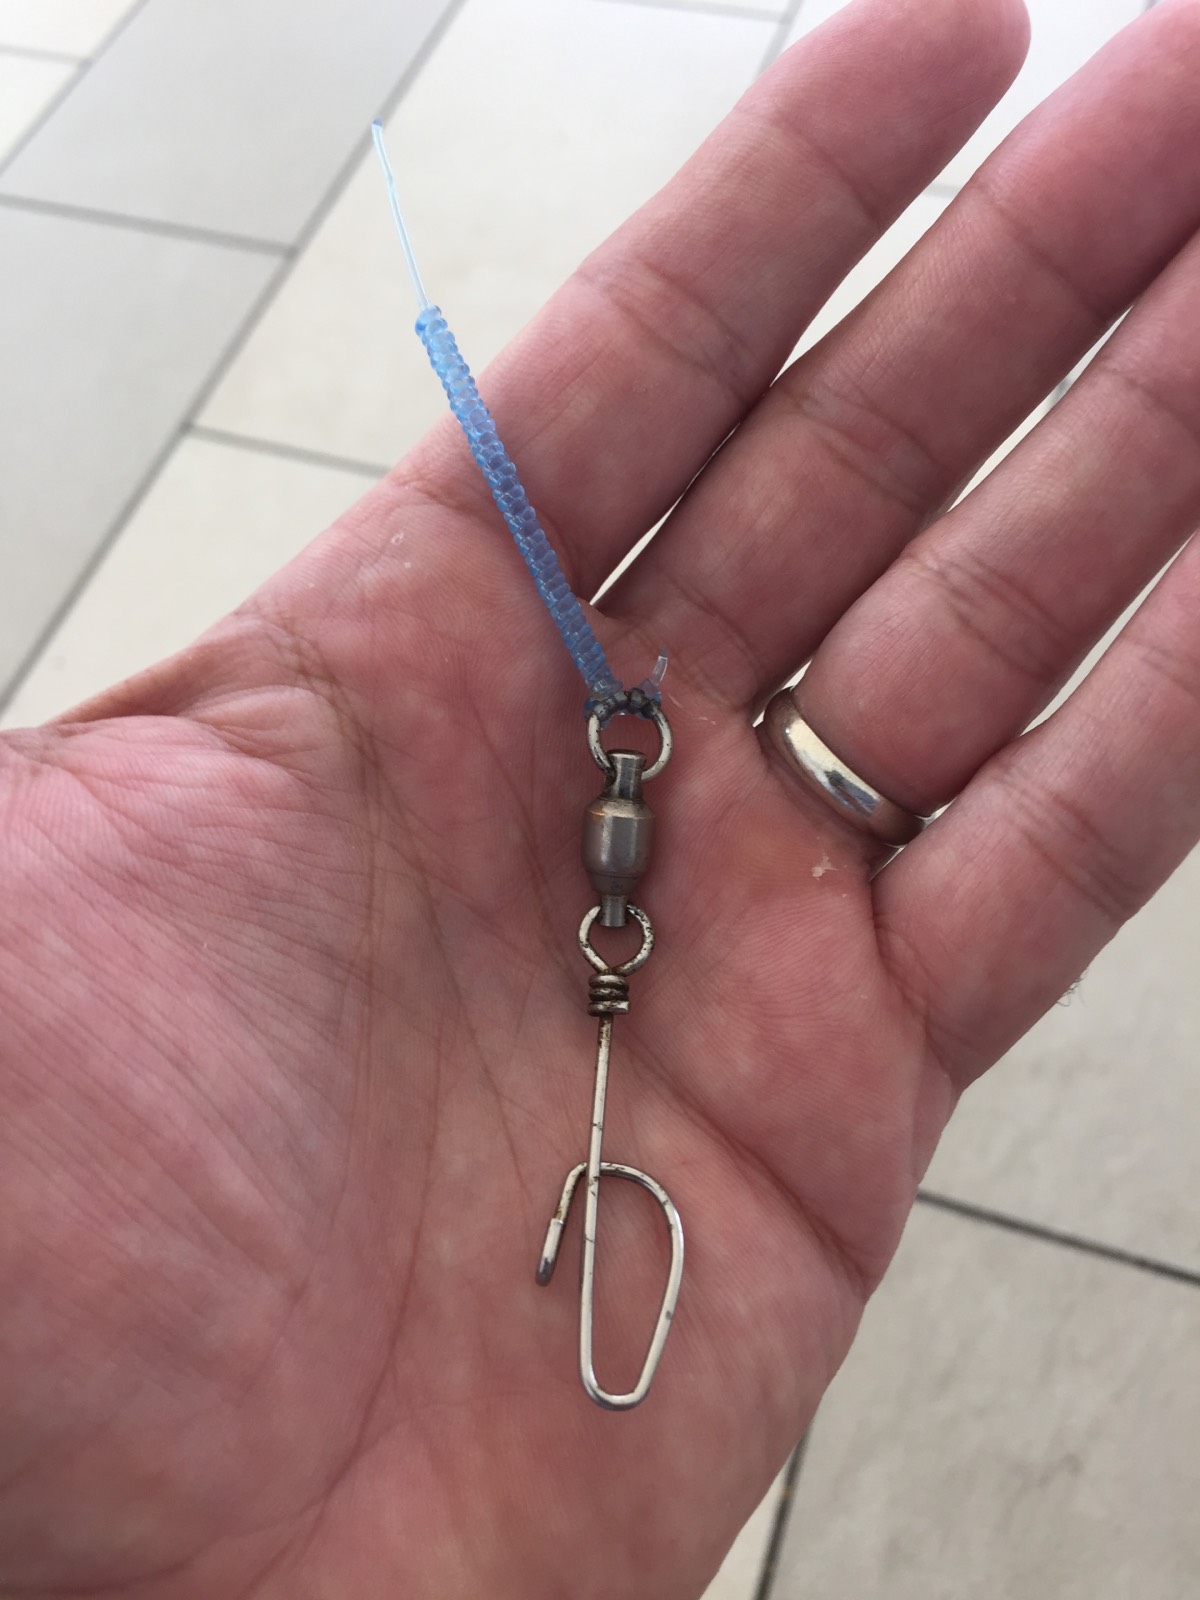
Snell
A example of a snell.
When fishing with circle hooks, I always prefer to snell the hook to the leader, as I feel this offers a stiffer connection that is more likely to find the corner of the fish’s jaw rather than be flipped out of the way on the bite, since the knot always pulls in a direct line from the shank of the hook. There are many variations on the snell, and nearly all offer very high breaking strengths. As with all knots, be sure to snug it down well before trimming the tag end.
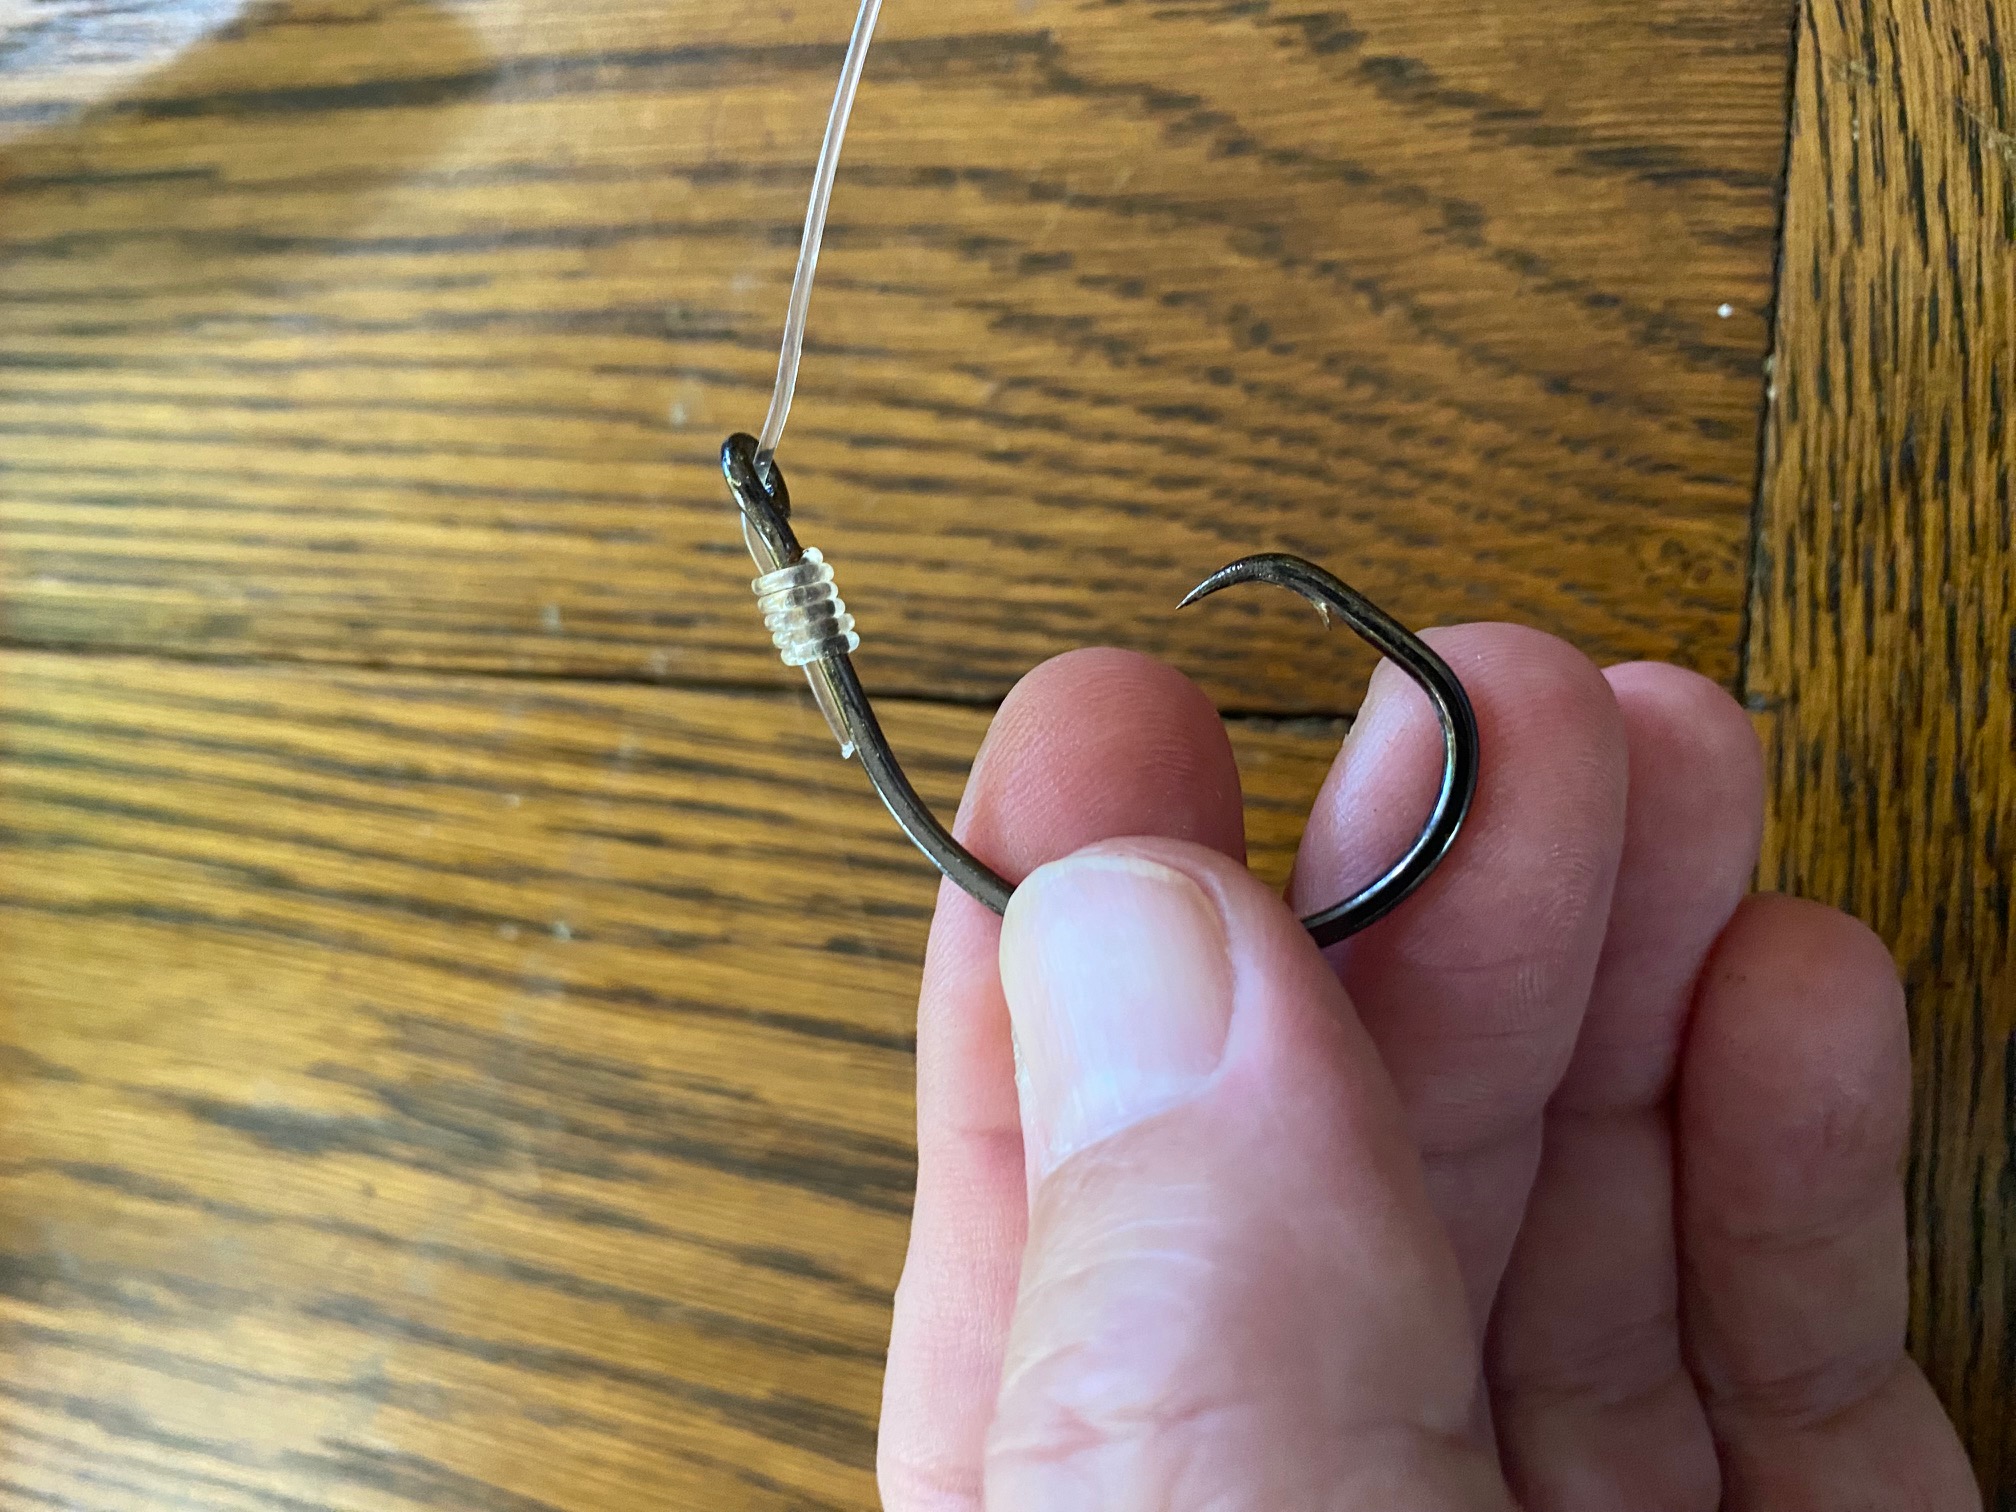
Haywire Twist
A haywire twist, ready for action. Never use wire cutters to trim the tag ends, though.
A must when using single-strand wire leader, this one creates a very strong loop that can be used for connecting swivels and hooks. Be sure the twists are evenly spaced at a 45-degree angle before finishing with barrel wraps at a 90-degree turn. Then twist the wire into a handle and rotate until it breaks off cleanly. You should never use wire cutters to trim tag ends of any wire leaders, as this will leave a sharp burr that will eventually find its way into a fingertip at some point.
Bonus Round: Crimping
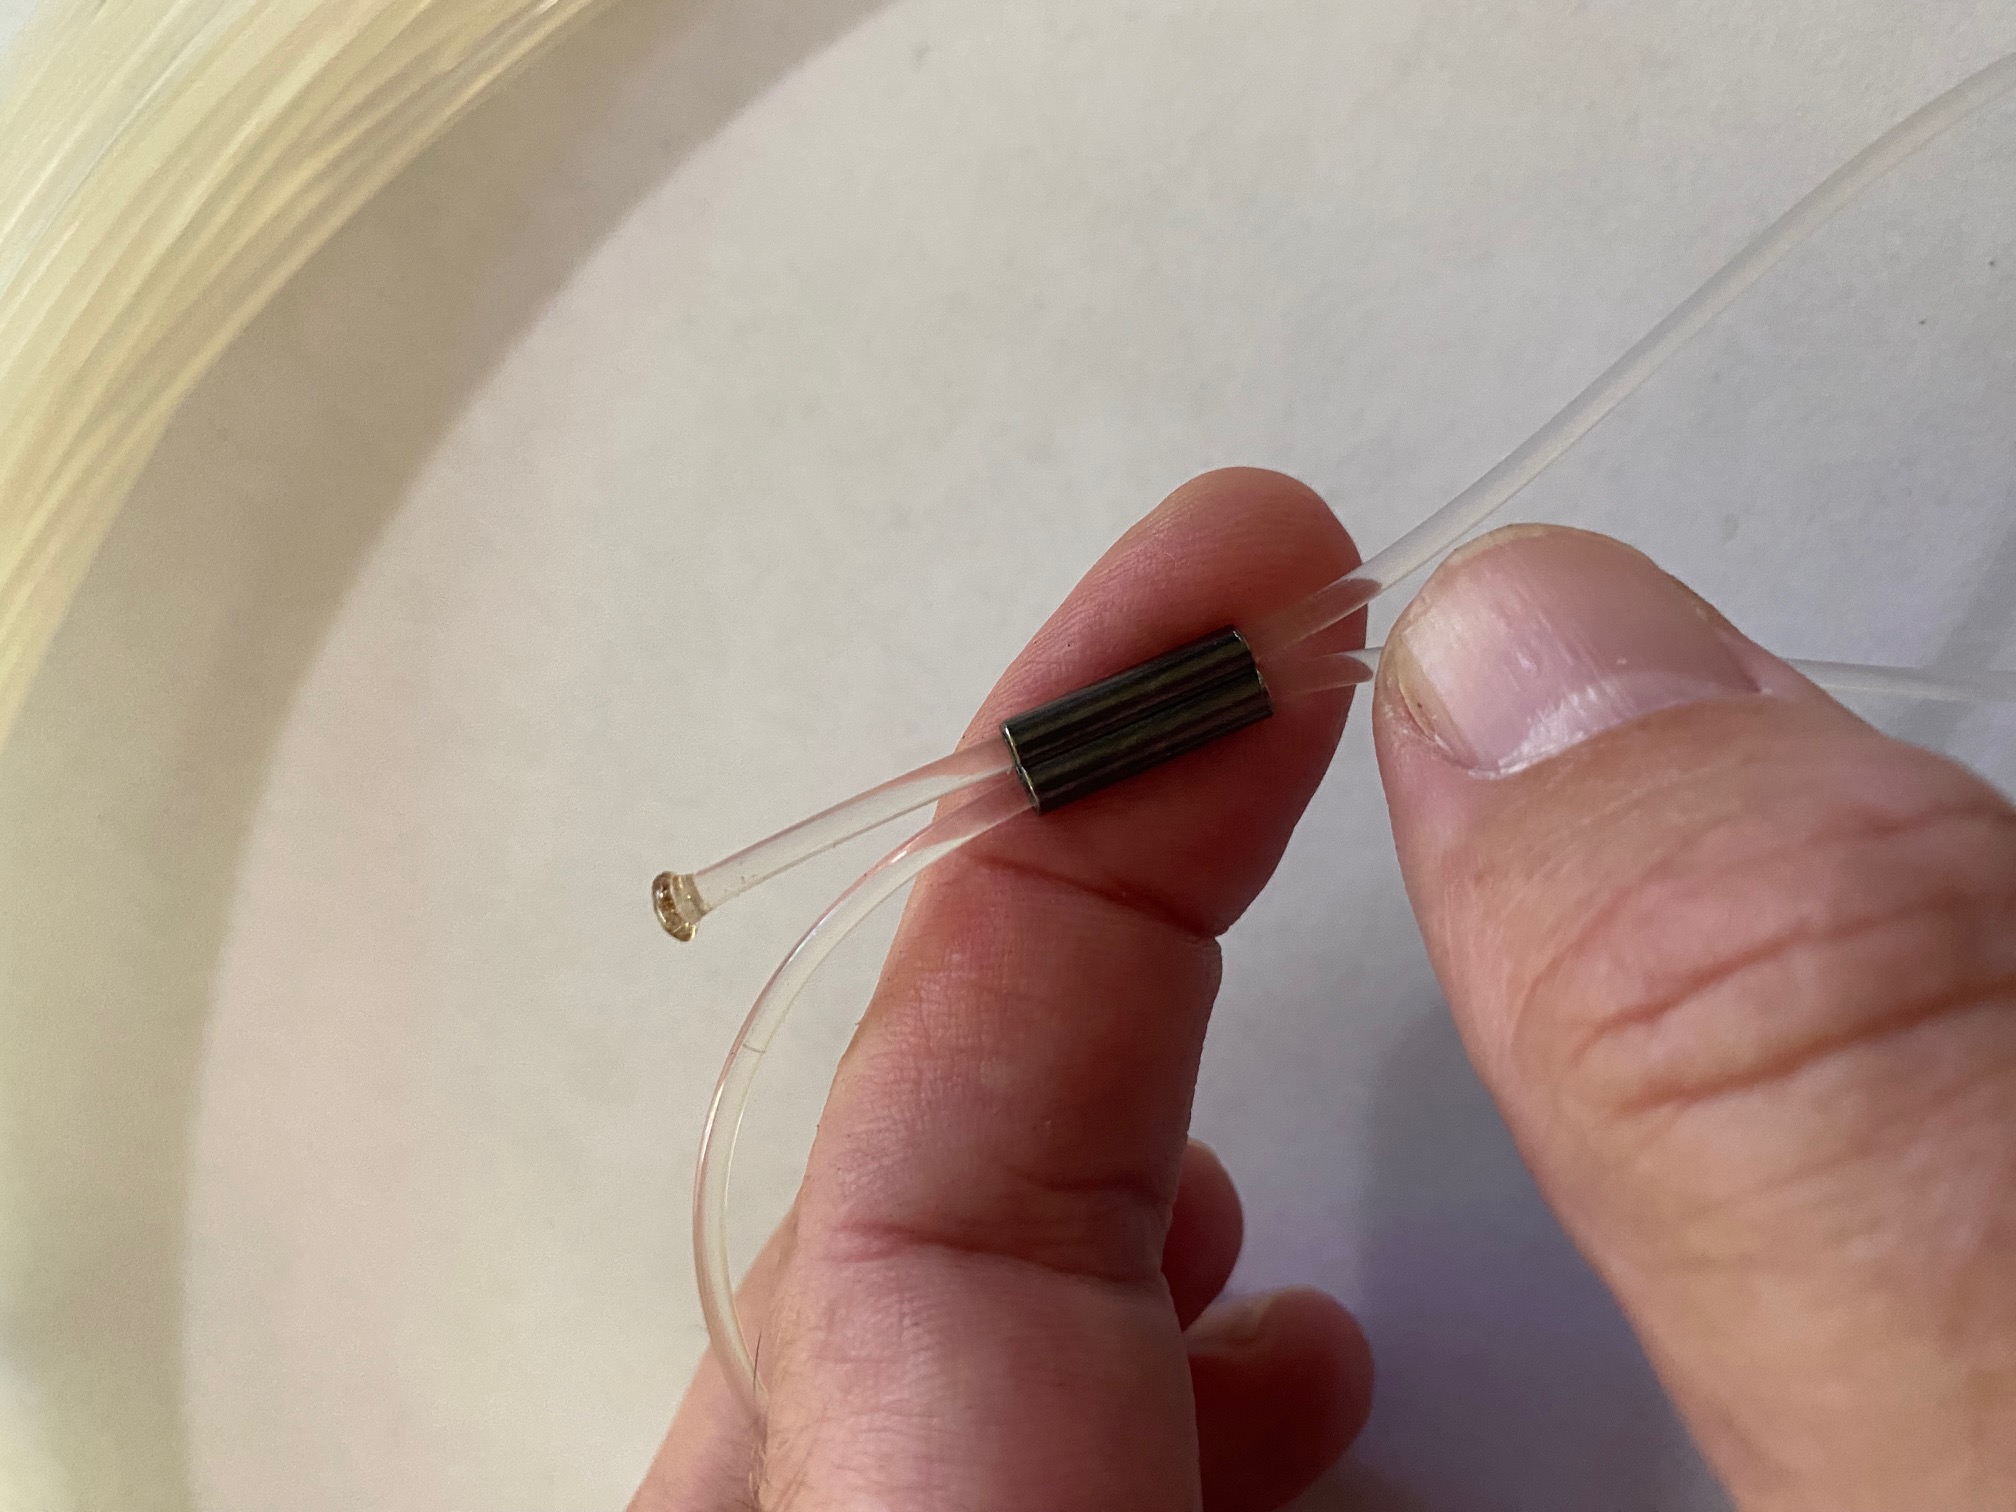
By heating the leader to create a small mushroom in the tag end, you can be assured it will not slide back through the crimp.
Heavy leader, and especially stiff fluorocarbon, is hard to tie in a knot that will hold its breaking strength well, which is why we use crimps for this purpose. There are a few key points to remember though. First, you should melt the tag end of the leader after sliding it through the crimp sleeve. Be sure to leave enough room that the heat source doesn’t come into contact with the main leader where it could cause a weak spot, but by creating a mushroom tip at the end it’s virtually impossible for this to pull through the sleeve. The crimp itself should be of the right size—if it’s too large, it won’t be able to grab enough of the leader to form a solid connection. It’s also wise (and fun) to test your crimped connections. Form a loop and crimp it as usual, then slip it over an immovable object like a dock cleat or trailer hitch ball. Don a pair of heavy gloves and pull steadily until something breaks, then examine the damage. If the crimp slides and the loop begins to cinch up before the leader breaks, it’s not strong enough.
The key is practice. By mastering these basic knots and tying them over and over until they’re perfect, you’ll have supreme confidence in your connections when that gamefish of a lifetime decides to pile on your bait or lure.
Read More: Five Knots Every Fisherman Should Know